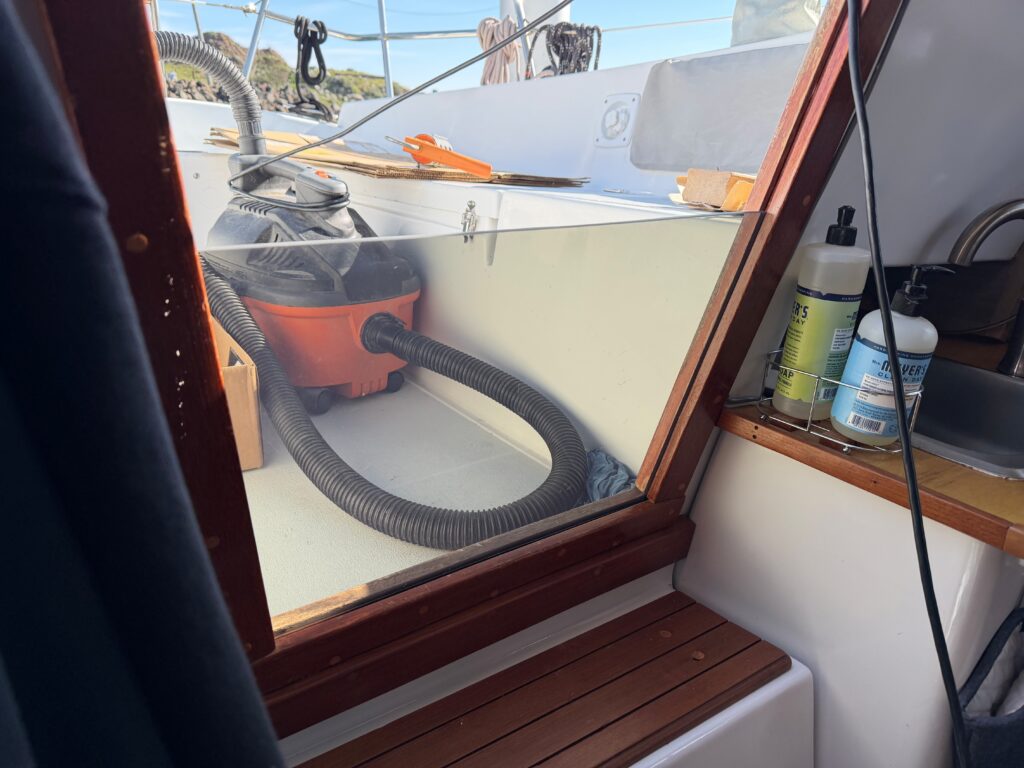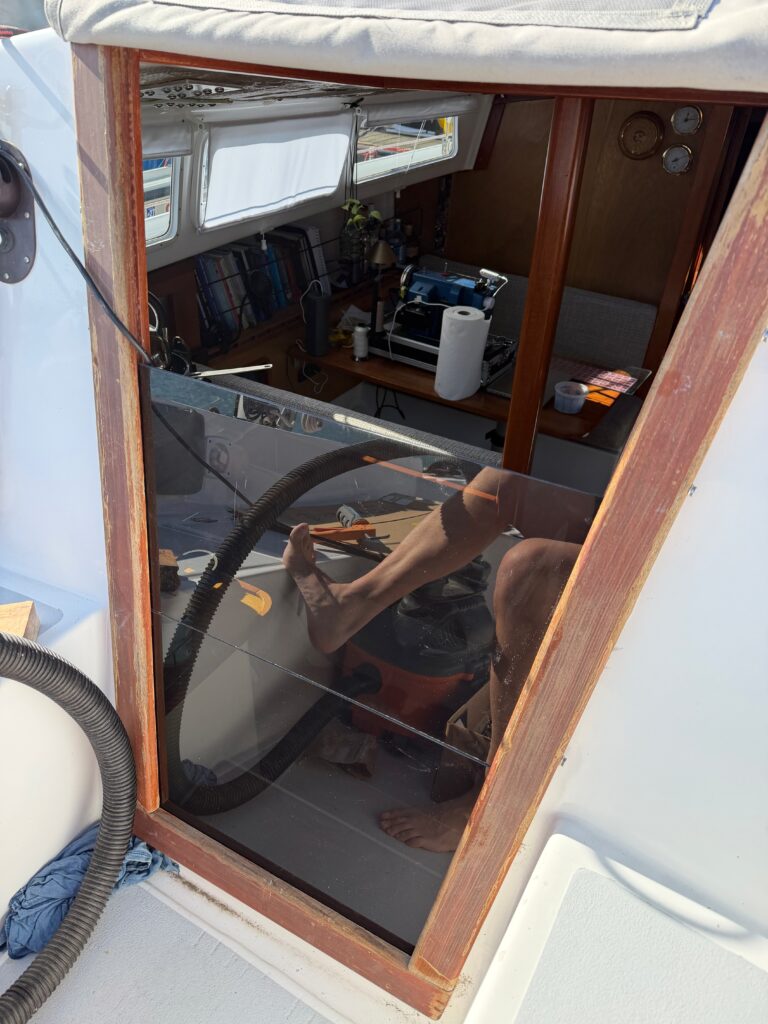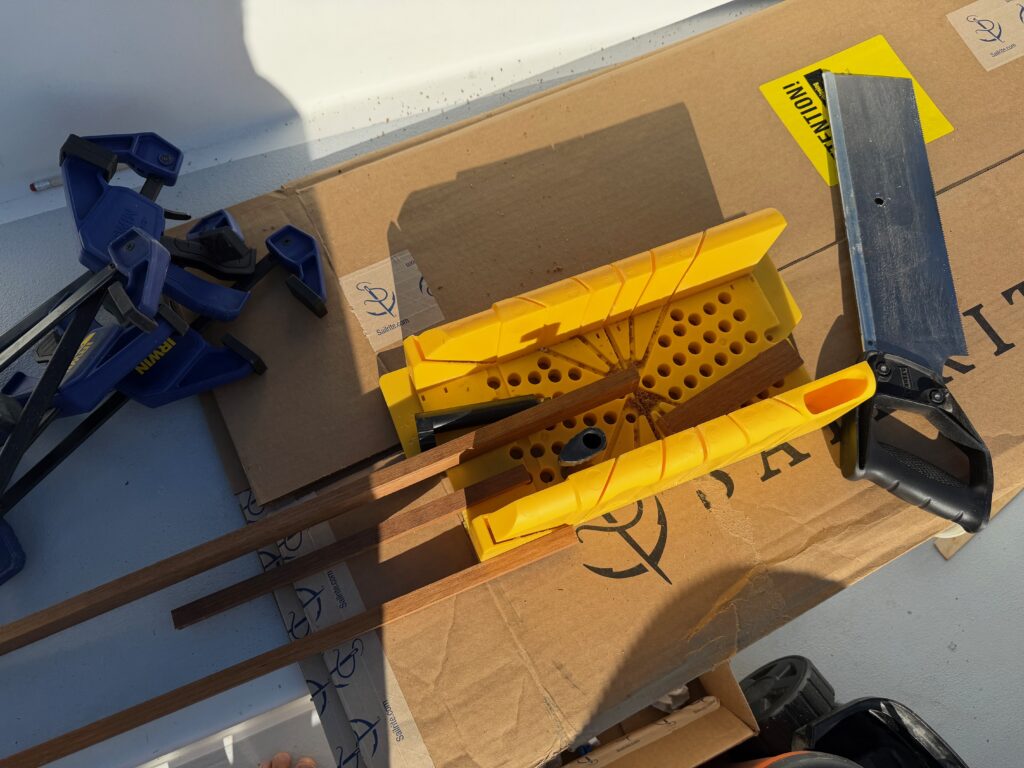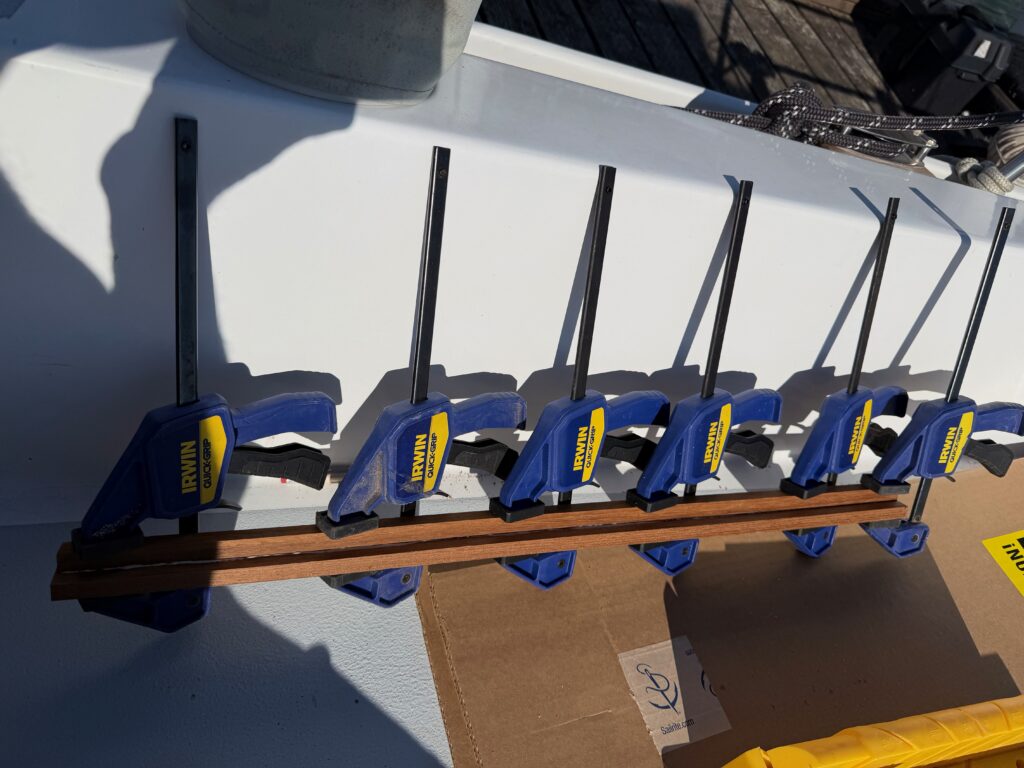
Companionway trim & hatch liner

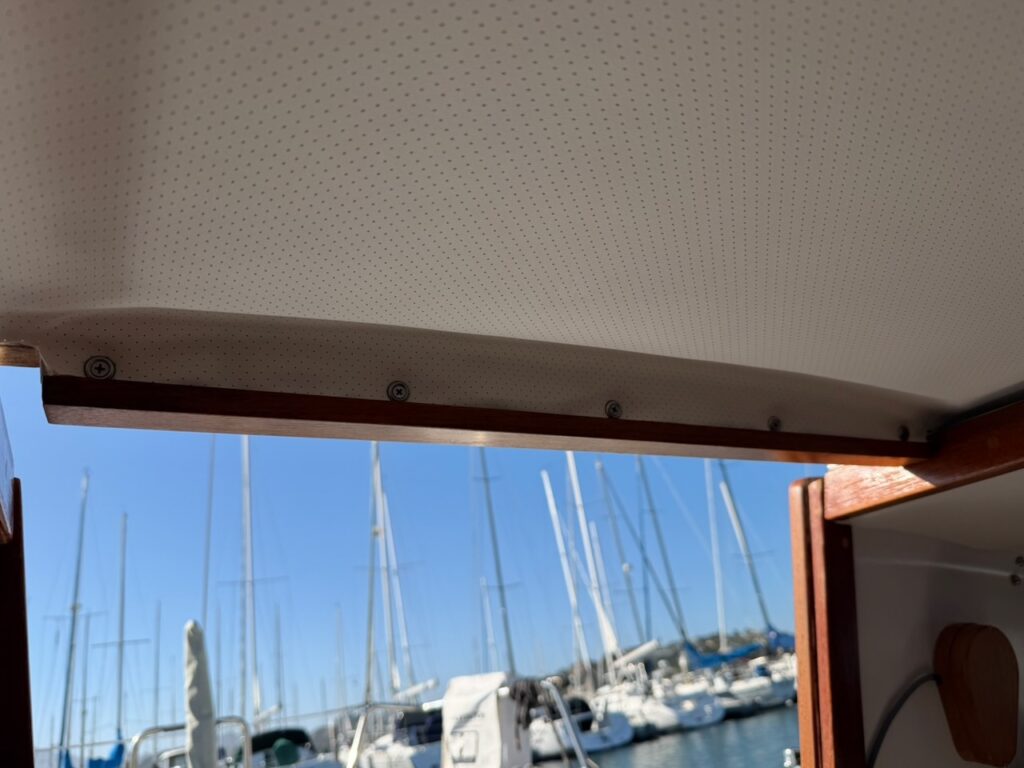
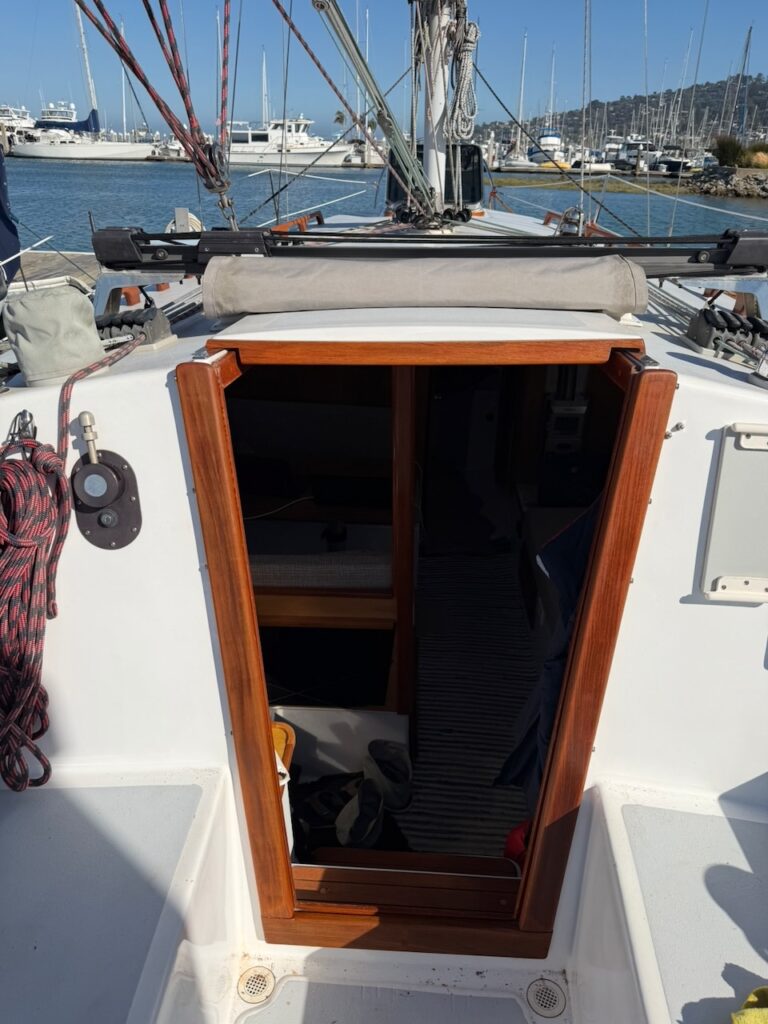
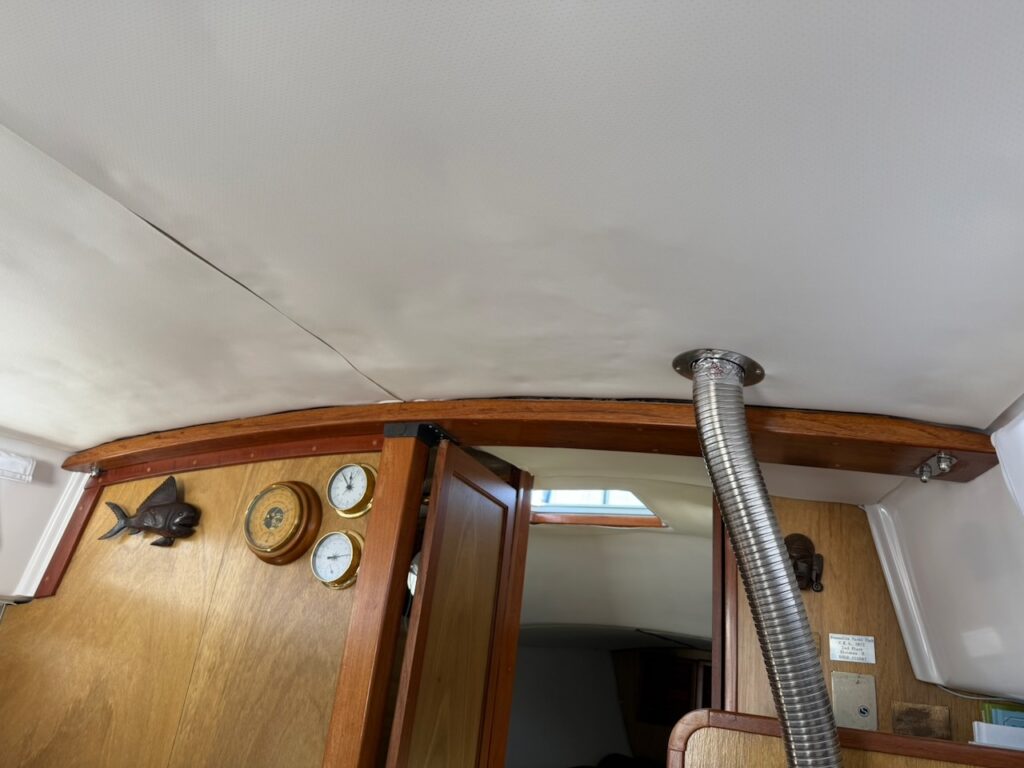
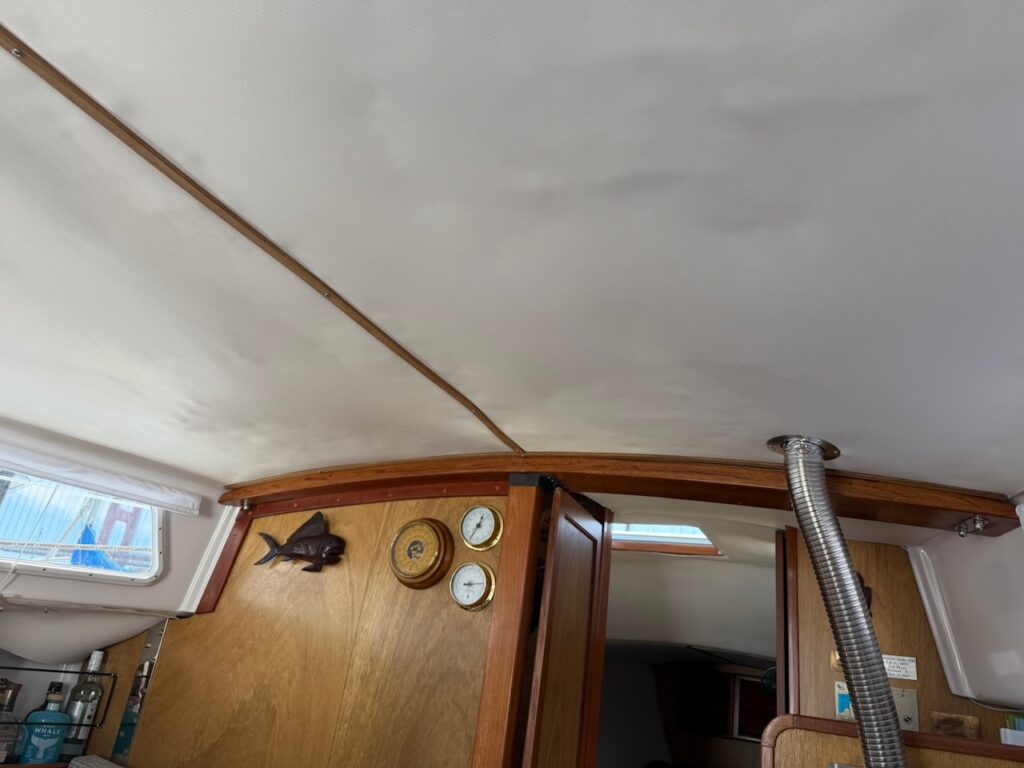
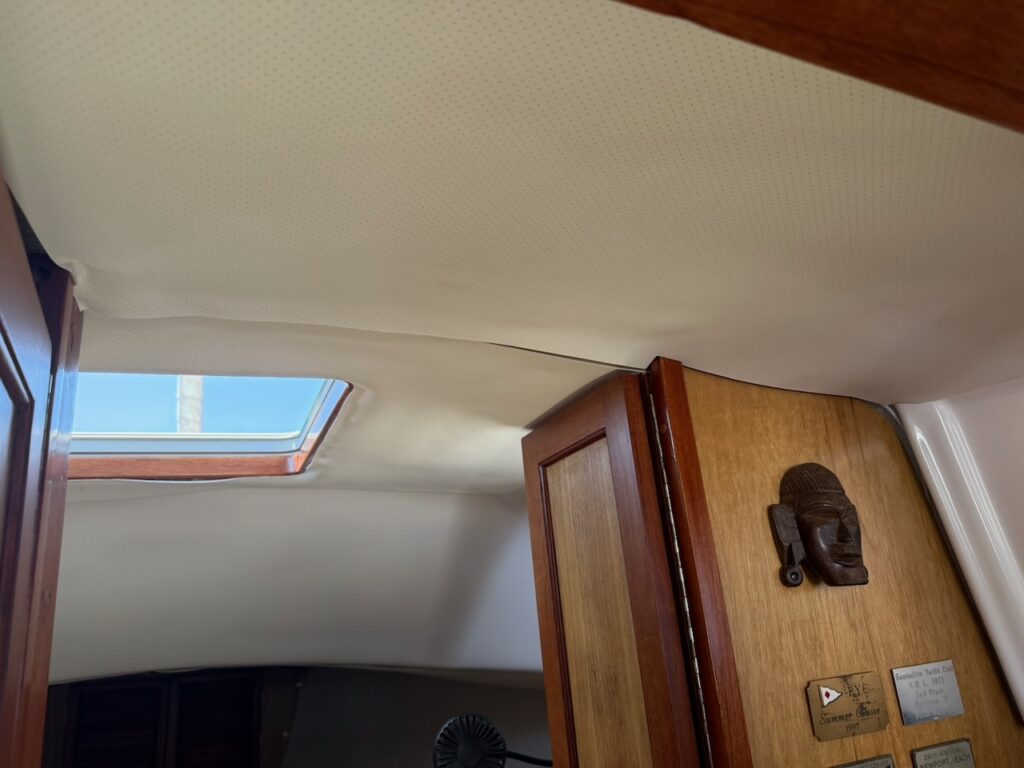
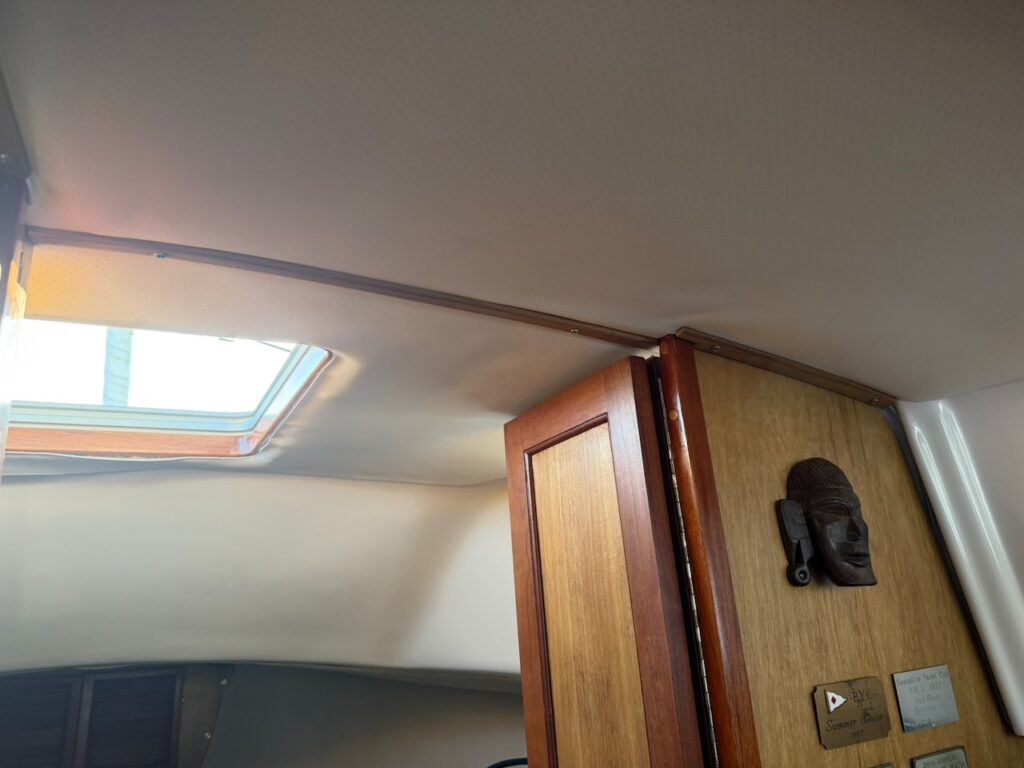
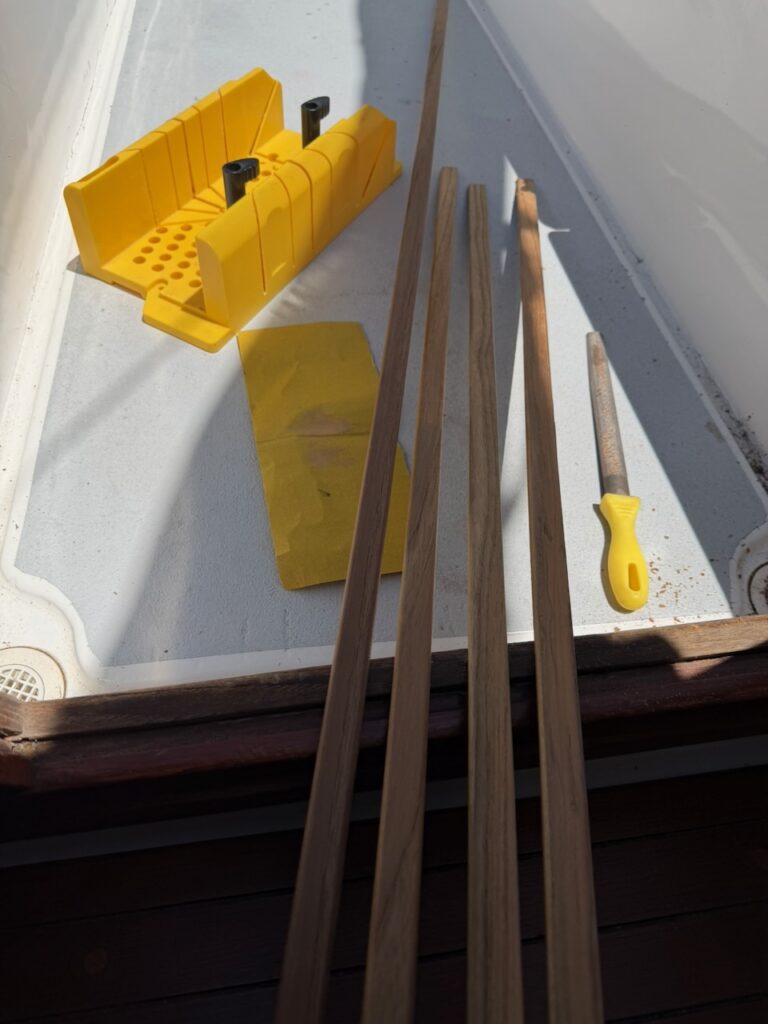
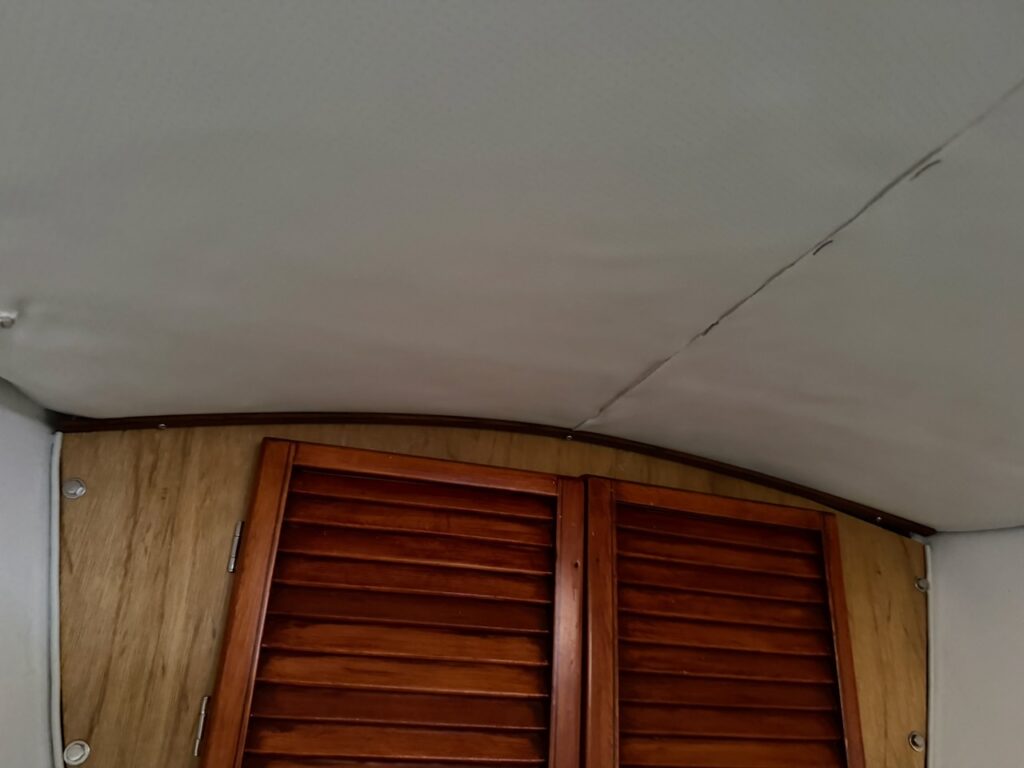
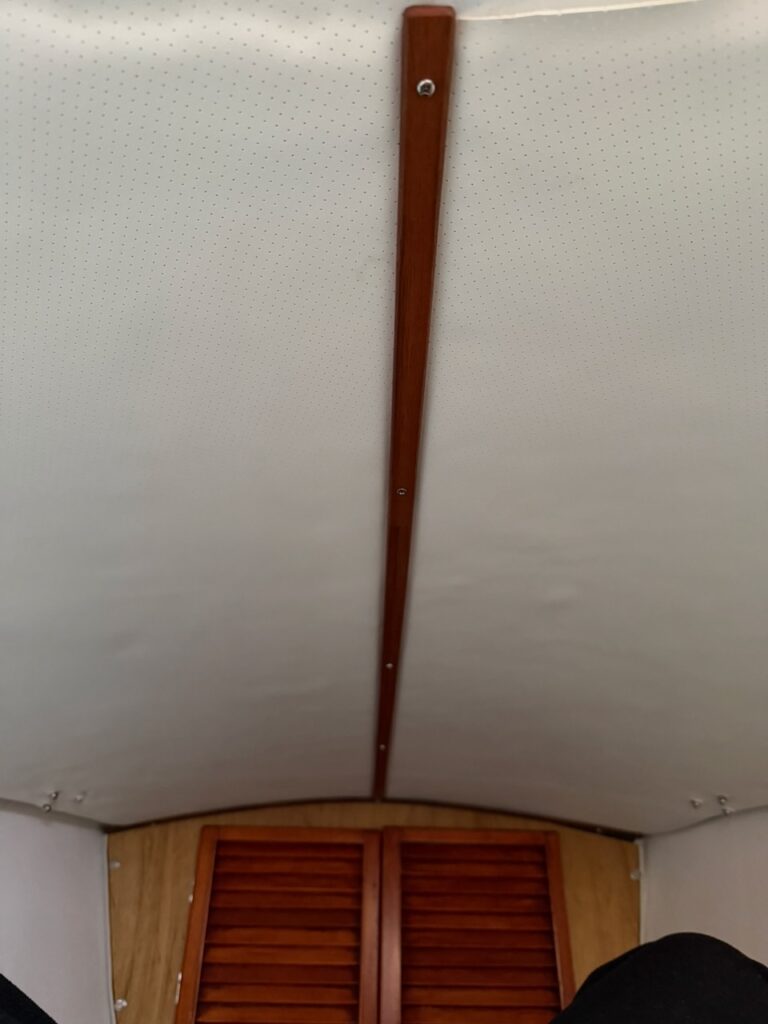
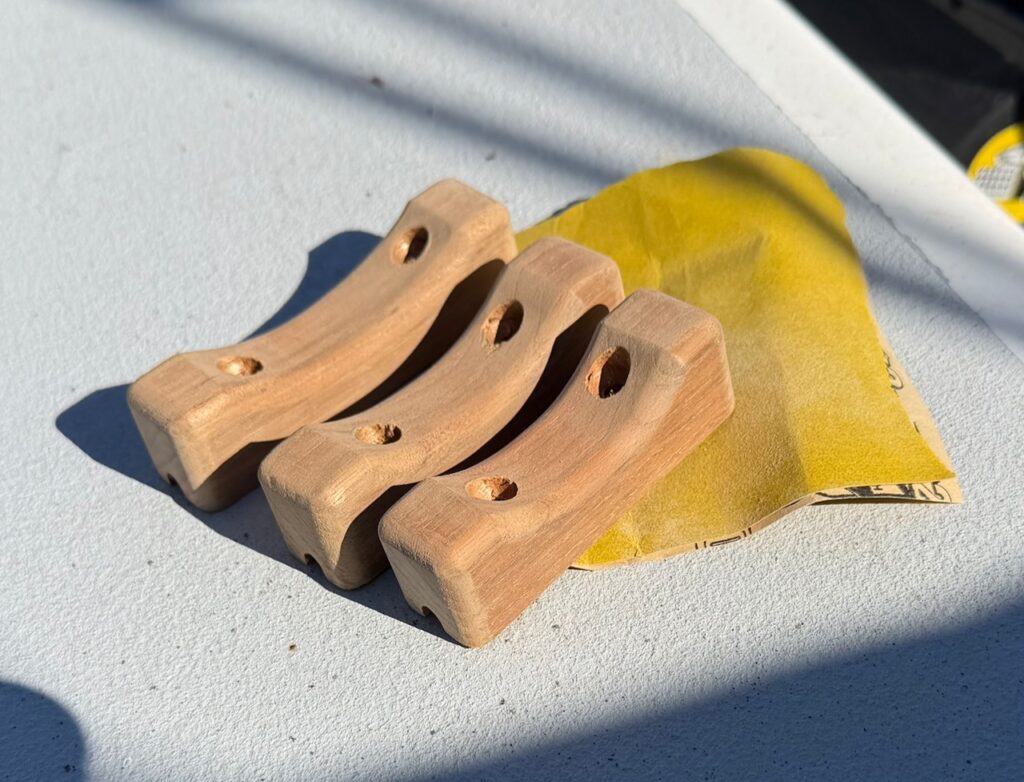
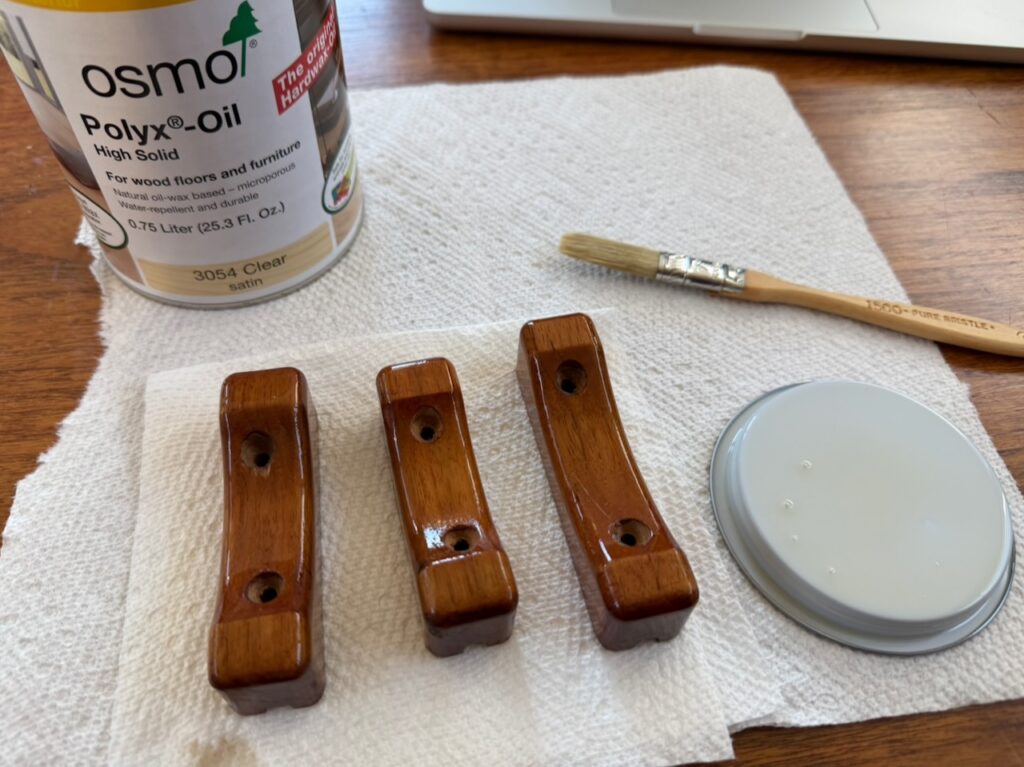
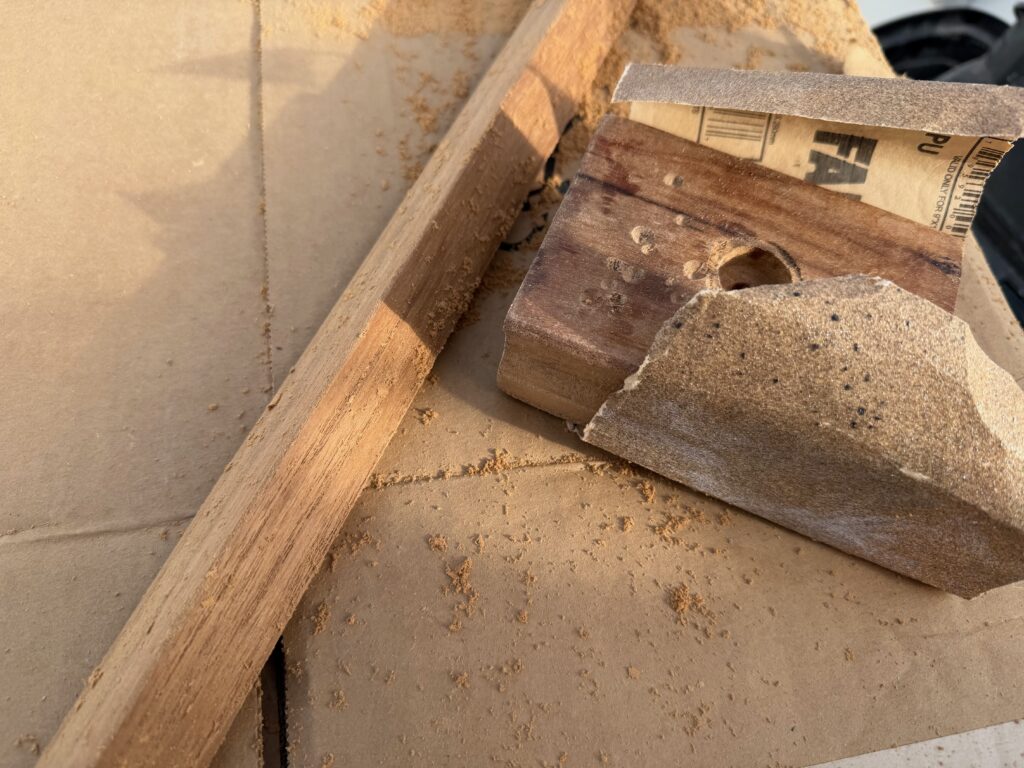
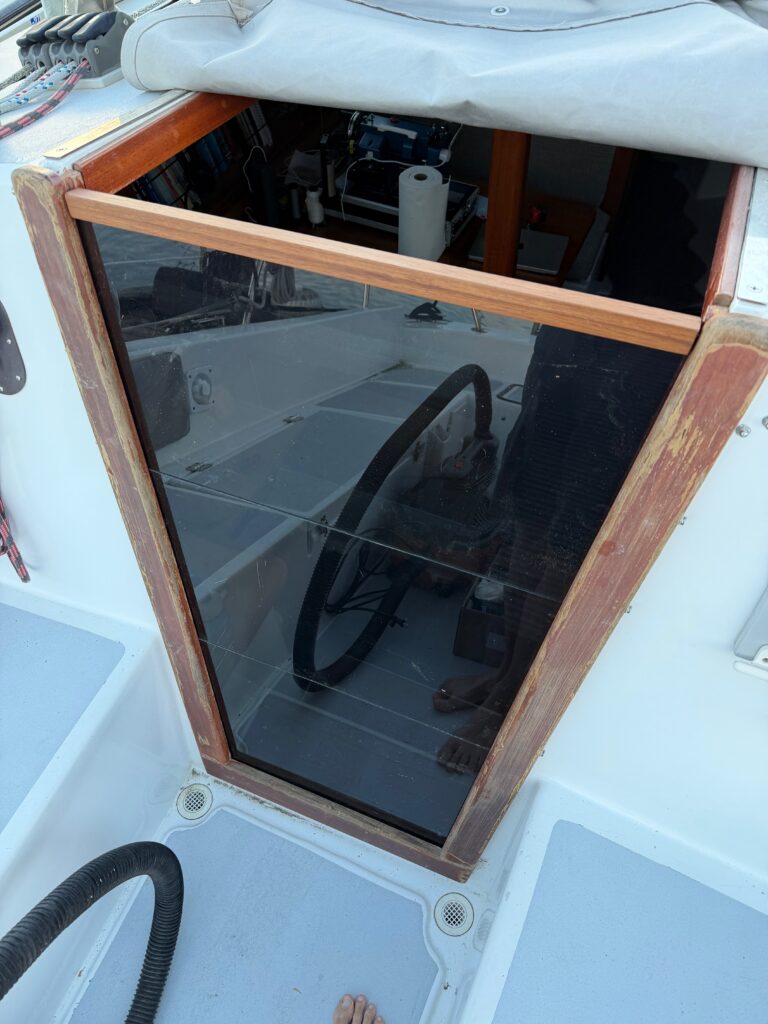
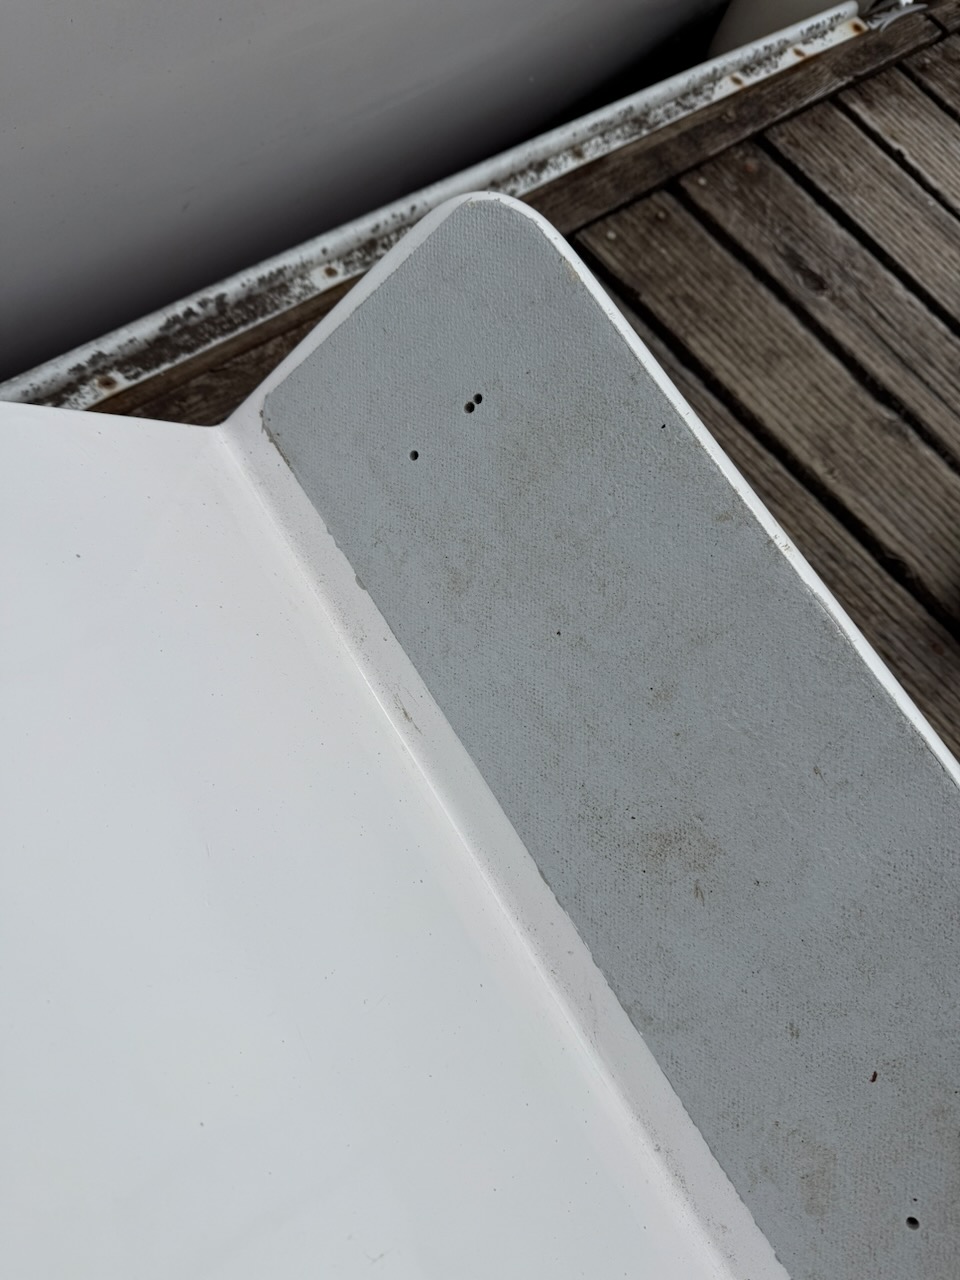
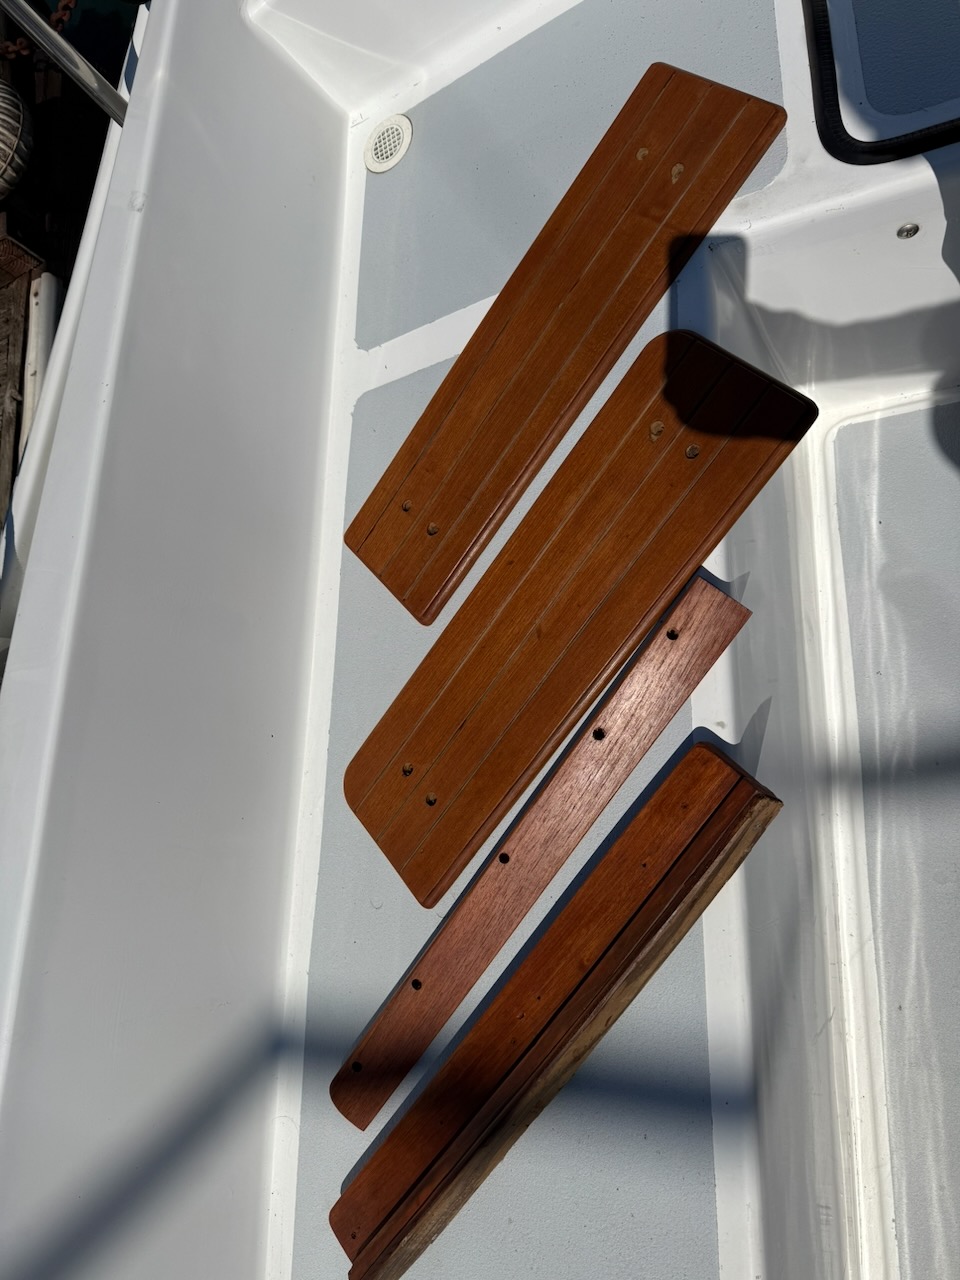
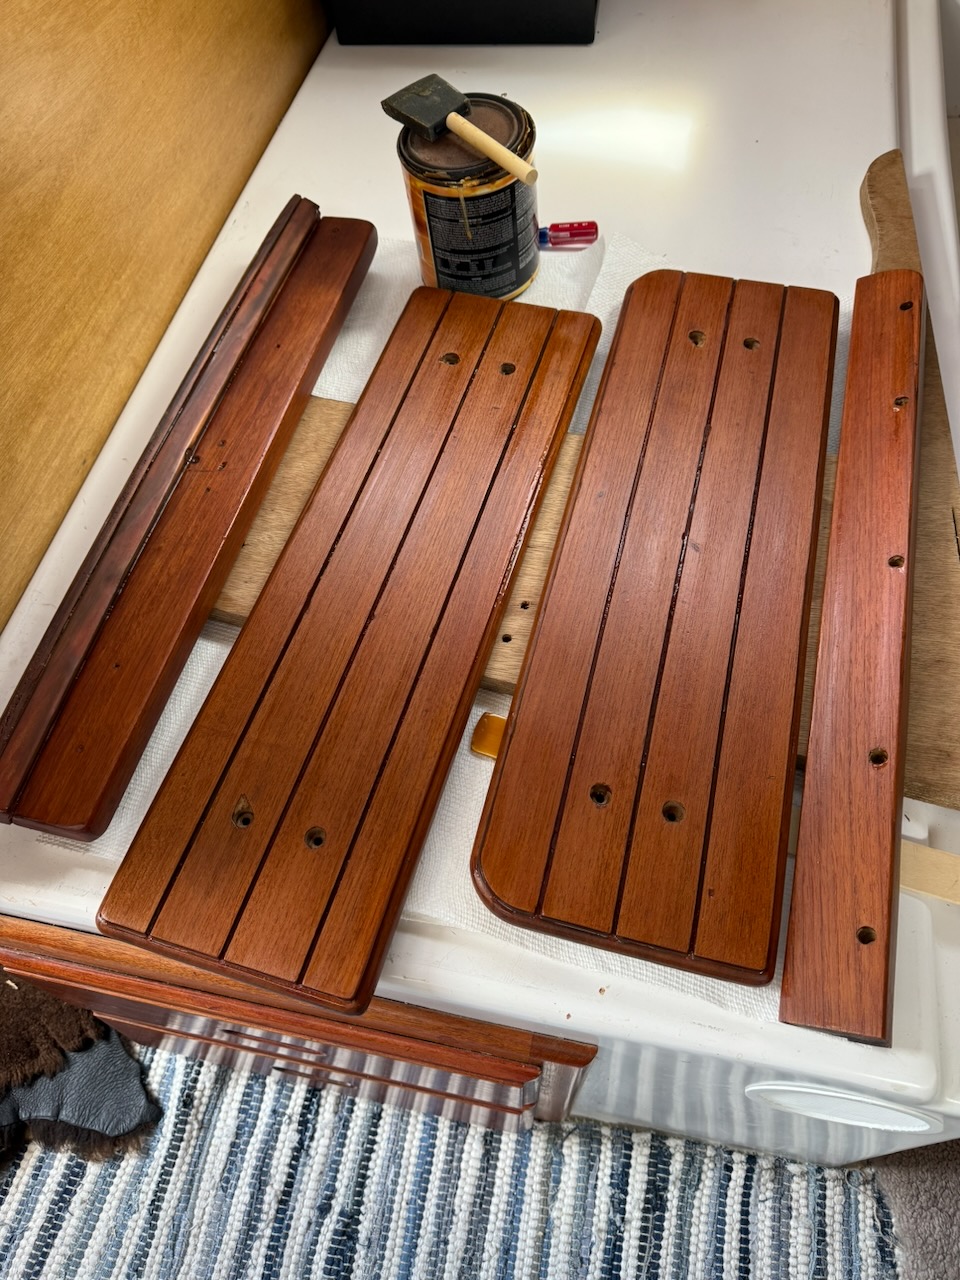
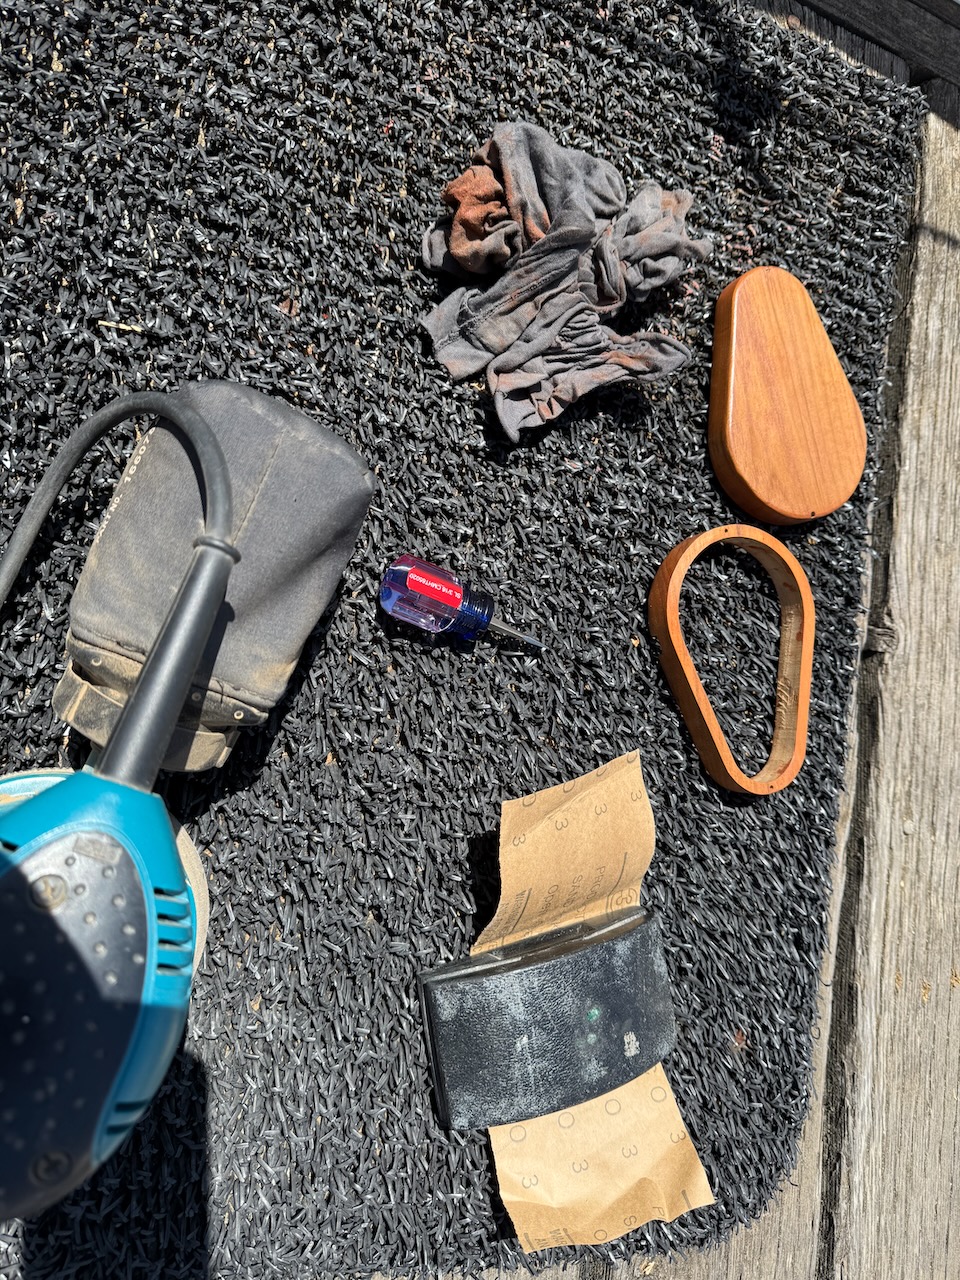
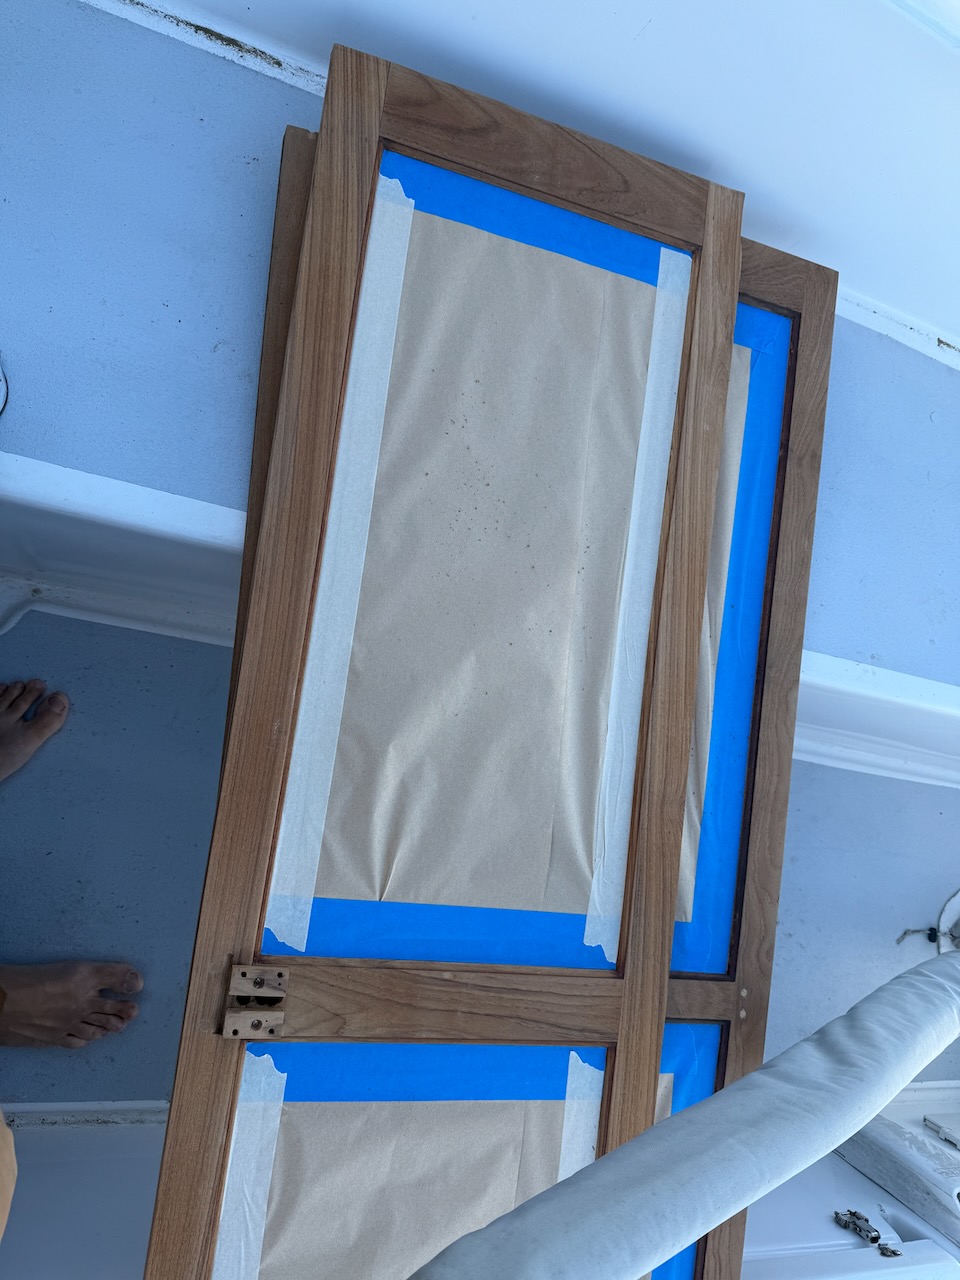
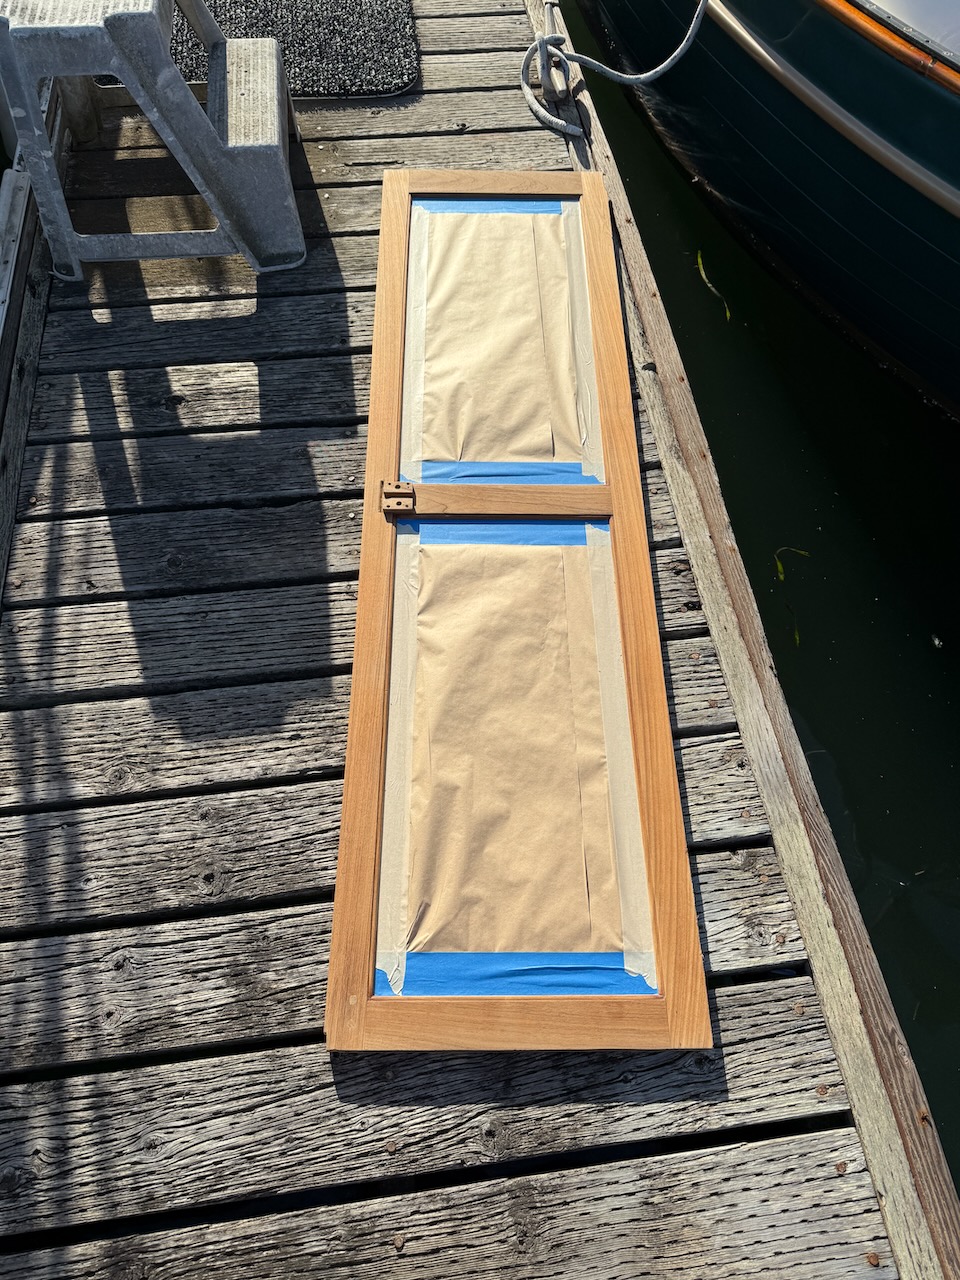
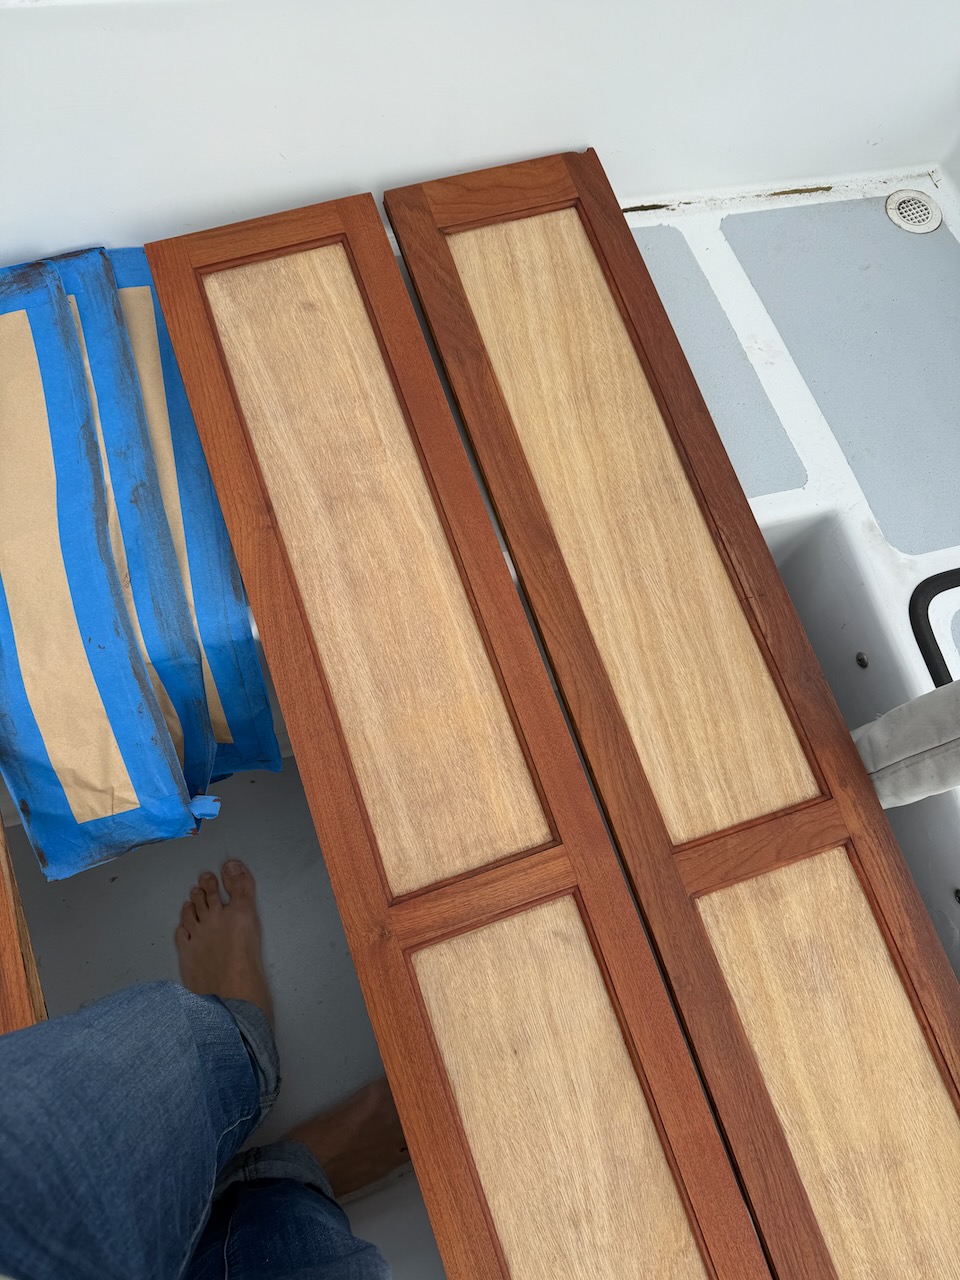
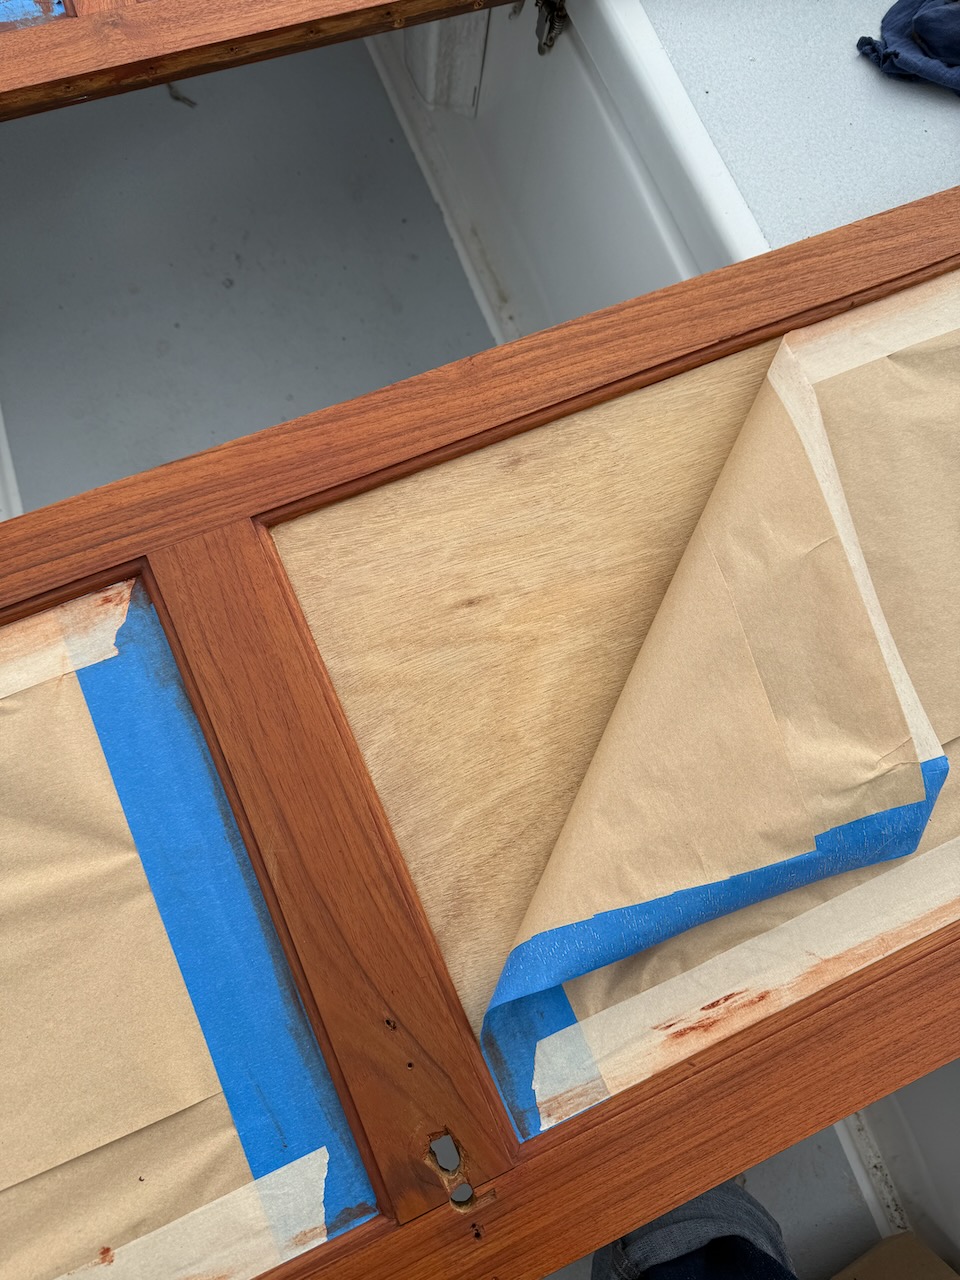
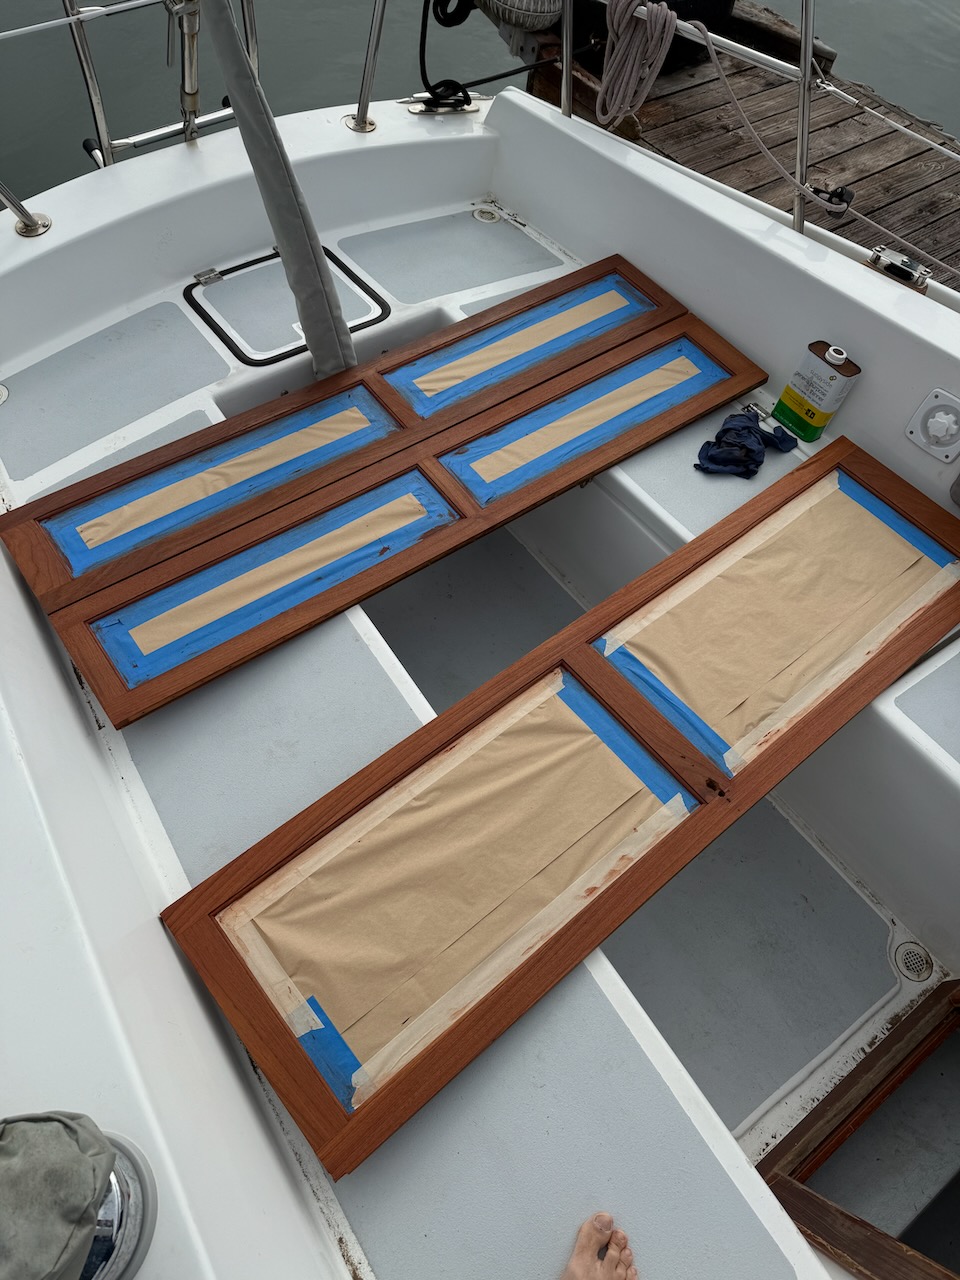
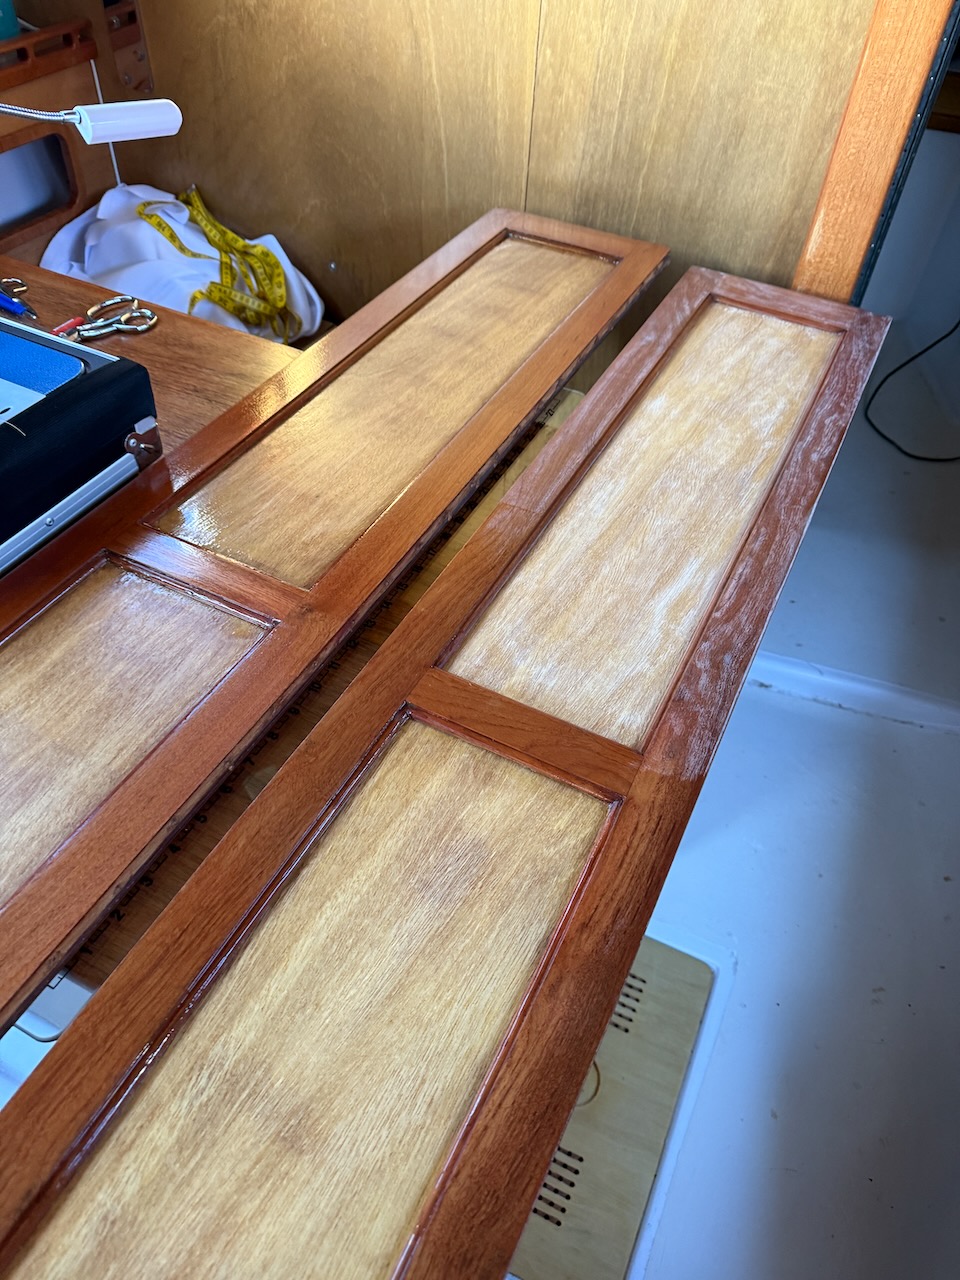
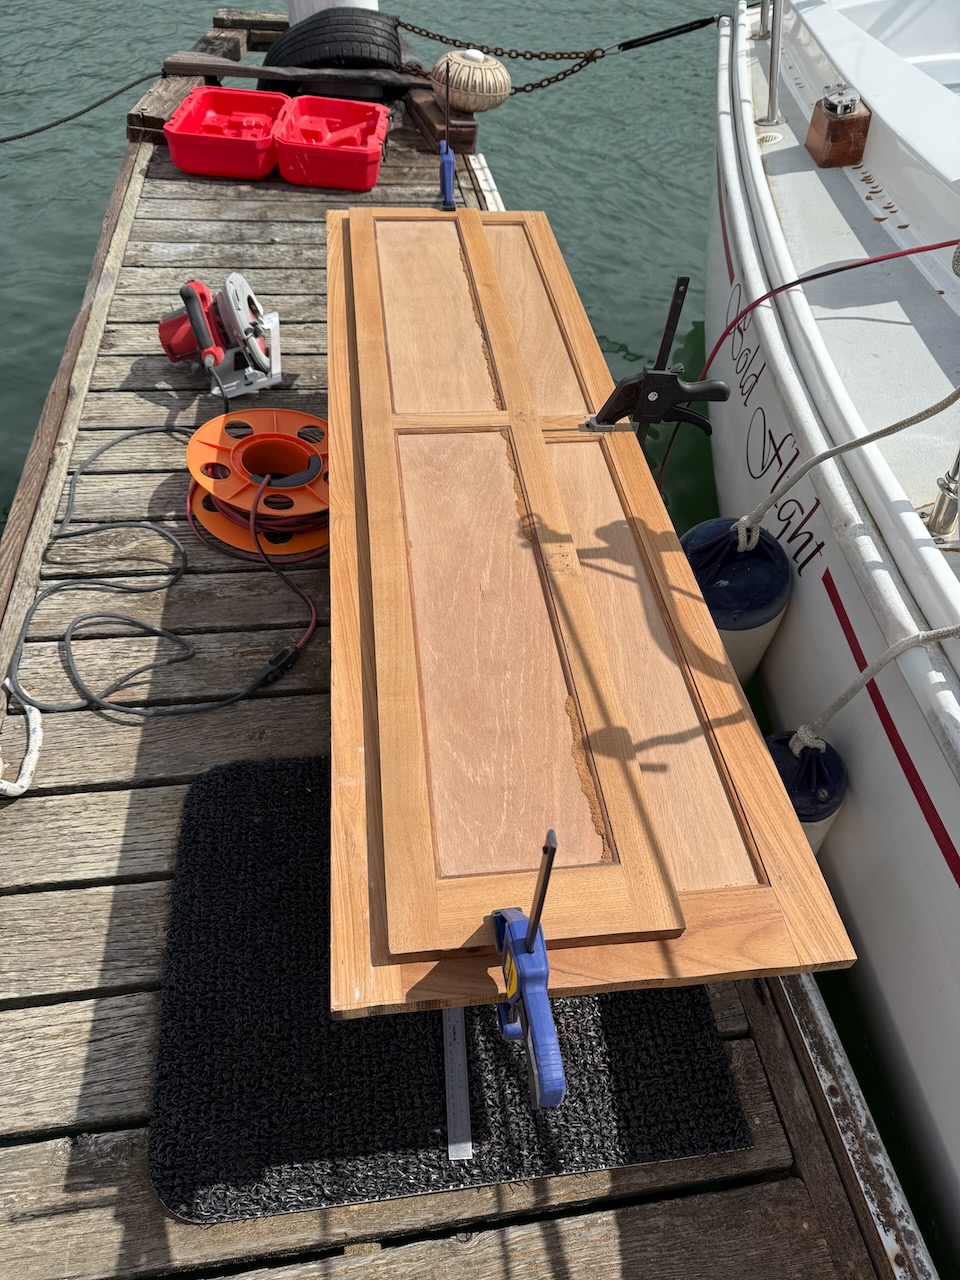
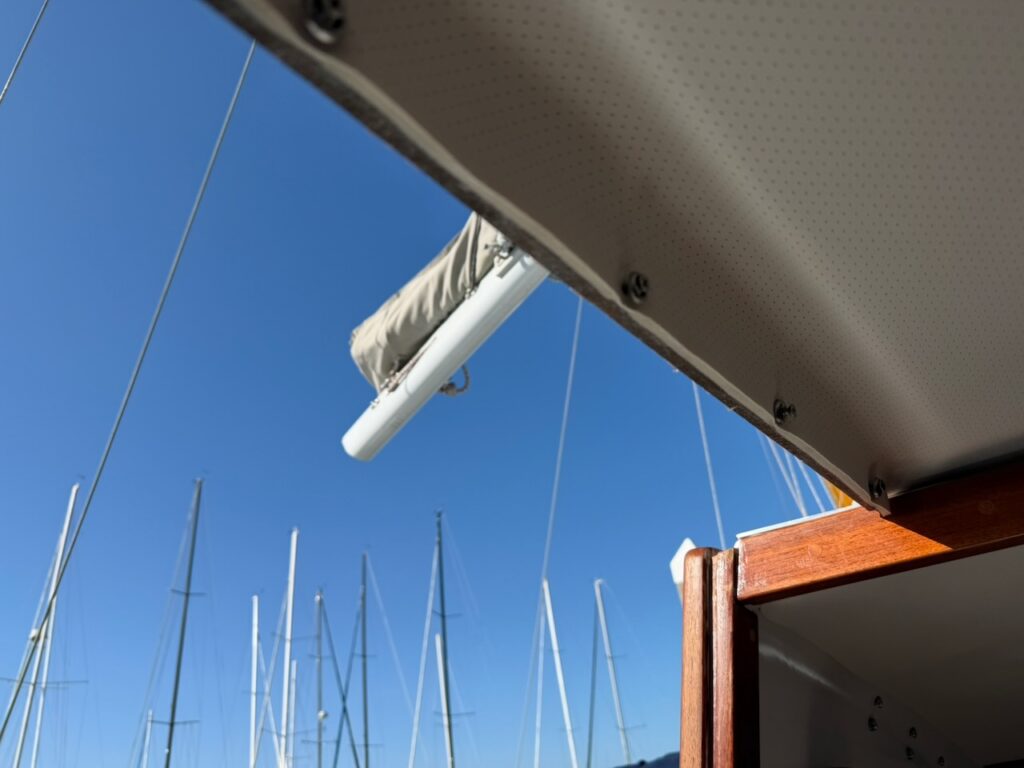
Took time to clean up the entry this weekend. Applied liner to the underside of the hatch and then sanded down, stained, and finished the teak trim around the companionway. Osmo Polyx Oil is such an awesome finish to work with!
That trim was exposed to the elements for some time before I made canvas cover and varnish was peeling off all over. Nice clean chocolate-colored look now!
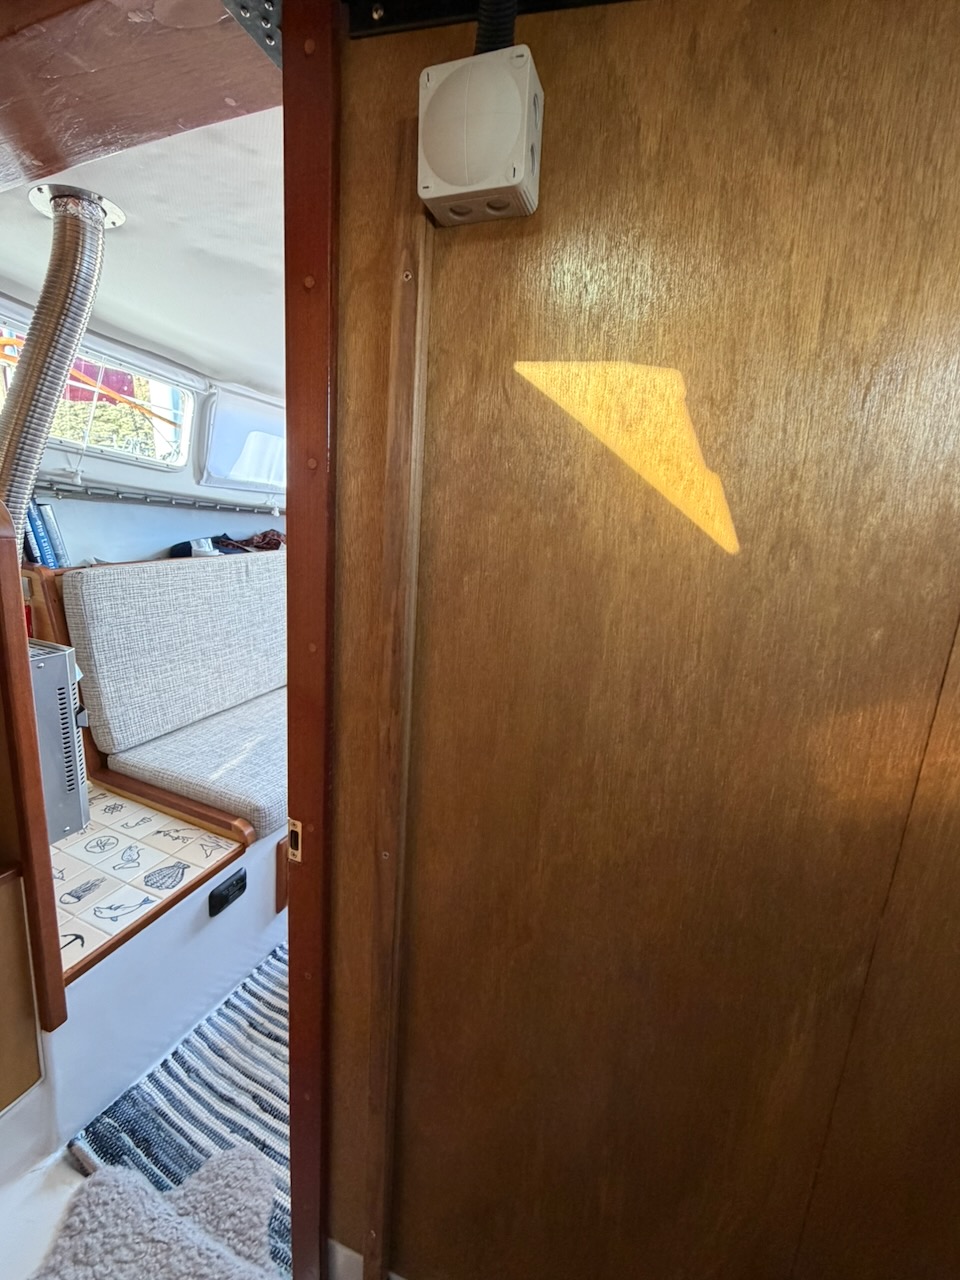
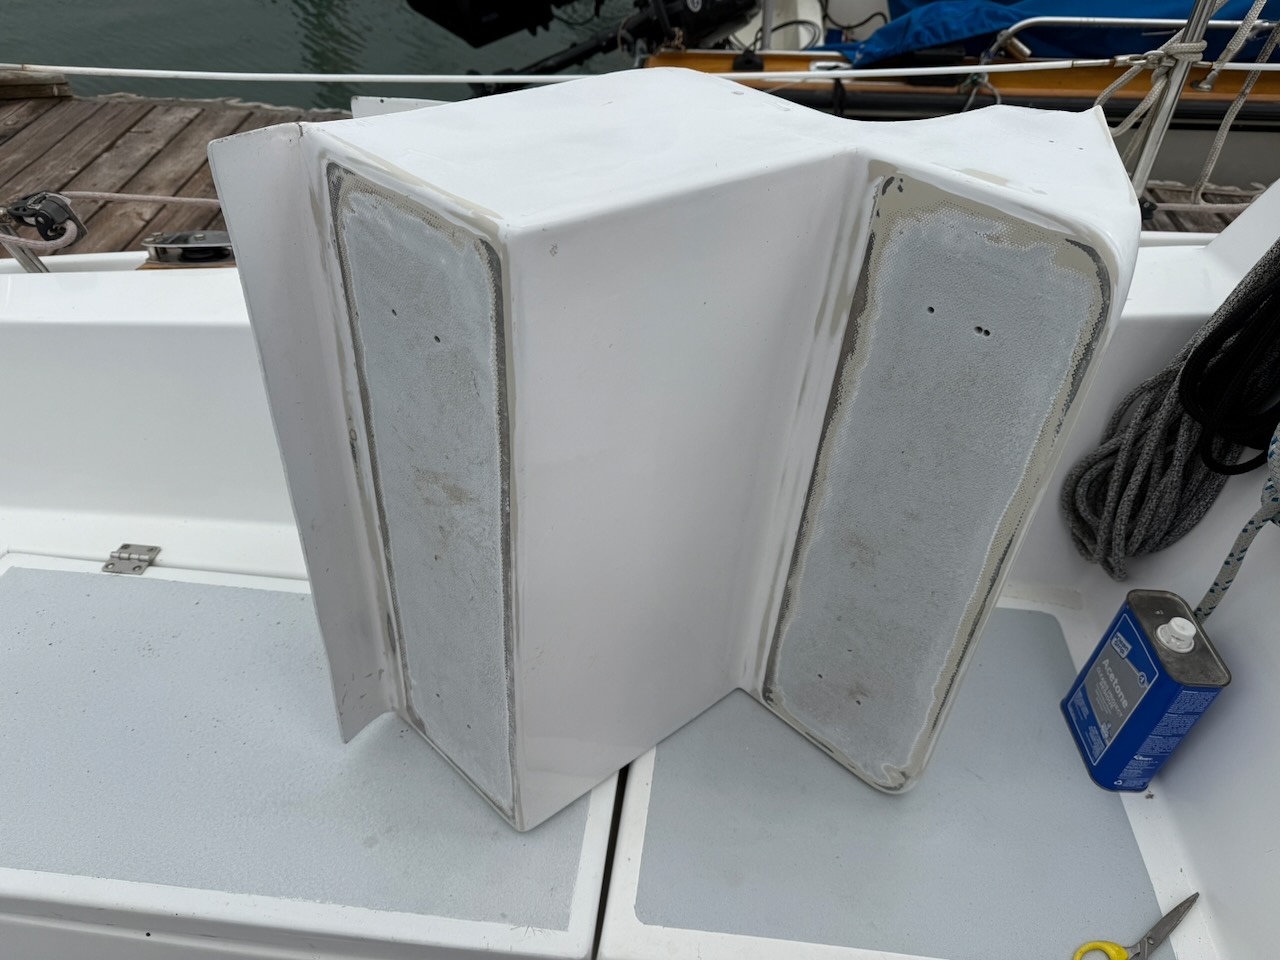
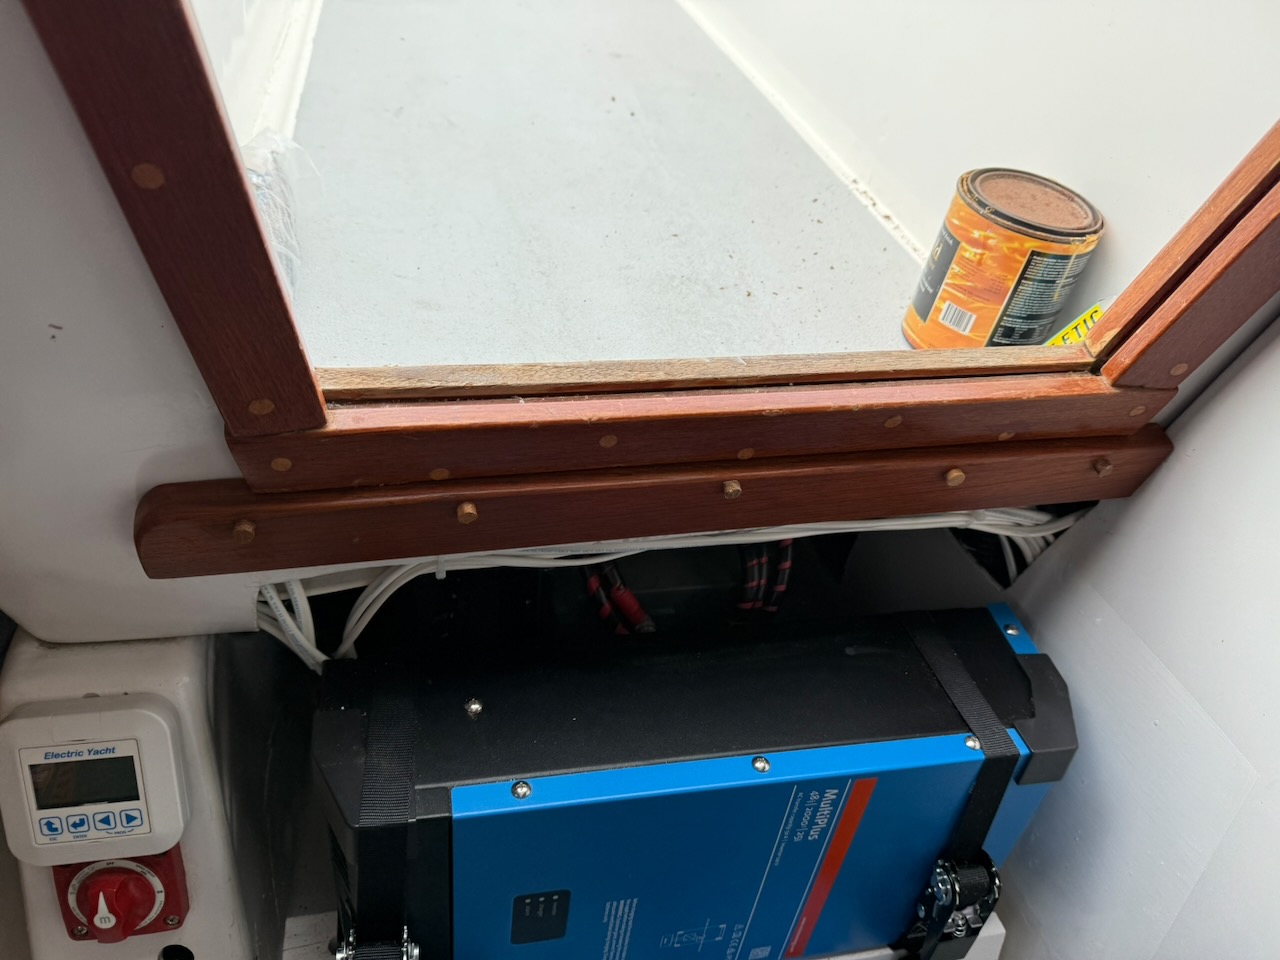
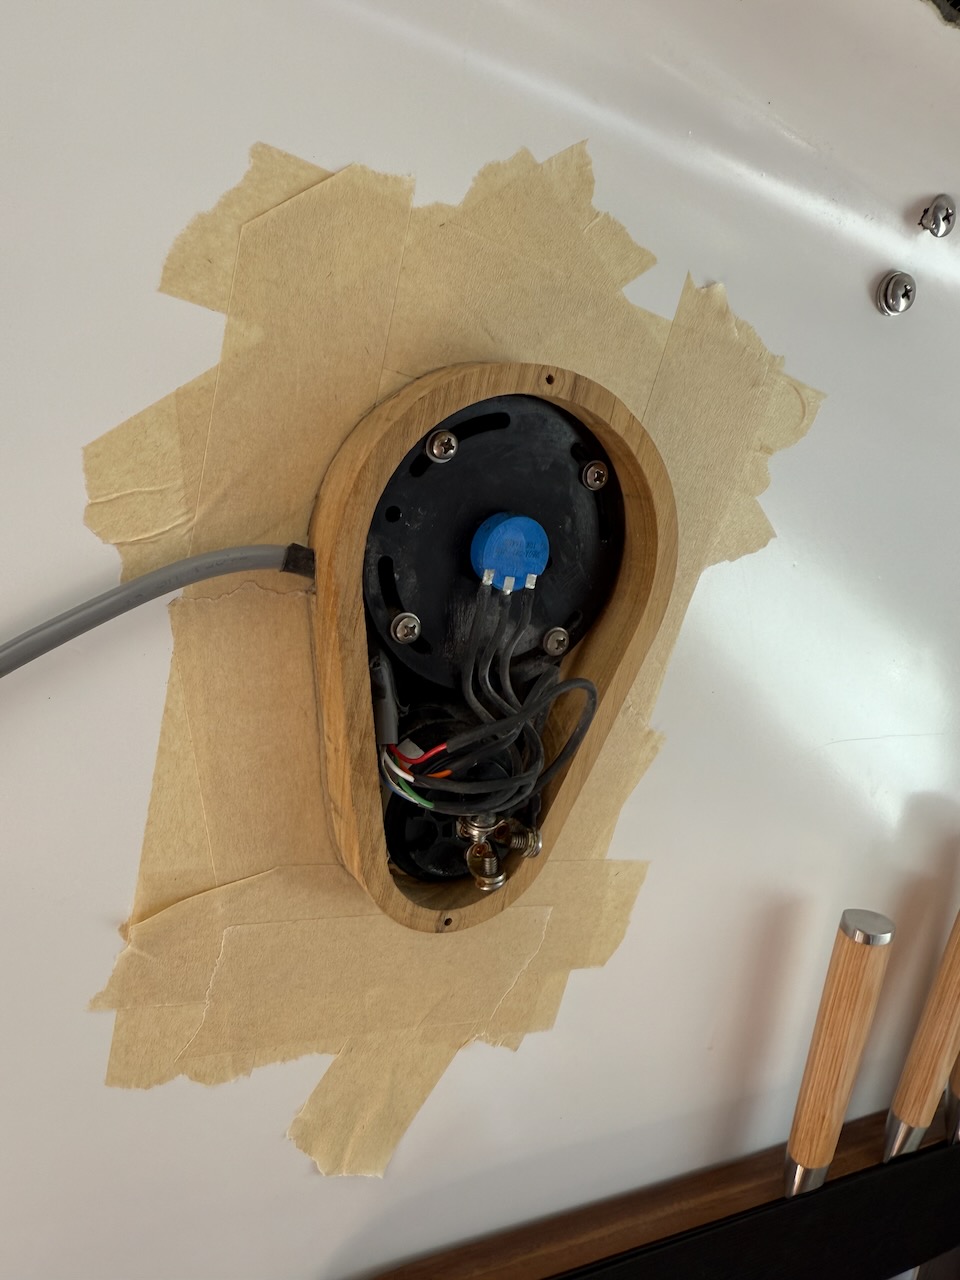
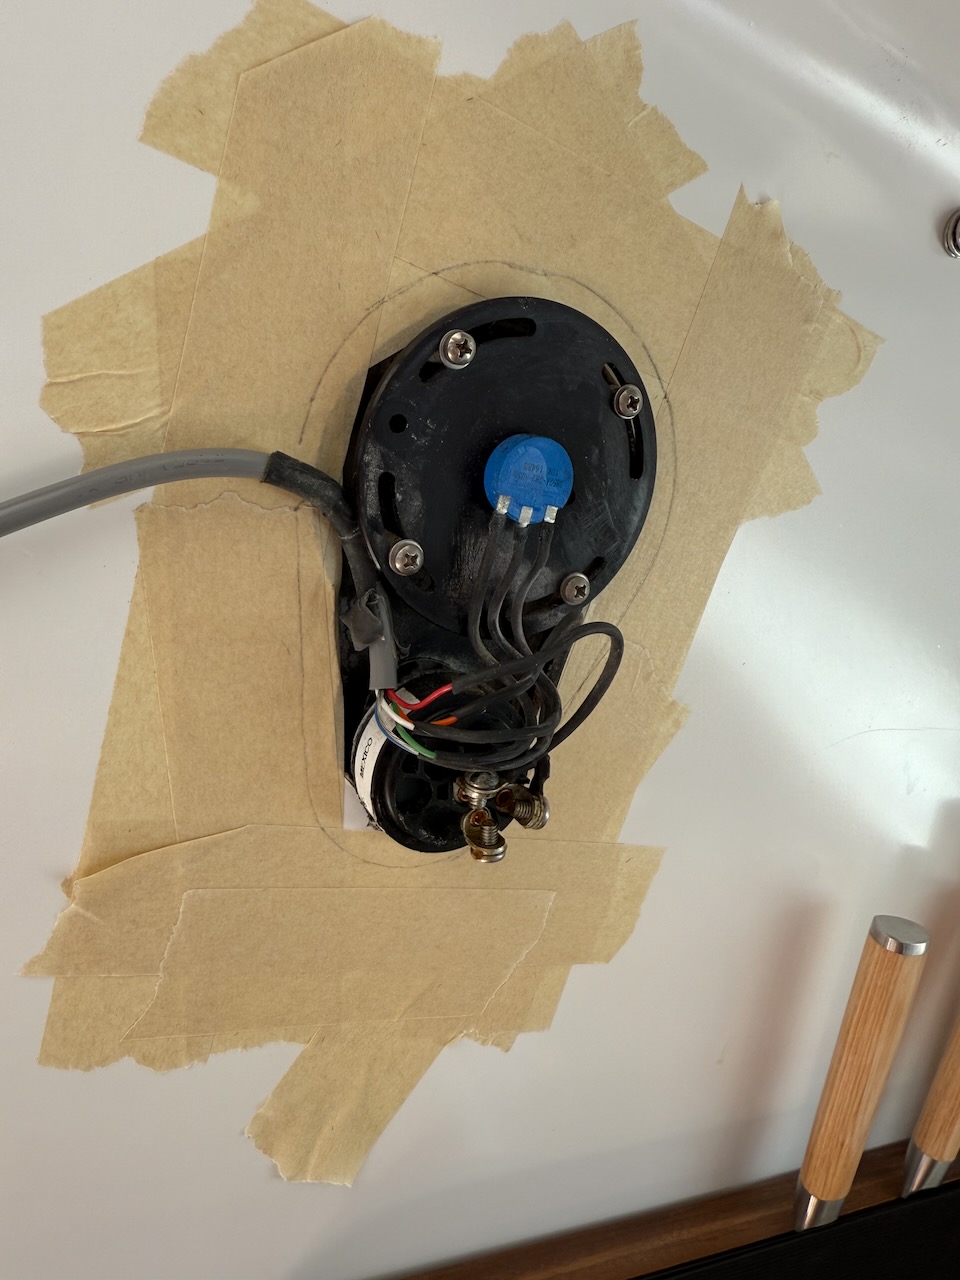
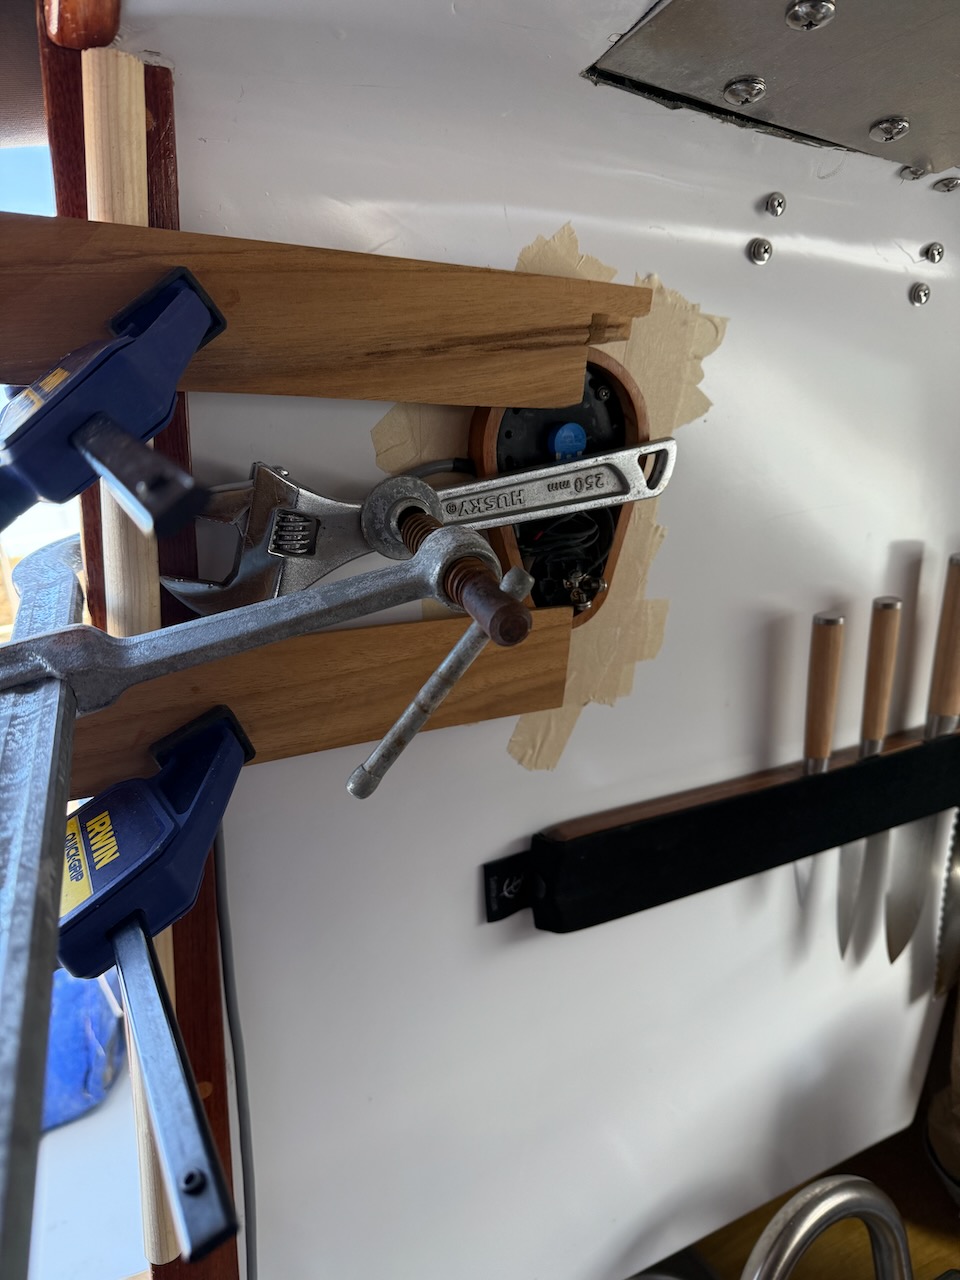
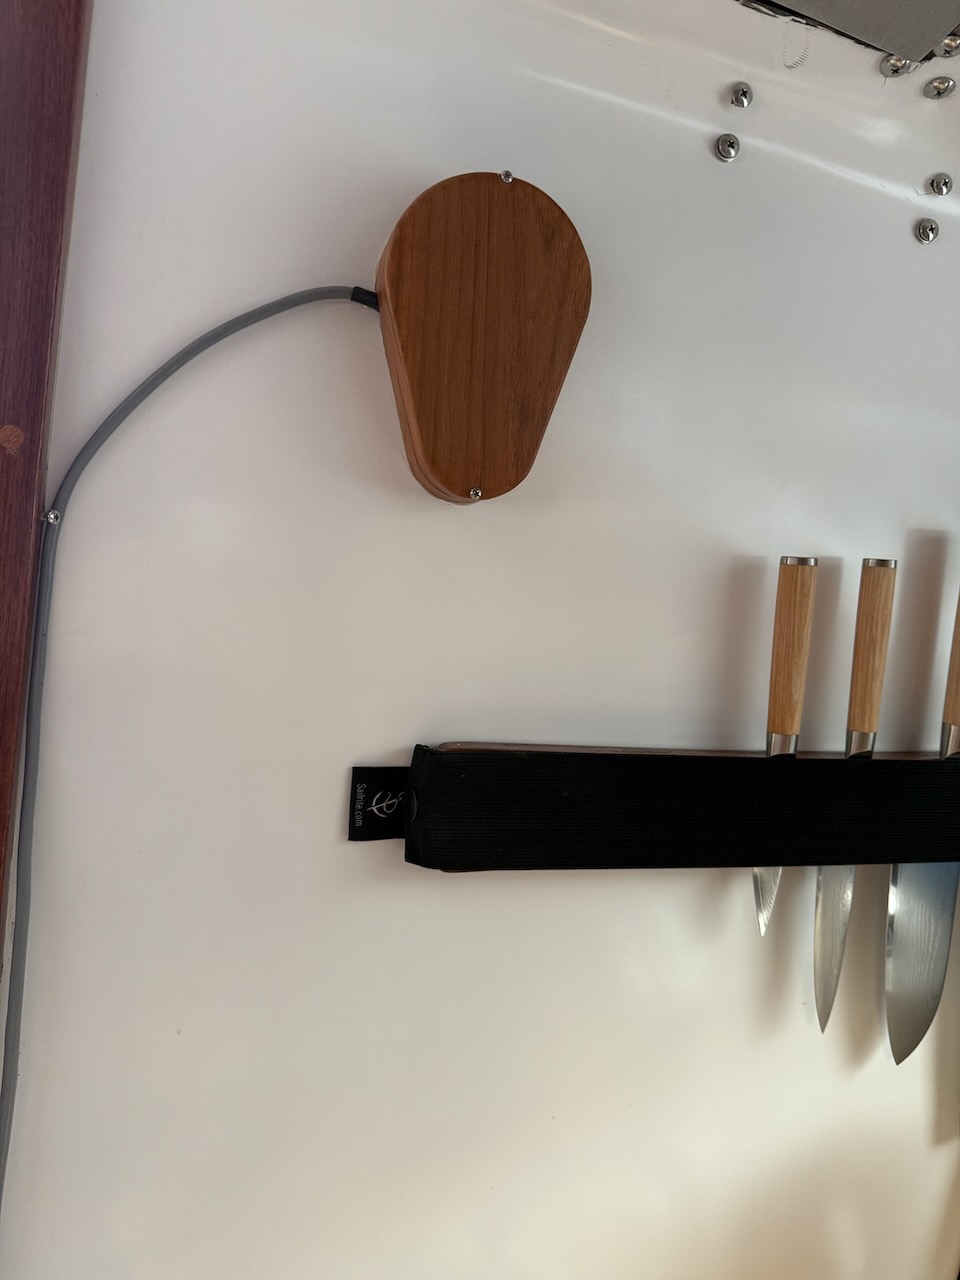
Conduit for mast wires

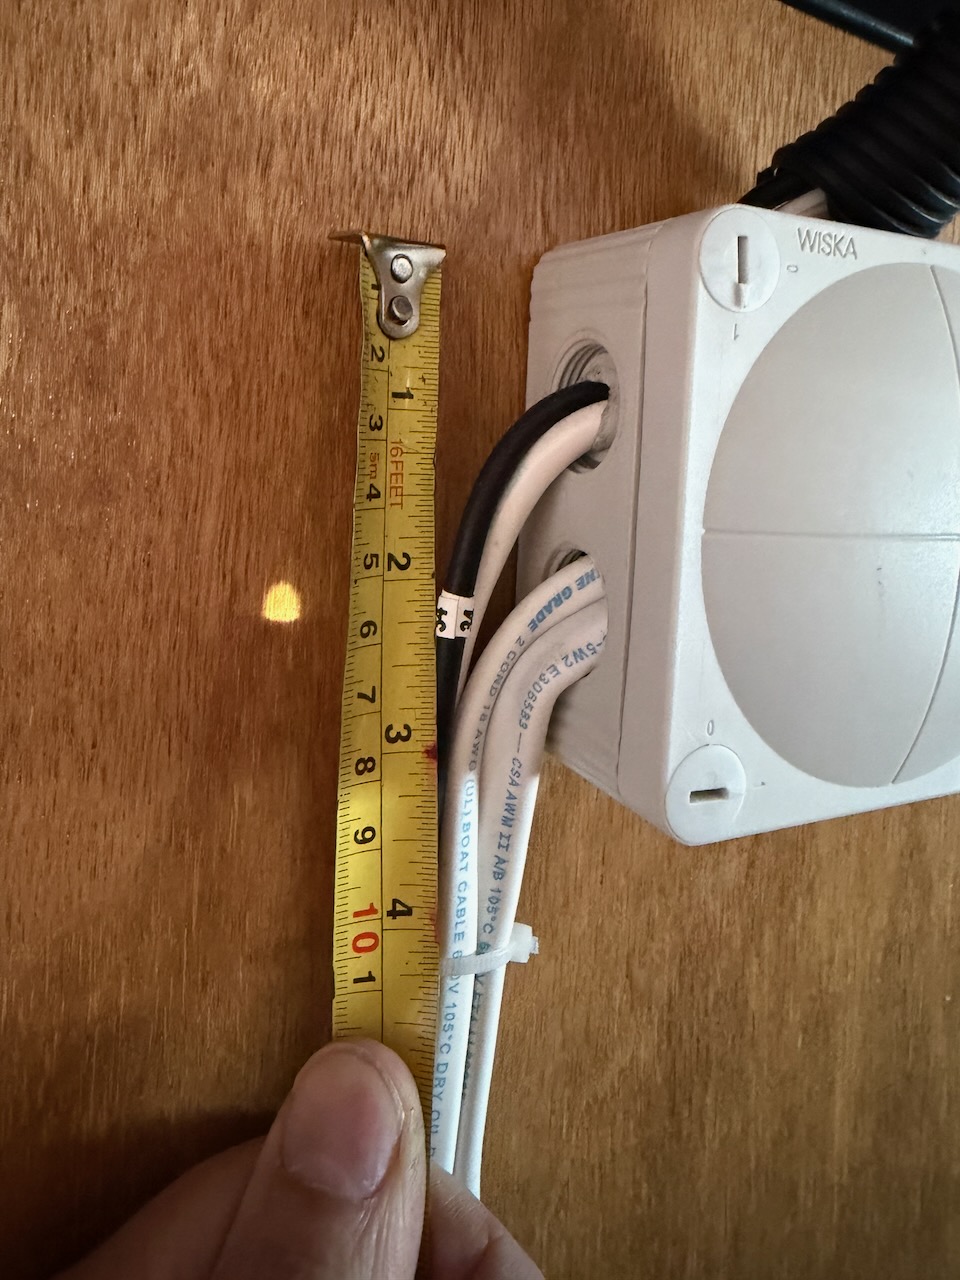
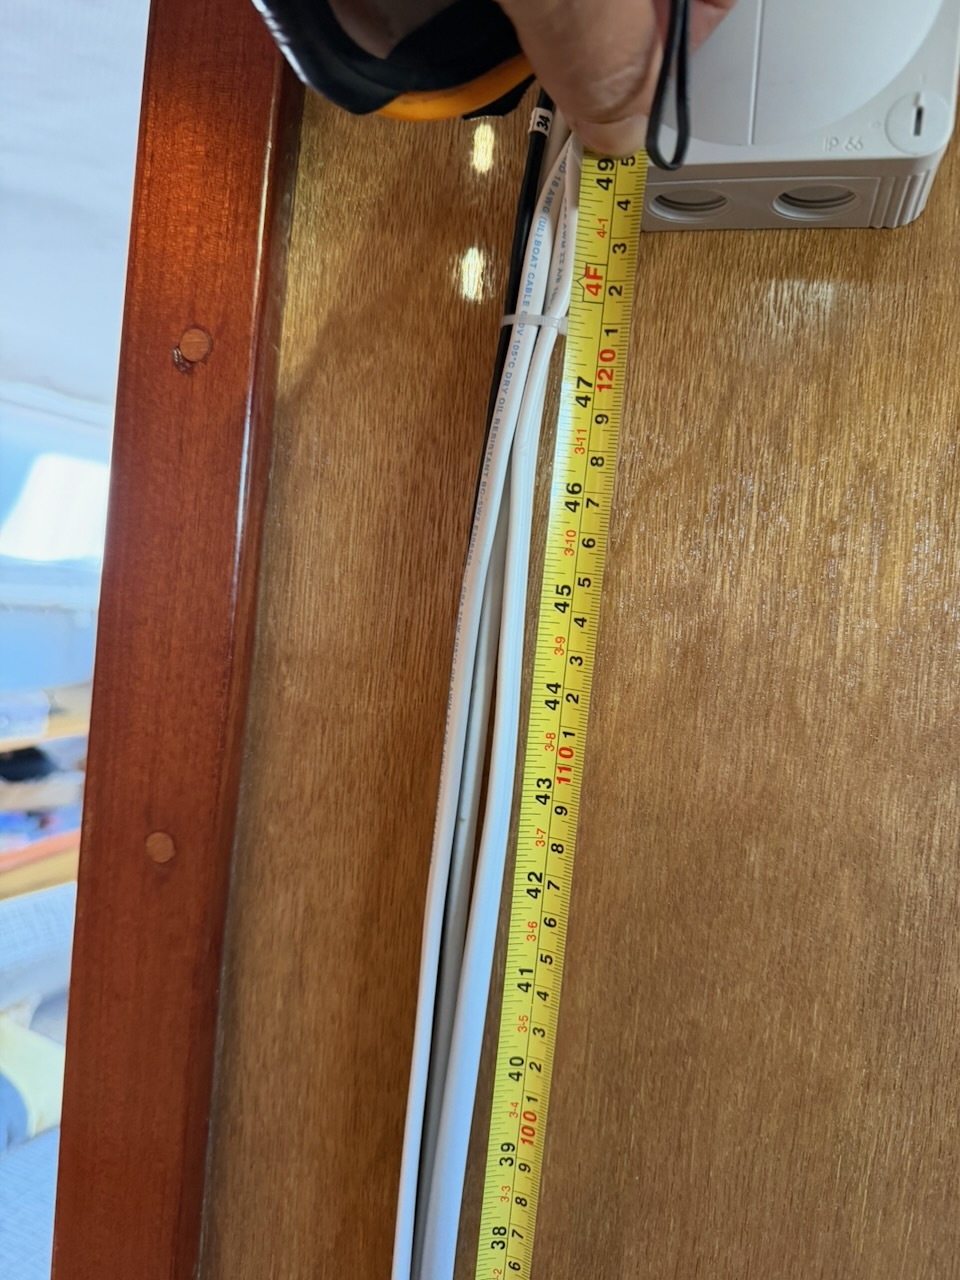
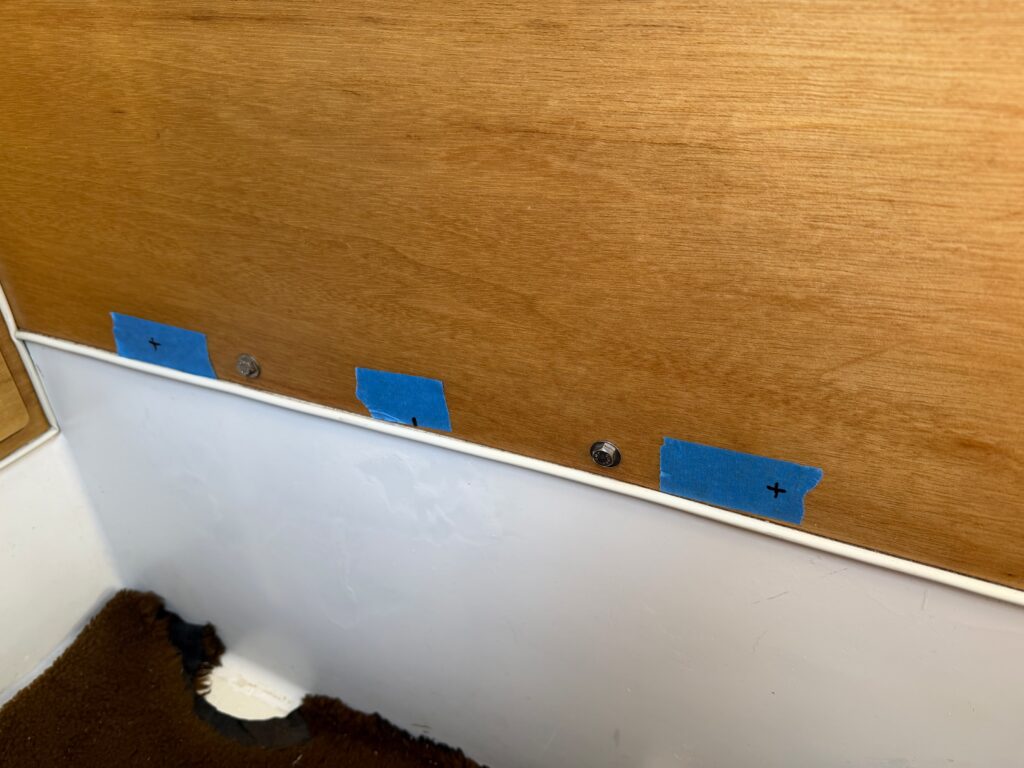
Made a custom cover for the wires running to the mast along the bulkhead in the head. They were bugging me for quite some time. Nice clean look now. Just did a dry-fit for now, will stain and finish the teak later.

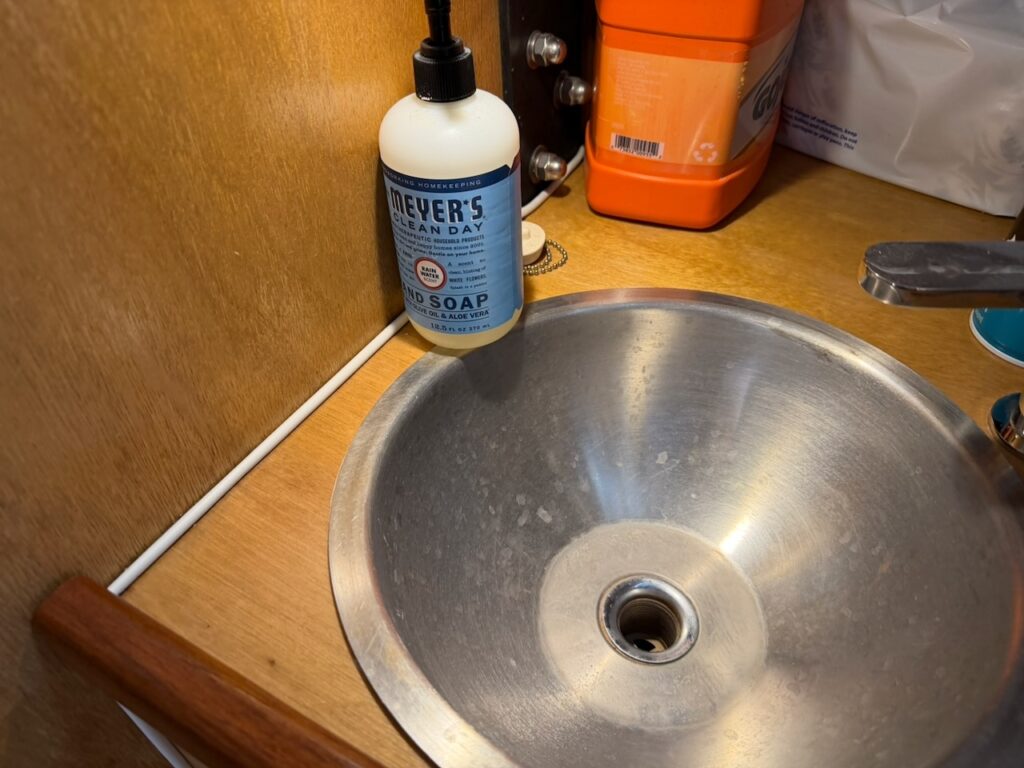
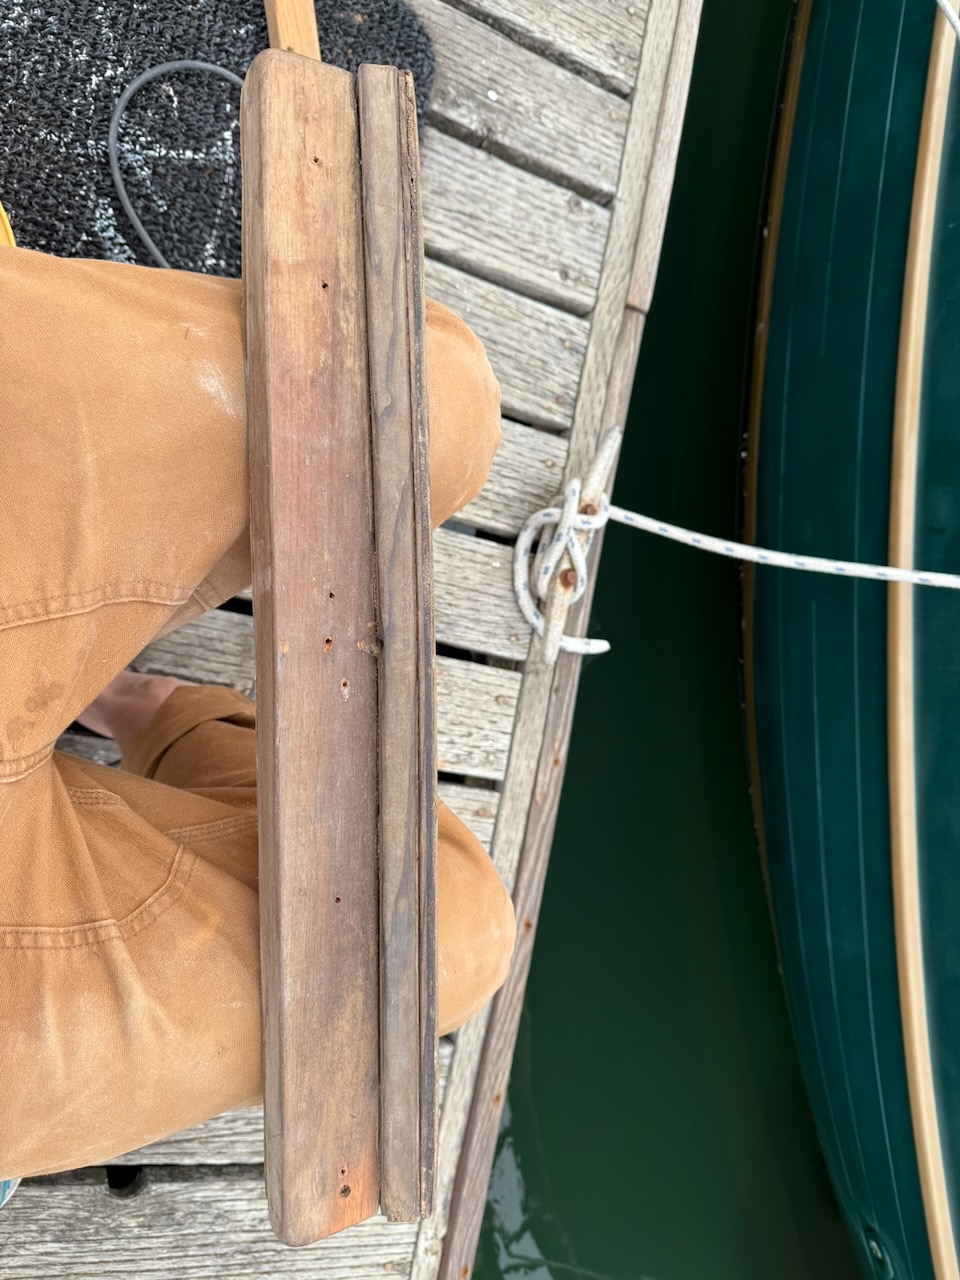
Secured head items

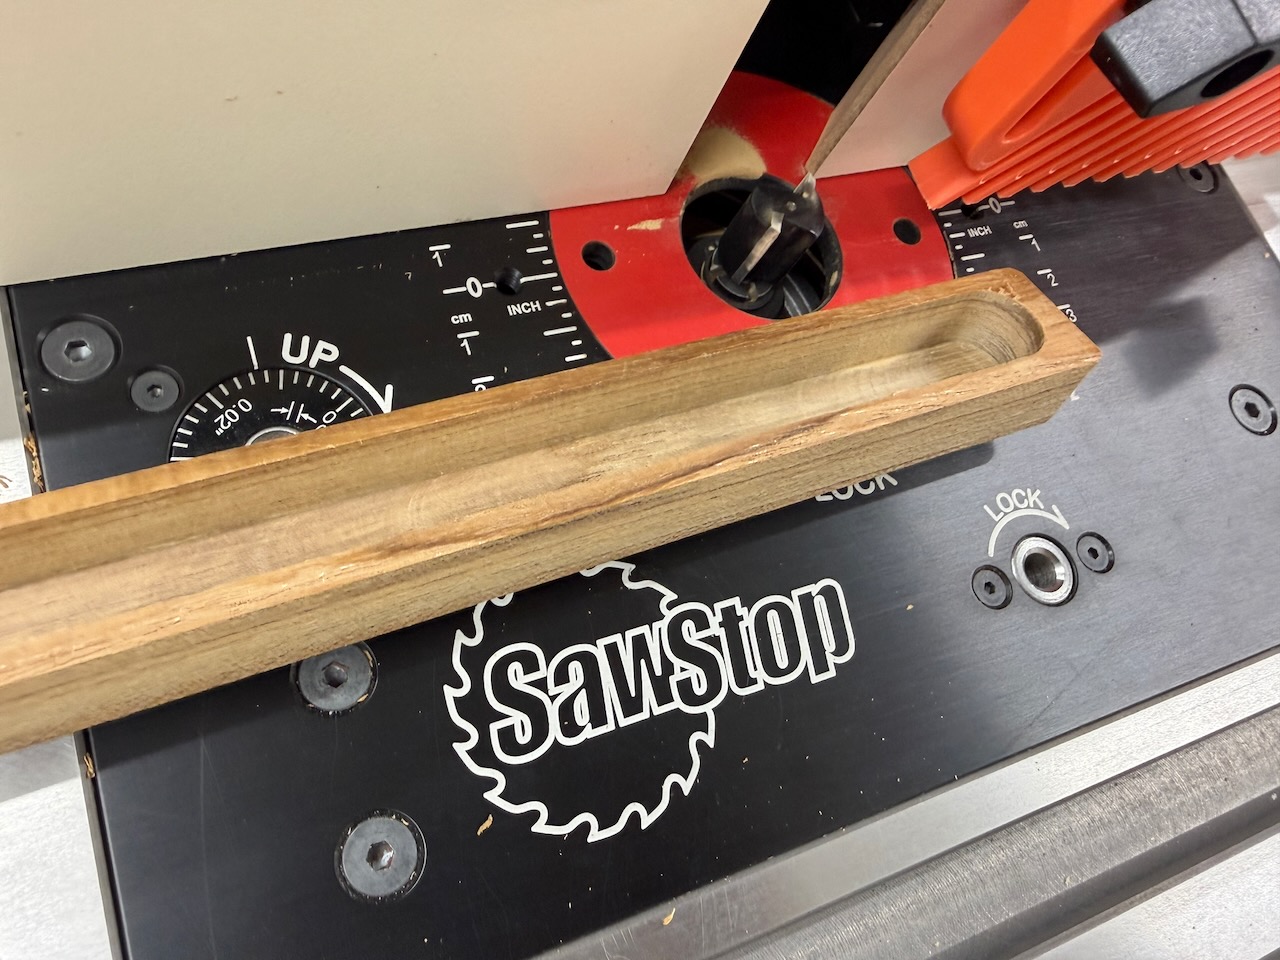
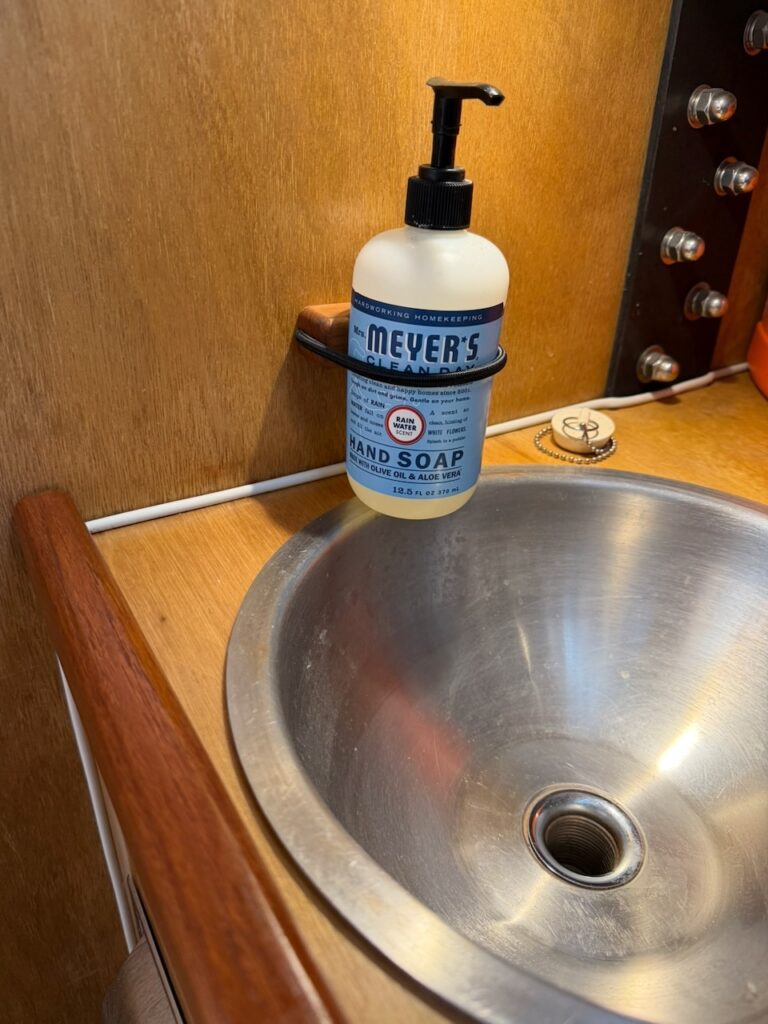
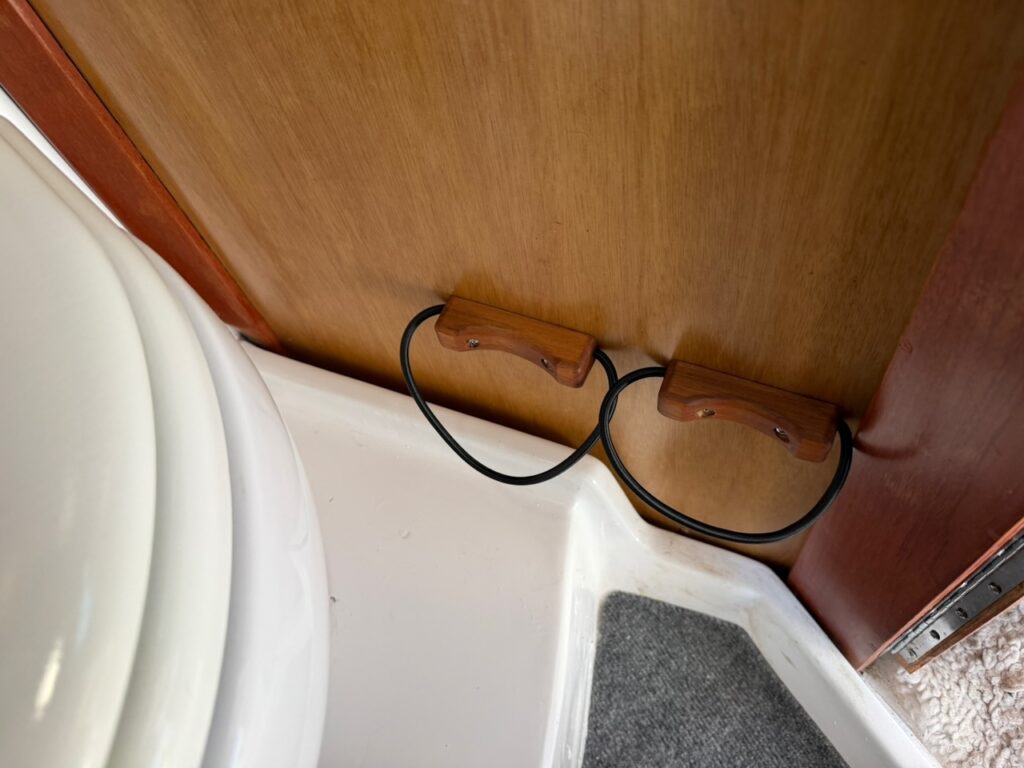
Made a few teak blocks with 3″, 4″, and 5″ curves to properly secure head fixtures.

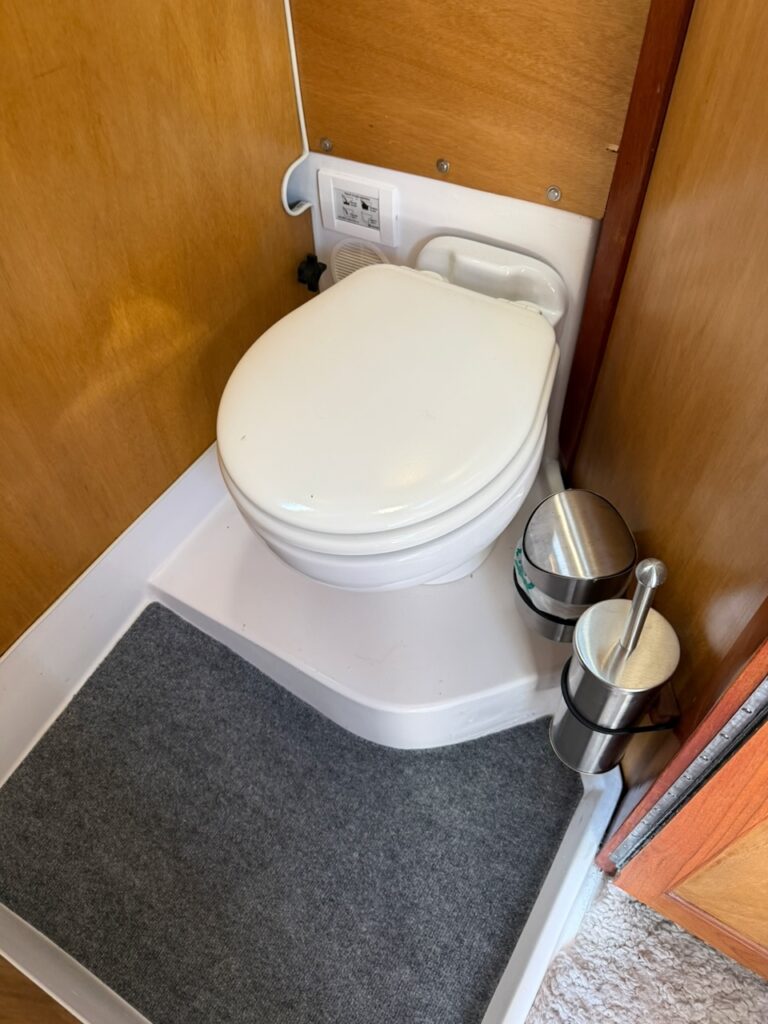
My previous mounting method that used magnets at the bottom of these didn’t pan out. They weren’t secure enough, especially underway. This new approach is much more secure and gets them more out of the way.

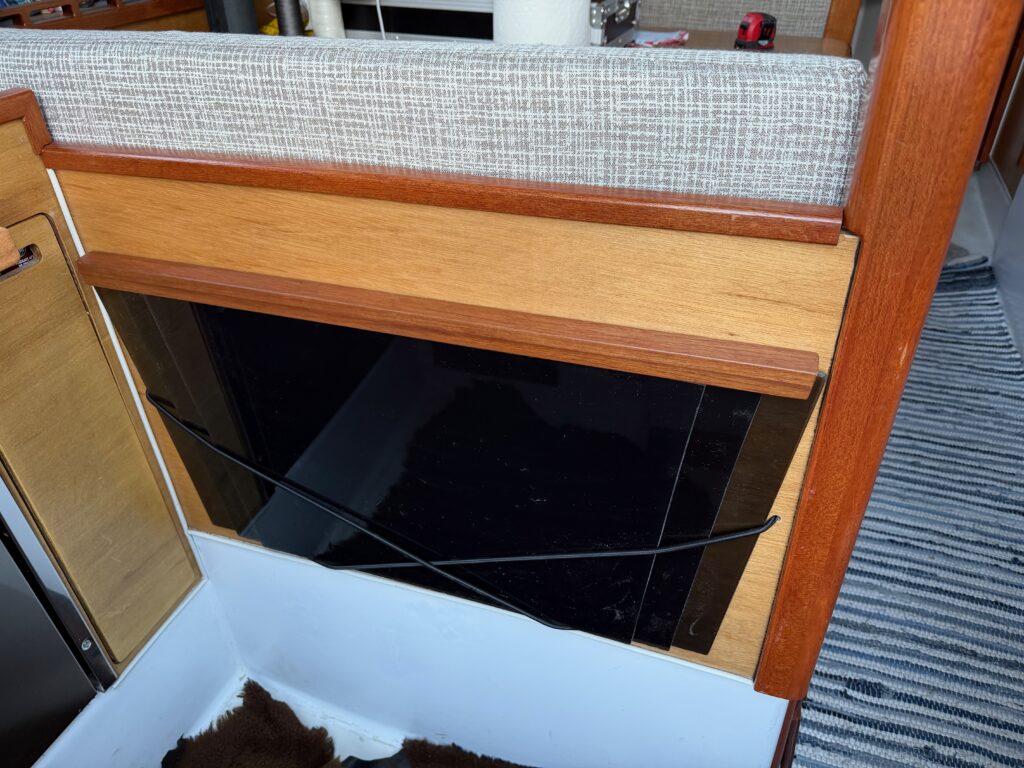
Companionway panels

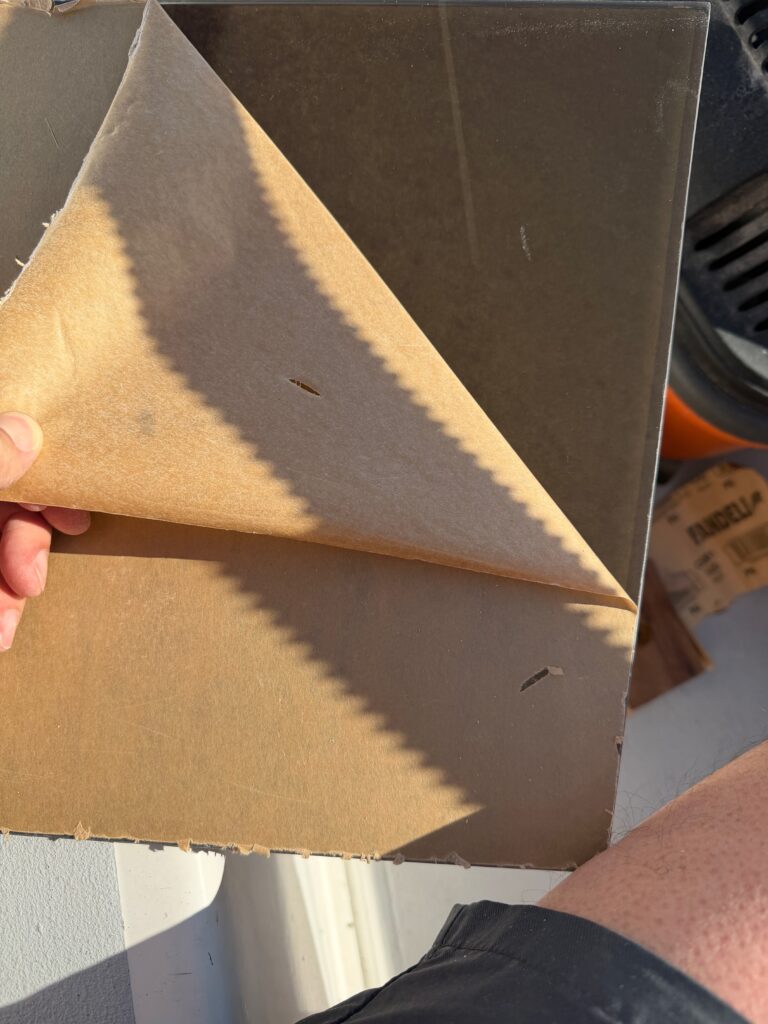
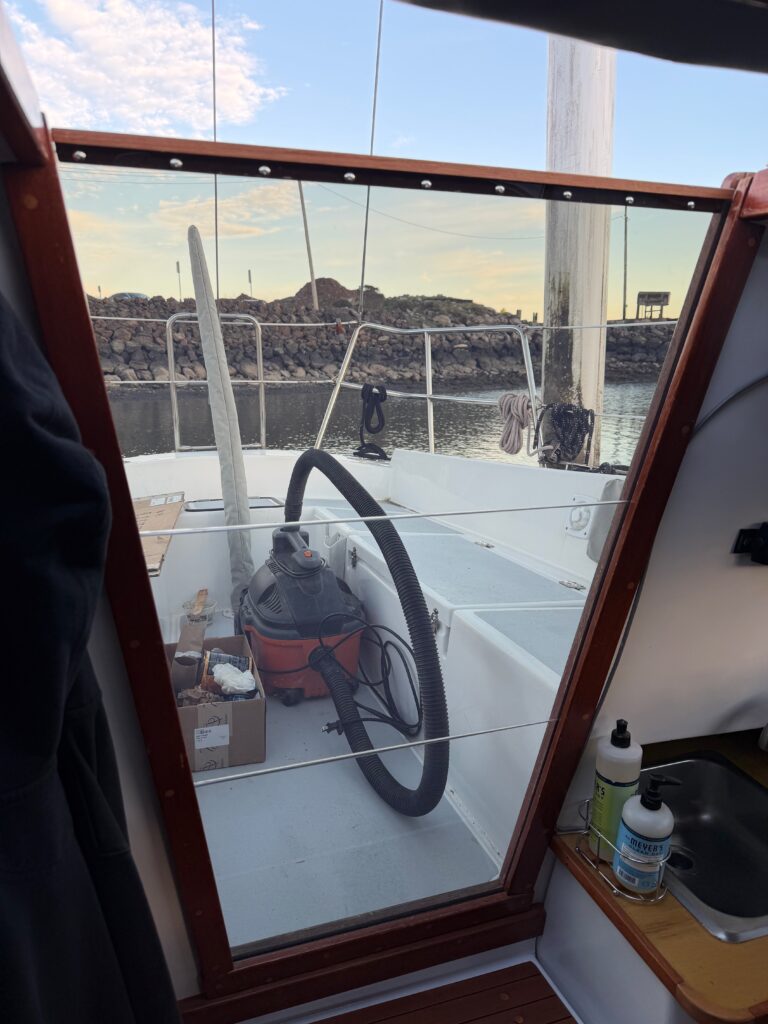
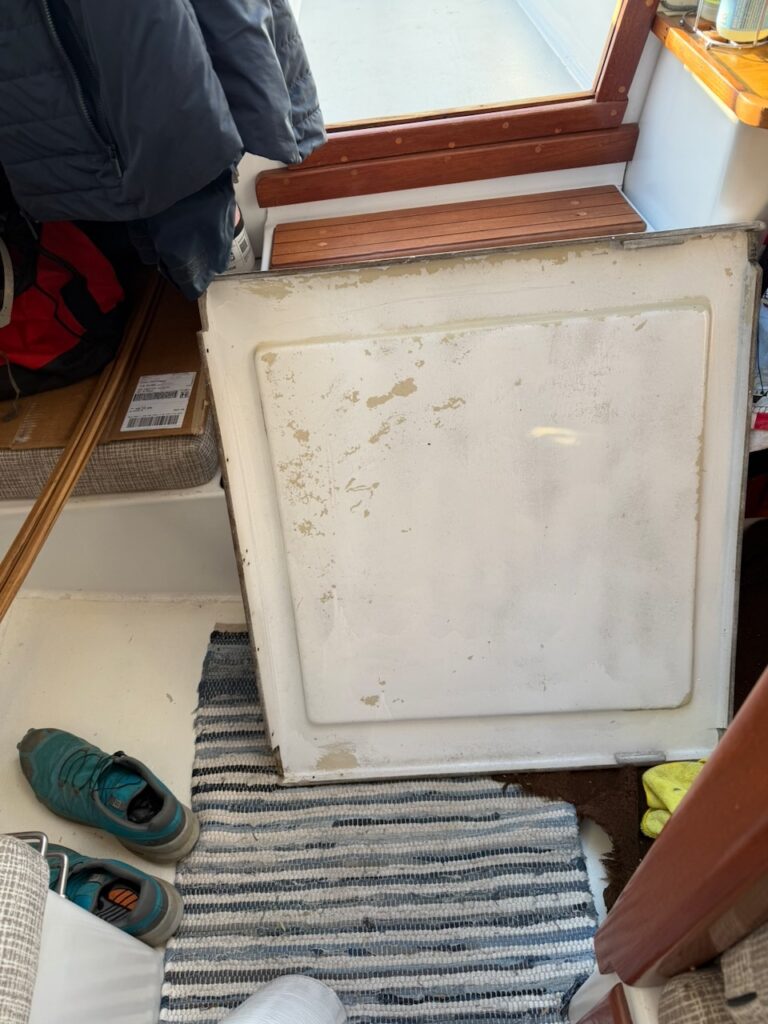
Knocking off another item from the 2026 TODO list: companionway panels. I had them cut out awhile back but the fit was not good. Today I finalized the fit, removed the protective film, made teak trim for the top panel.

I also created a nifty storage place so the panels are out of the way while I’m on the boat. I sized the panels so the first two are smaller than the top one and they all fit together. Super happy with the result!
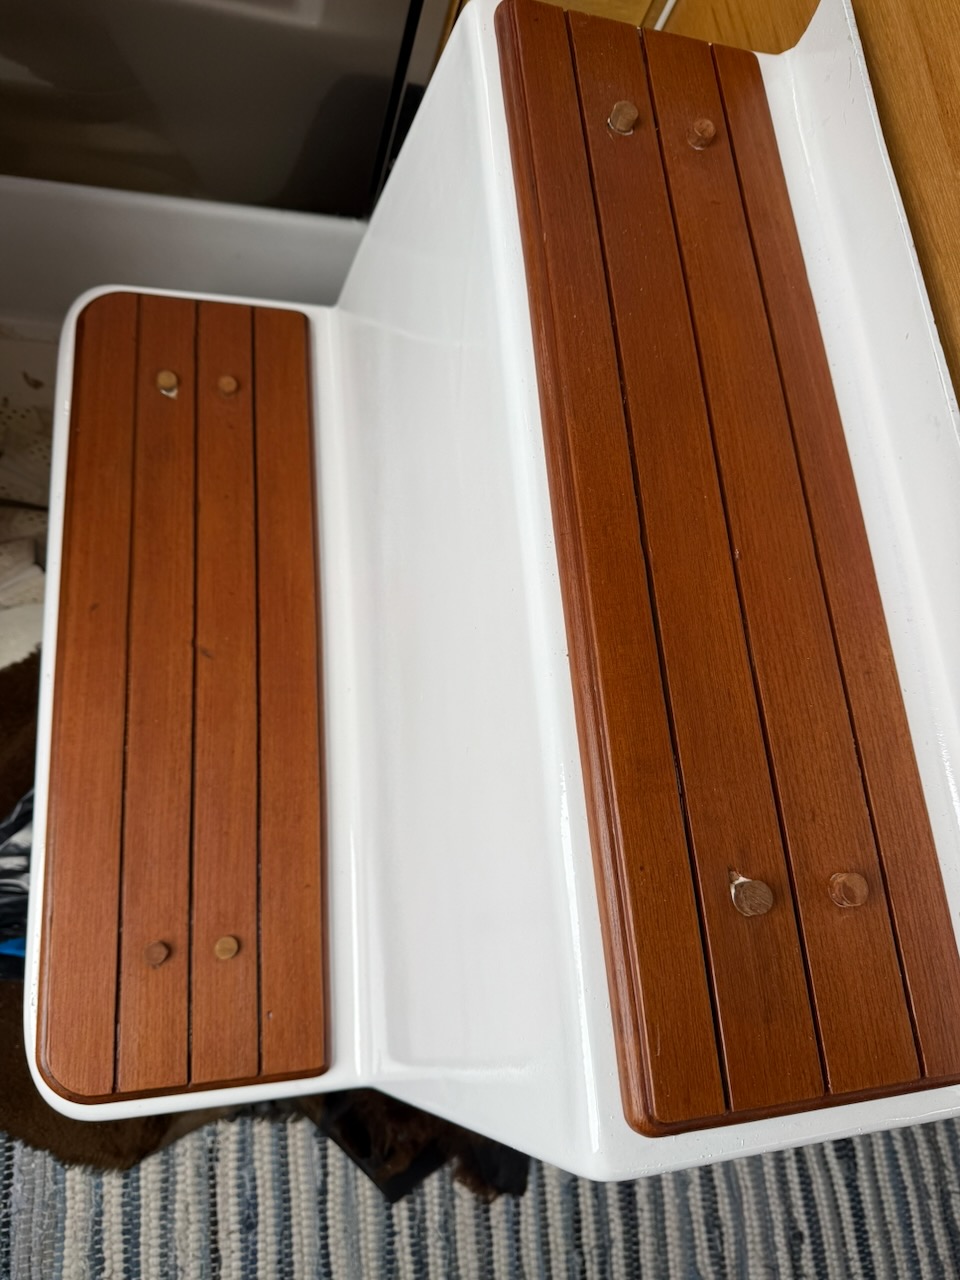
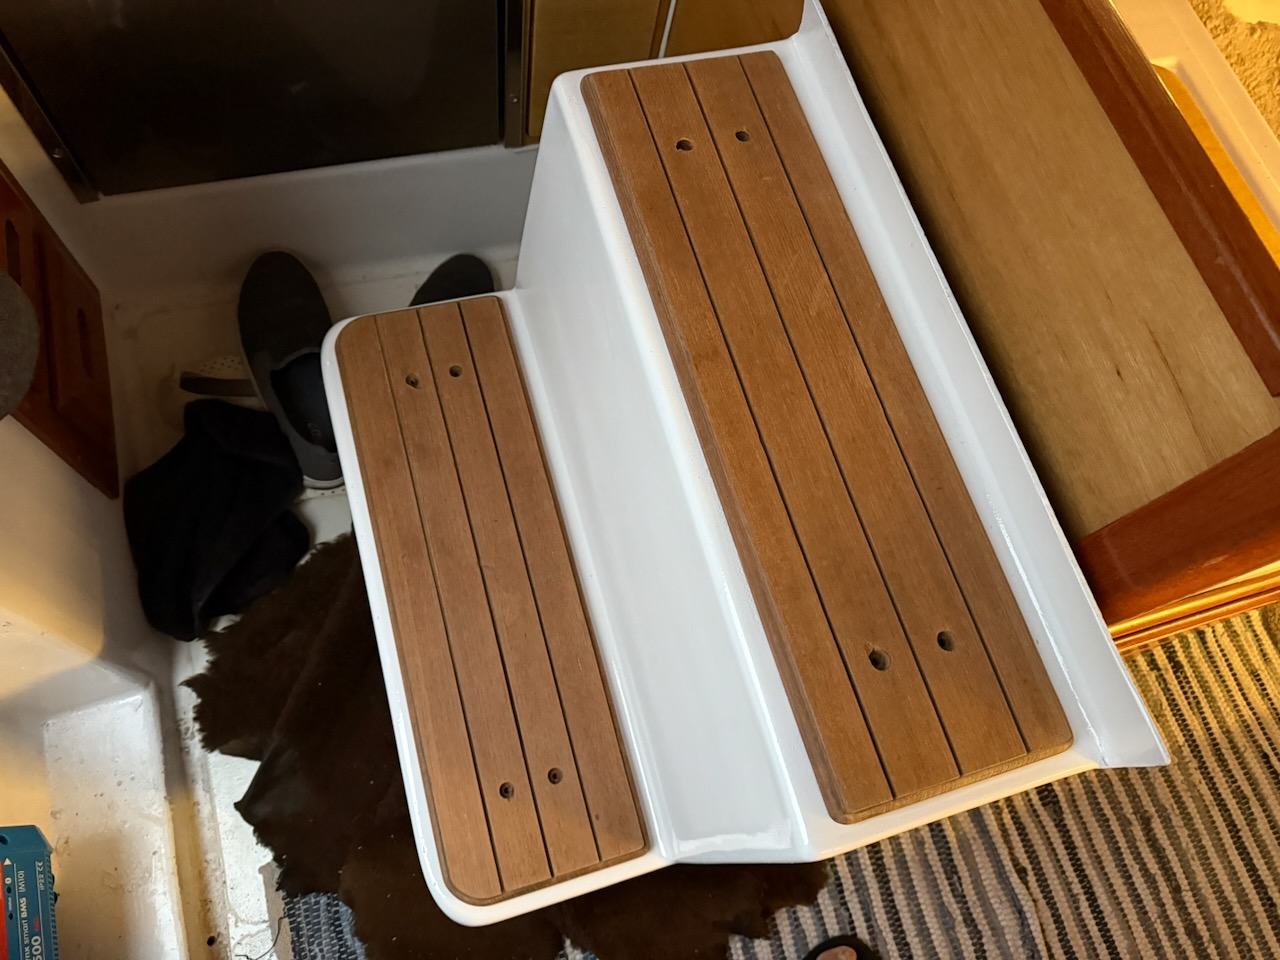
Refinished the companionway stairs

The time has come to bring the stairs up to new standard. The bastard painters I hired back in 2017 painted the tops of steps with nonskid exterior paint (for the interior stairs!). And of course that is exactly where beautiful teak is supposed to go. Had to be fixed.

Started by sanding down that crap

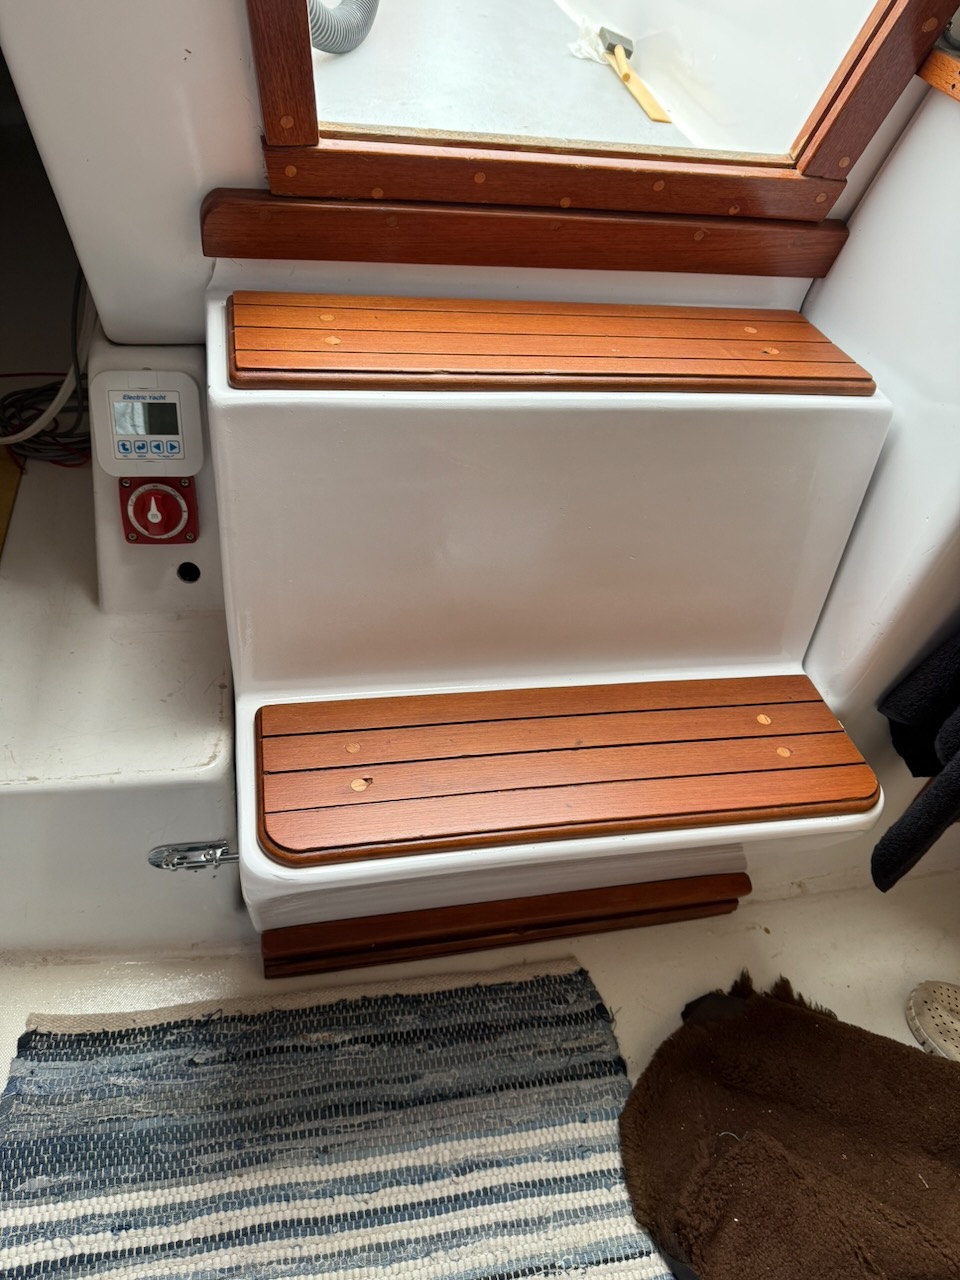
After spray-painting the sanded stairs back to uniform white, I turned my attention to teak, which was sanded, stained, and varnished

Then, the teak was mounted with bungs and final coat of varnish added on top.

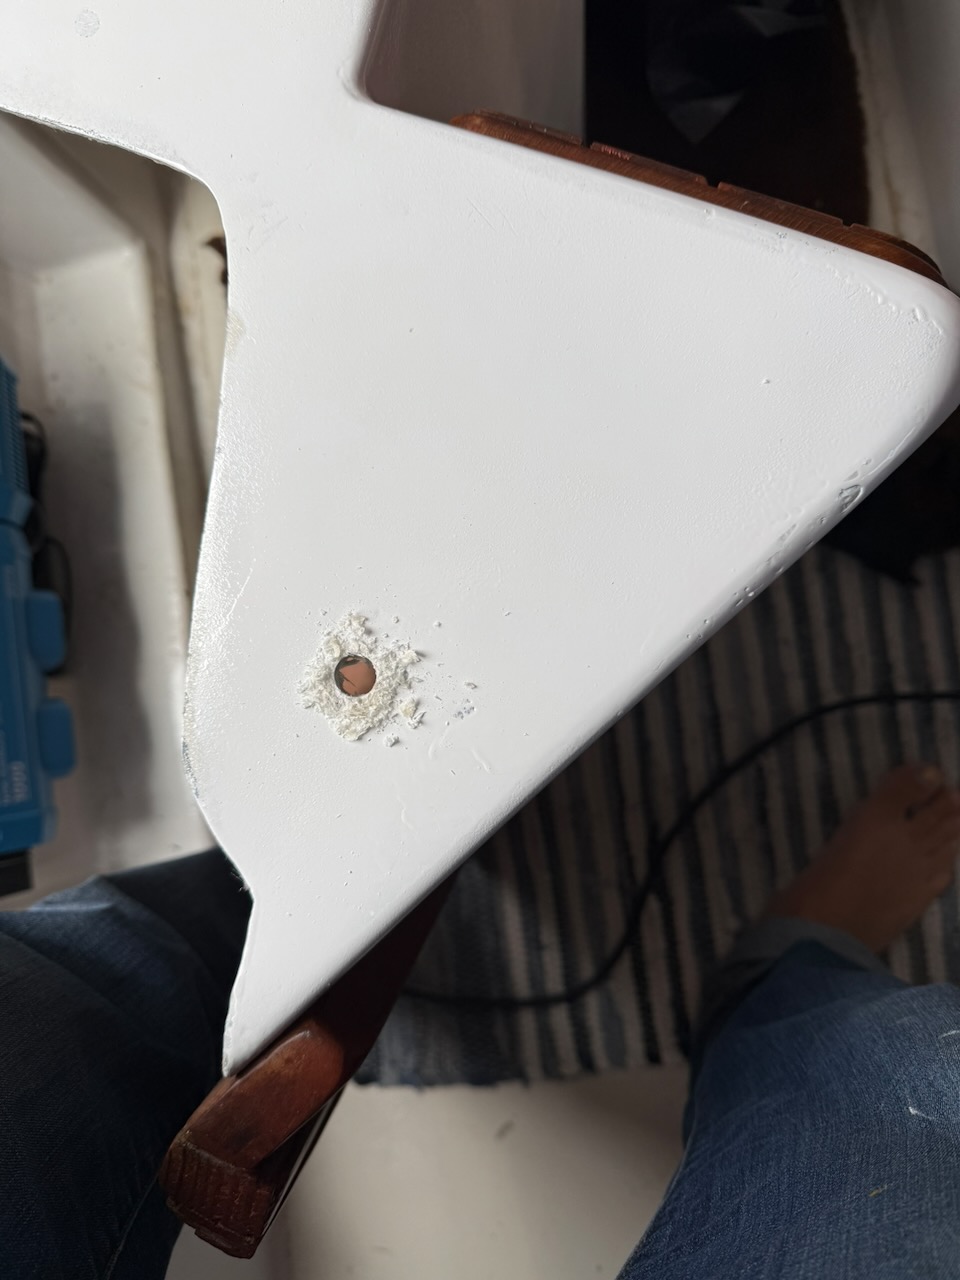
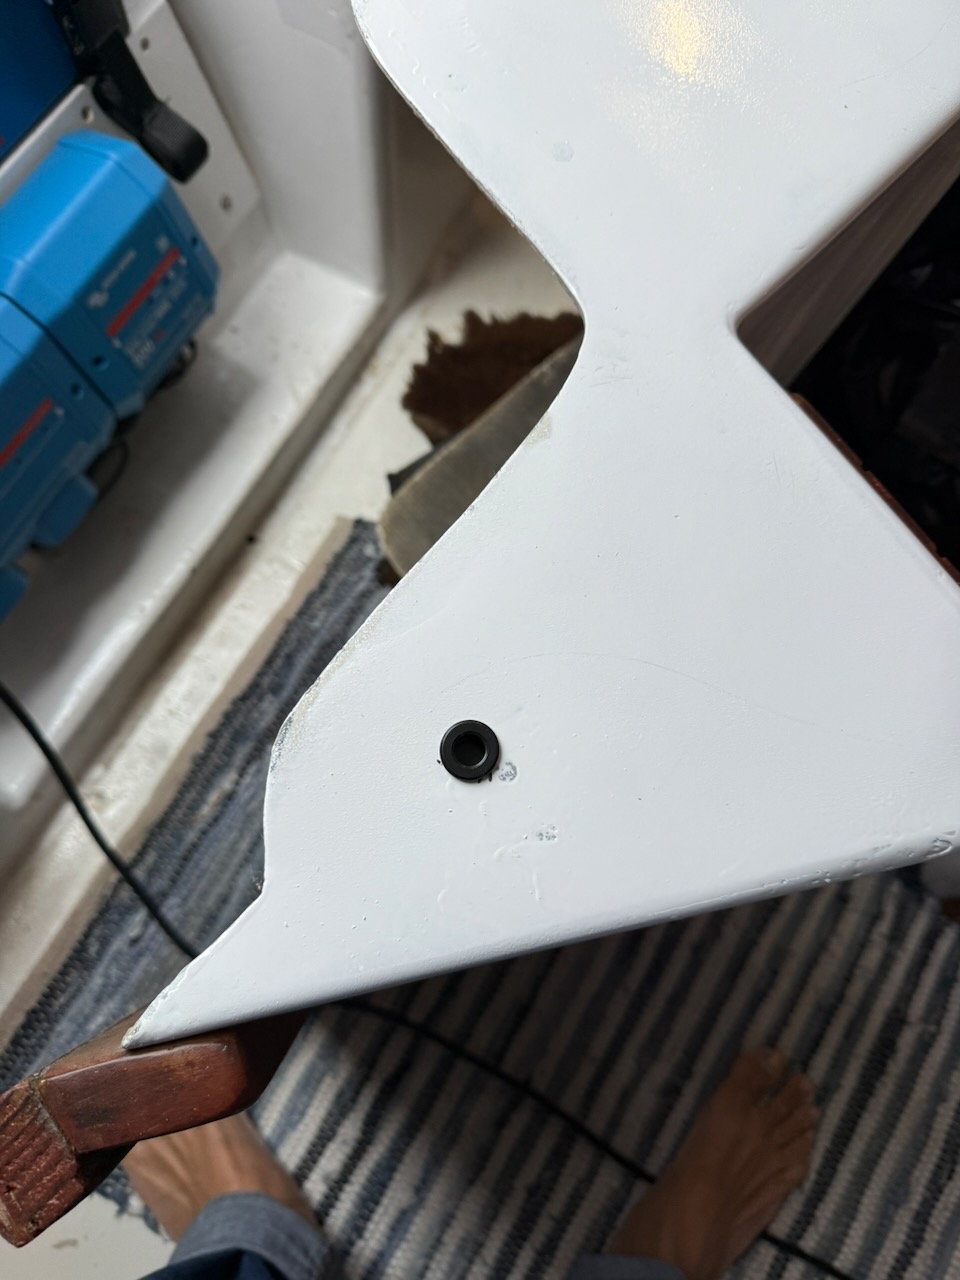
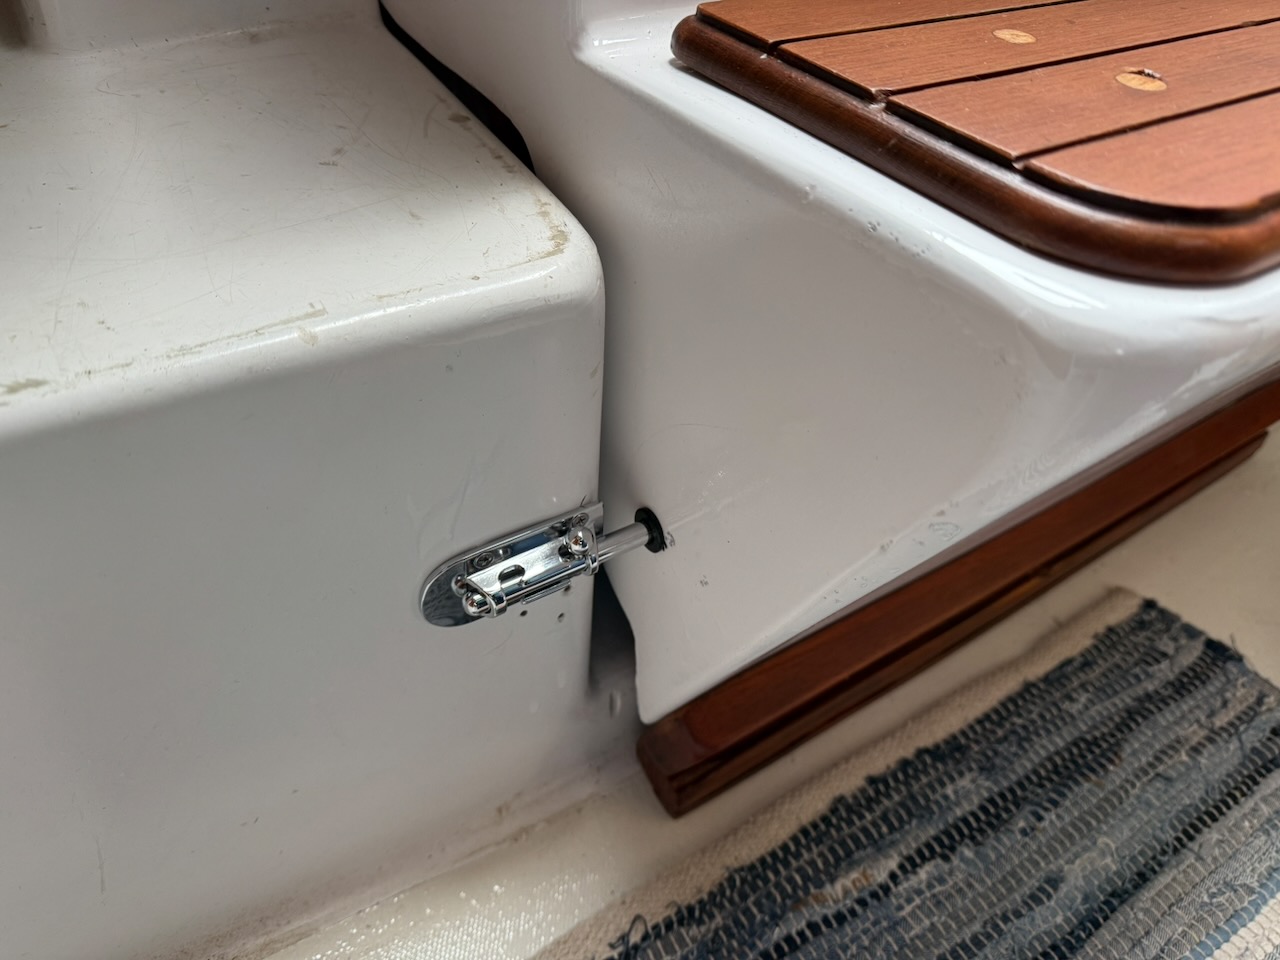
Finally, I put in two new latches to secure the steps in place.

Super happy with the result!

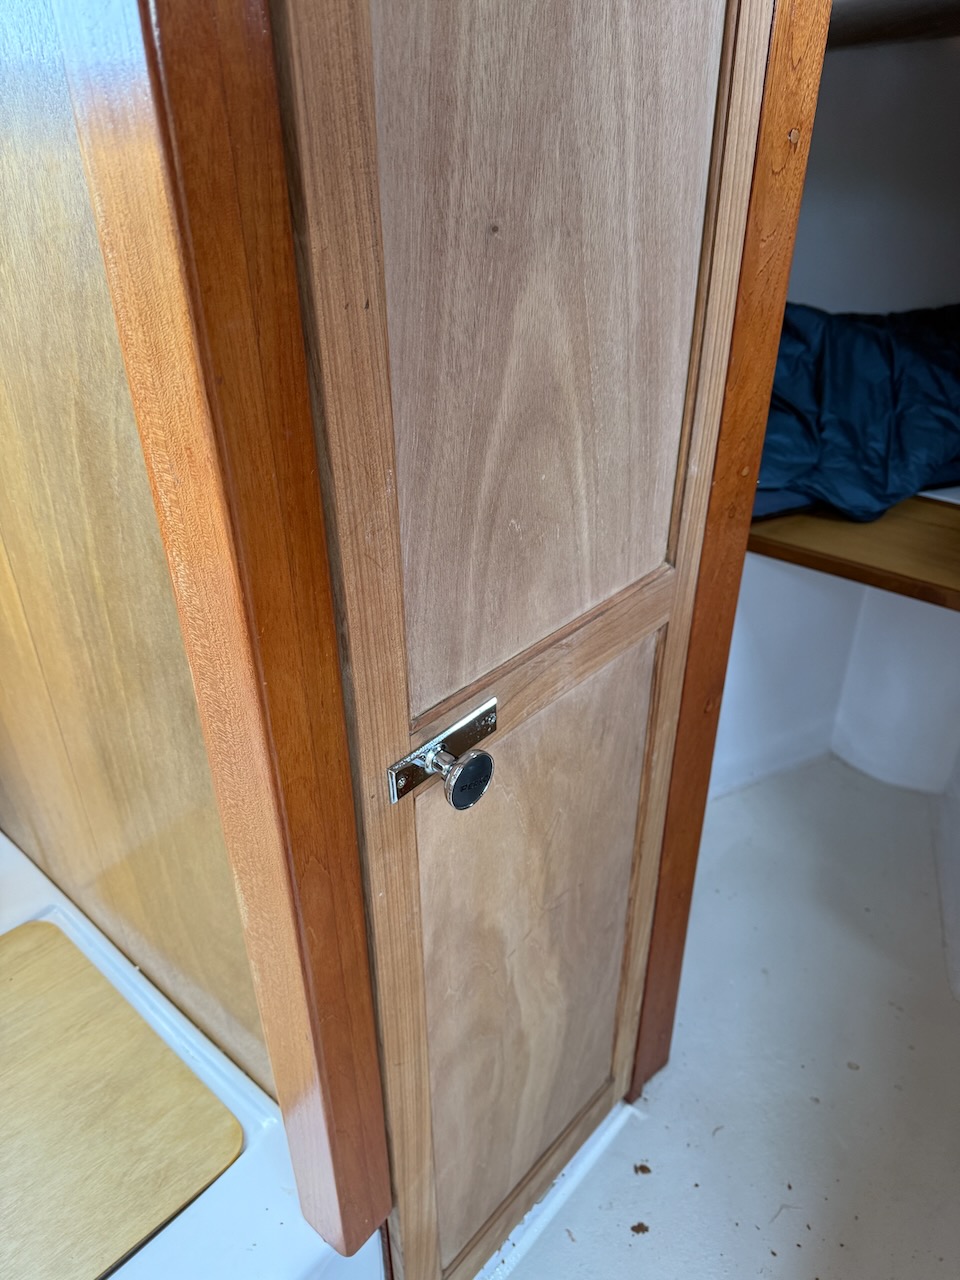
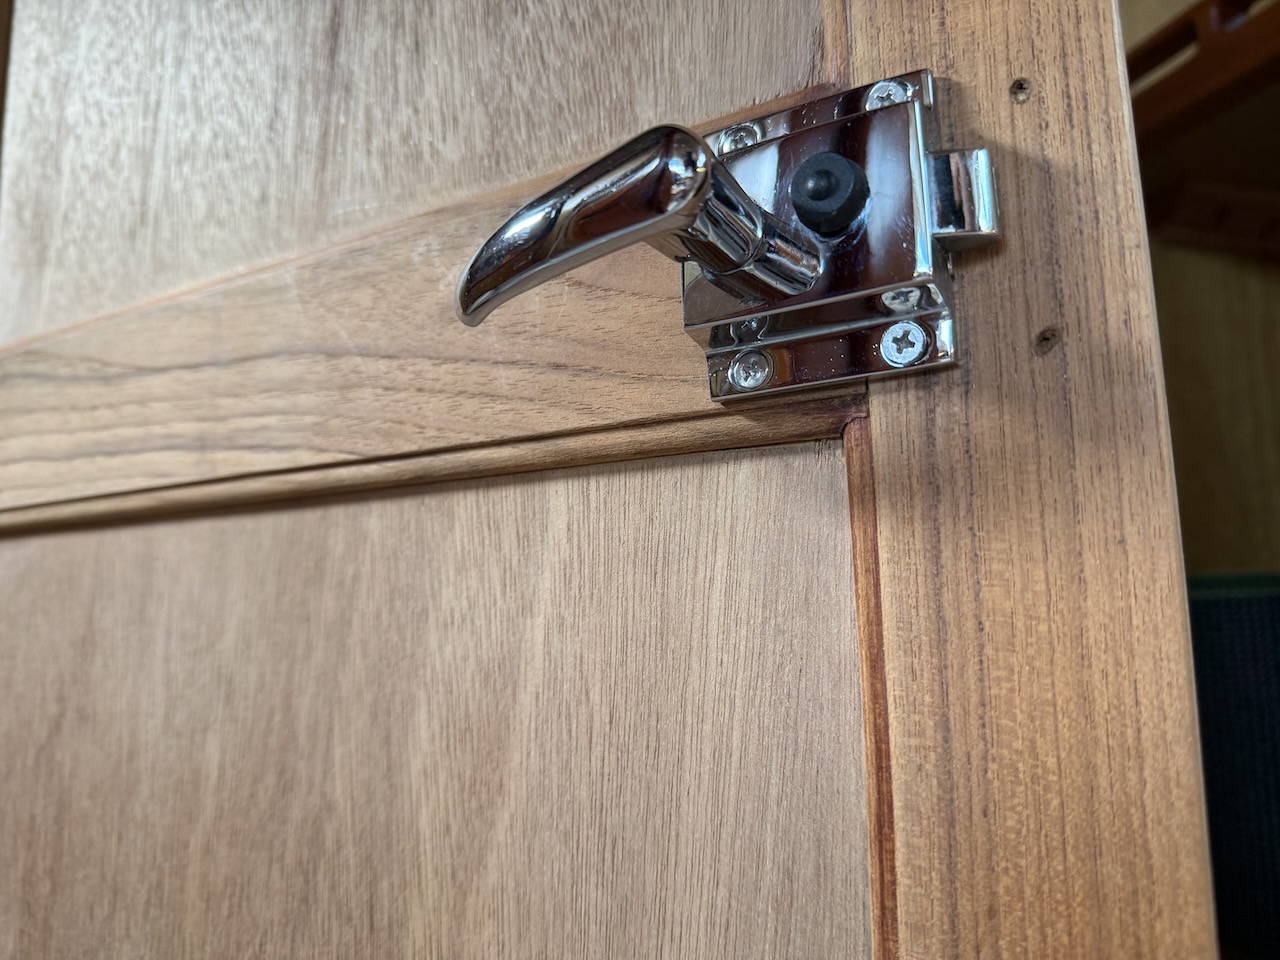
Trimmed head door and dry fit lock

After I rebuilt all the panels, I haven’t yet tried to put the door back. Surely, it did not fit. Had to trim both sides of the door and make a small lip to hide the hinge. I was also lucky to find the original door handle and lock, which I installed into the new slimmer door. Will need to hide old hole with some small teak bangs.