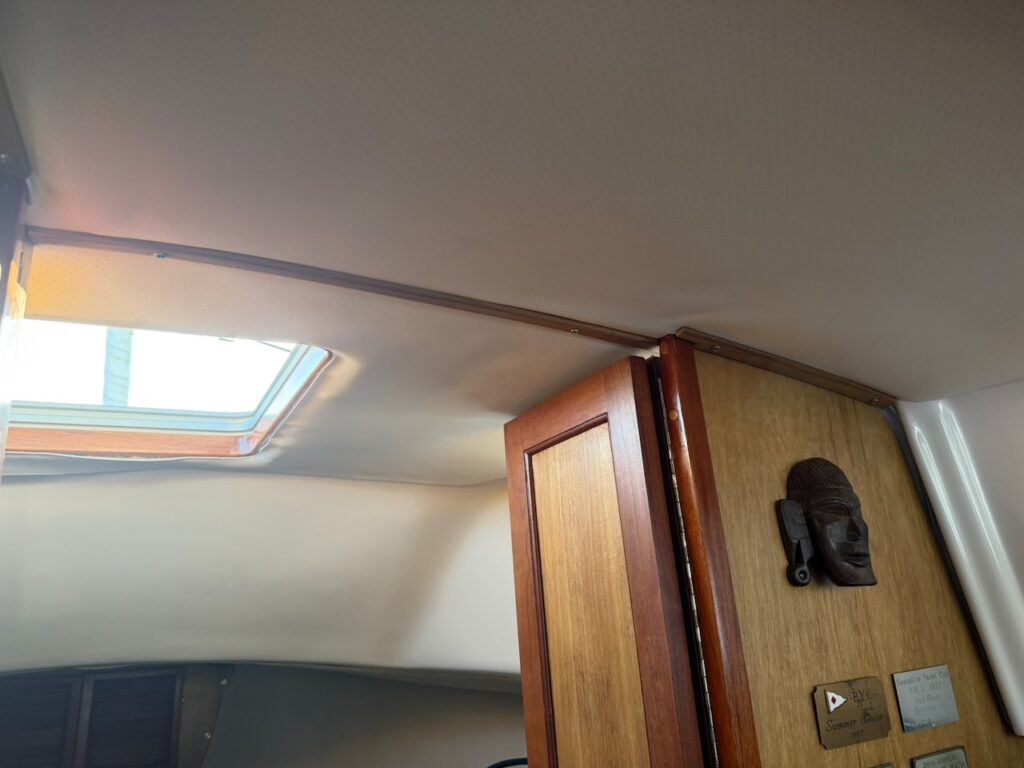
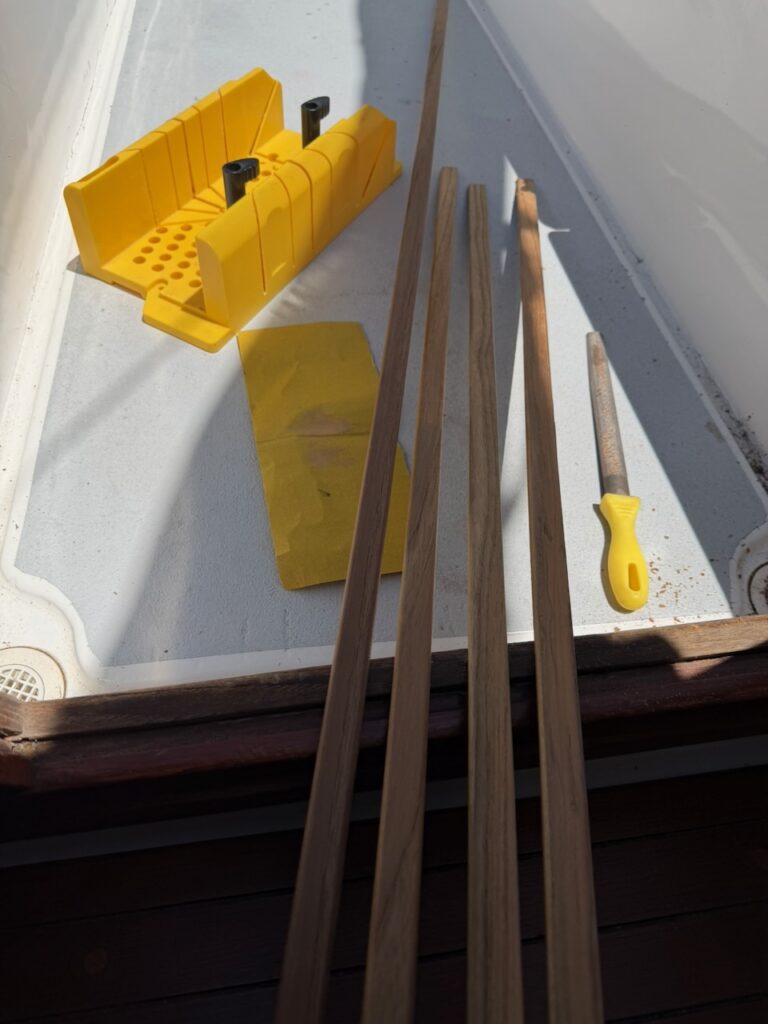
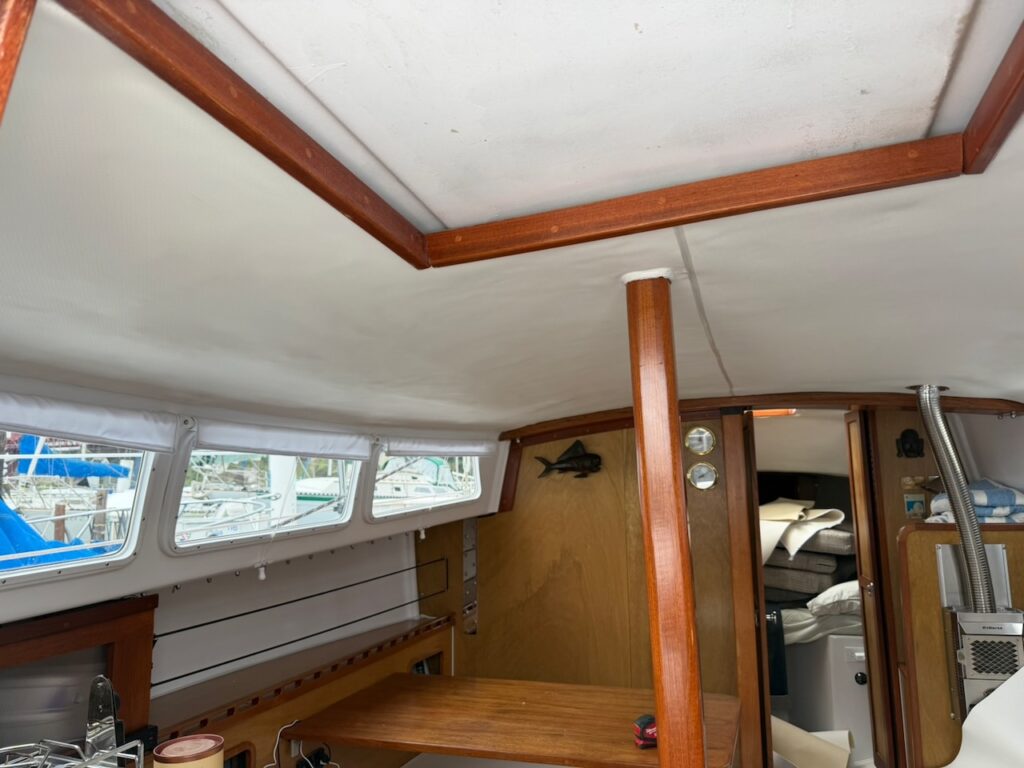
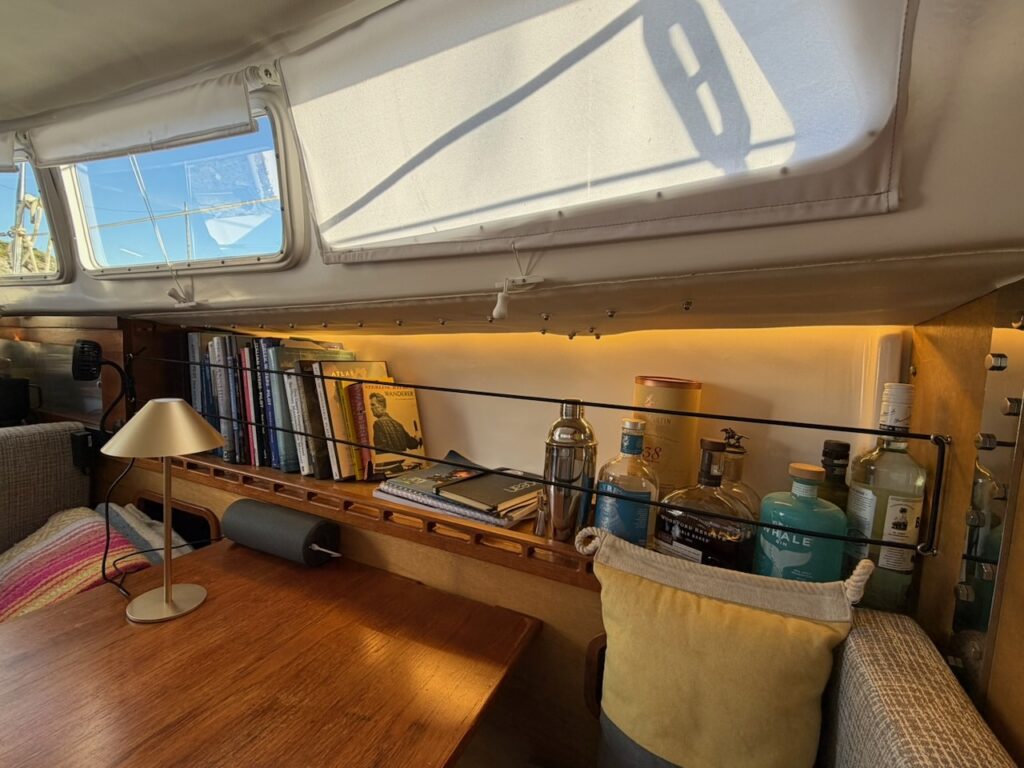
Added teak trim in the saloon and short section across from the head. Looking much nicer. Just a dry fit for now, will need to take it all down and stain/finish it later.
1971 Newport 30 Sailboat
Added teak trim in the saloon and short section across from the head. Looking much nicer. Just a dry fit for now, will need to take it all down and stain/finish it later.
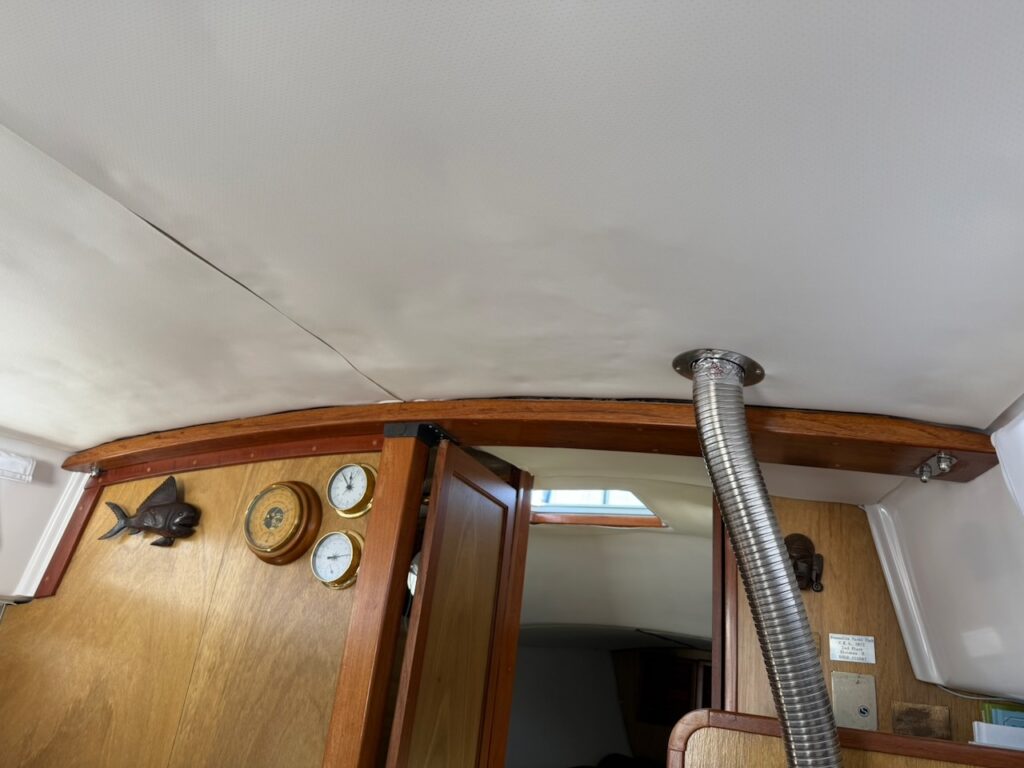
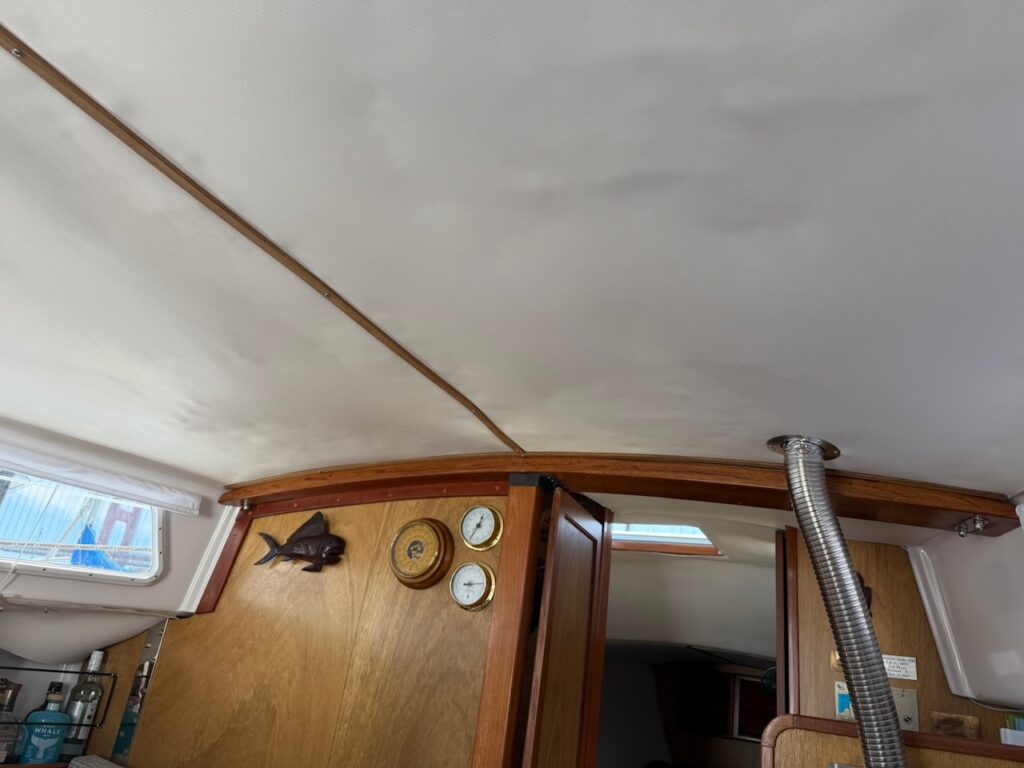
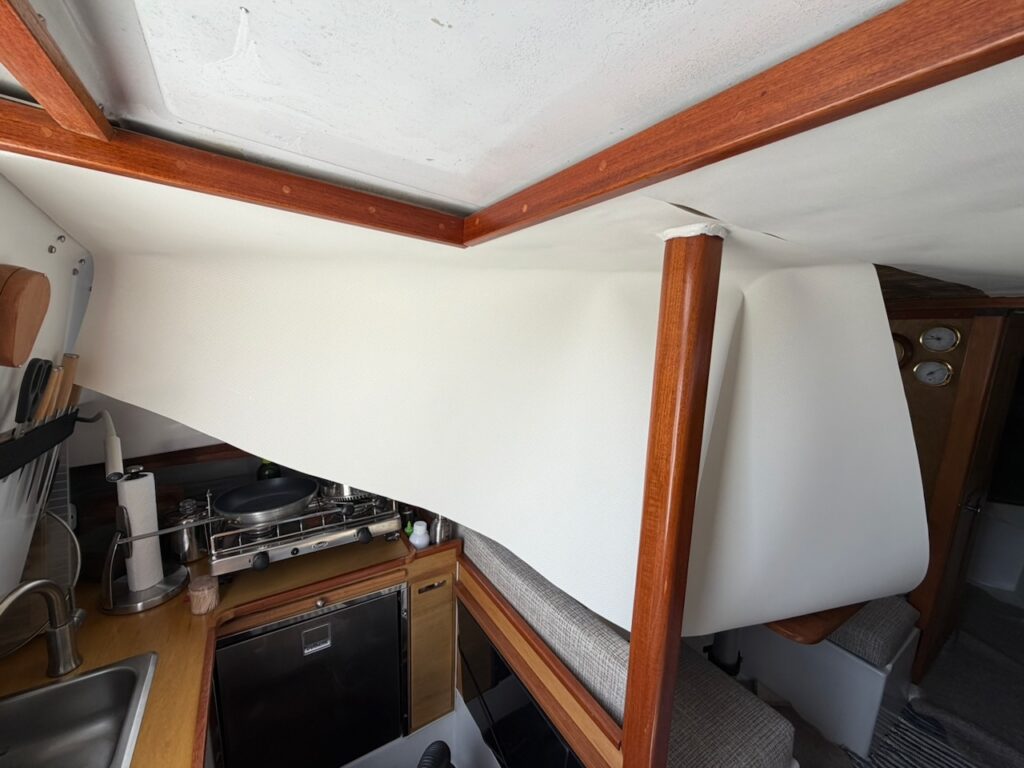
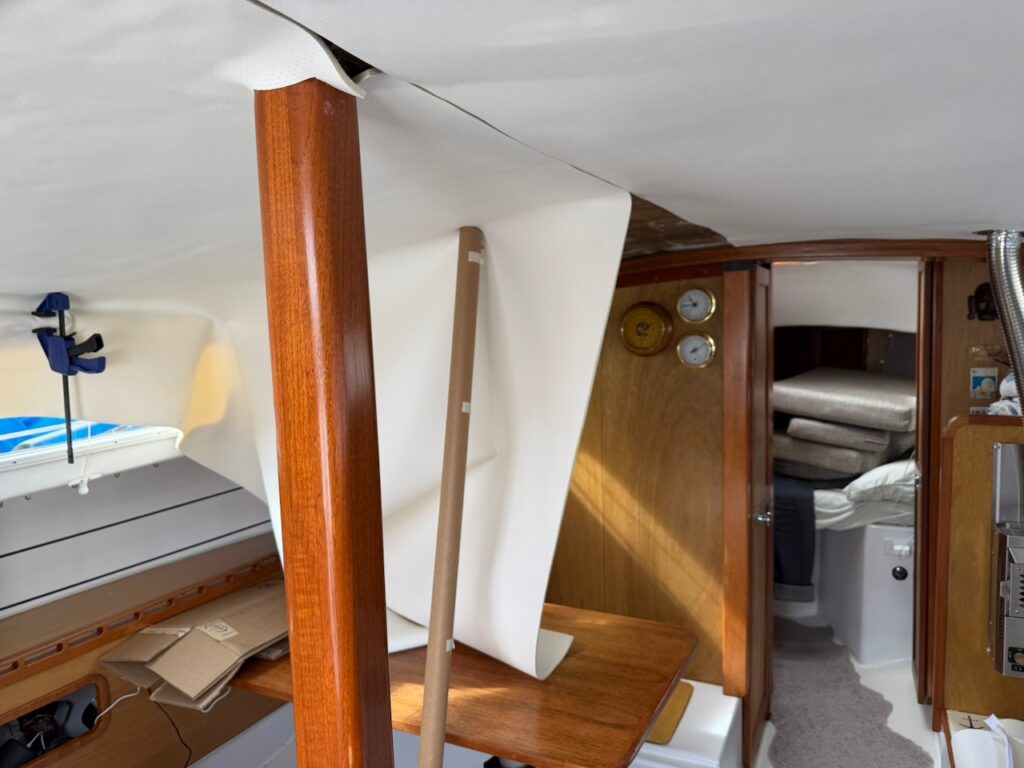
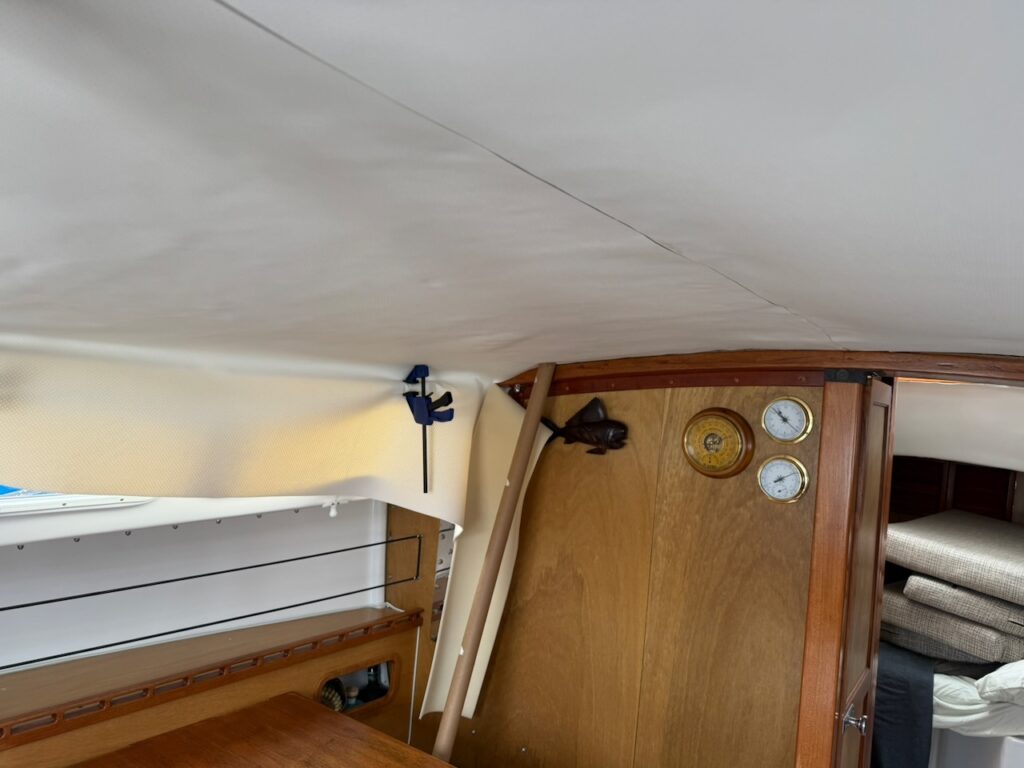
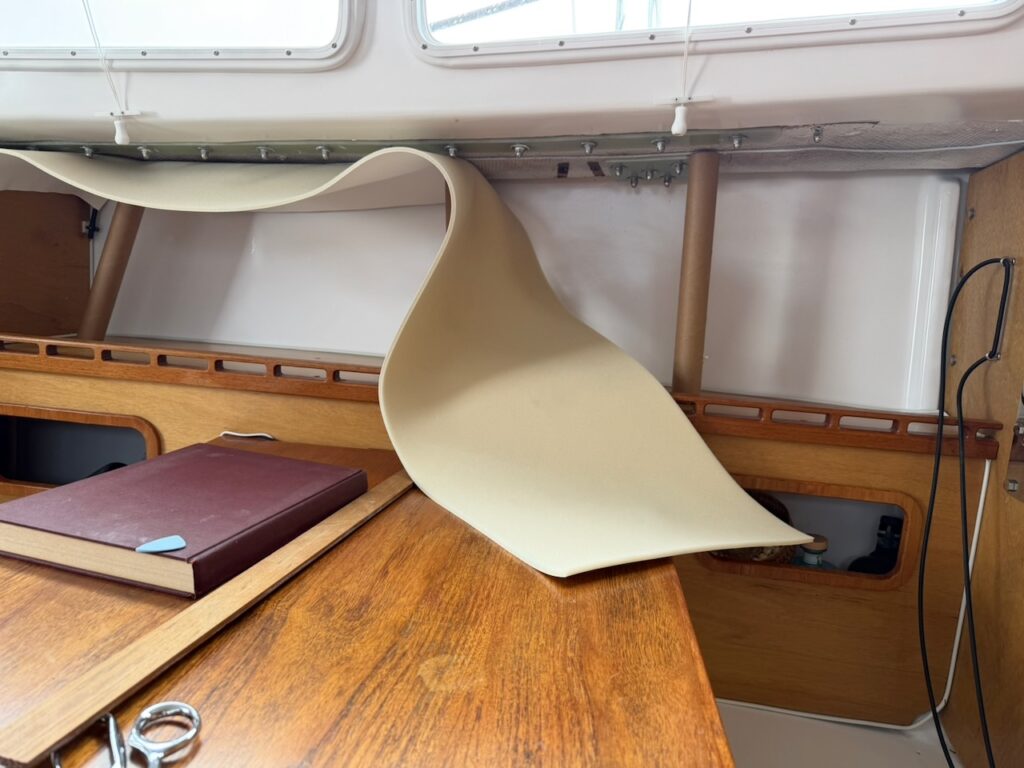
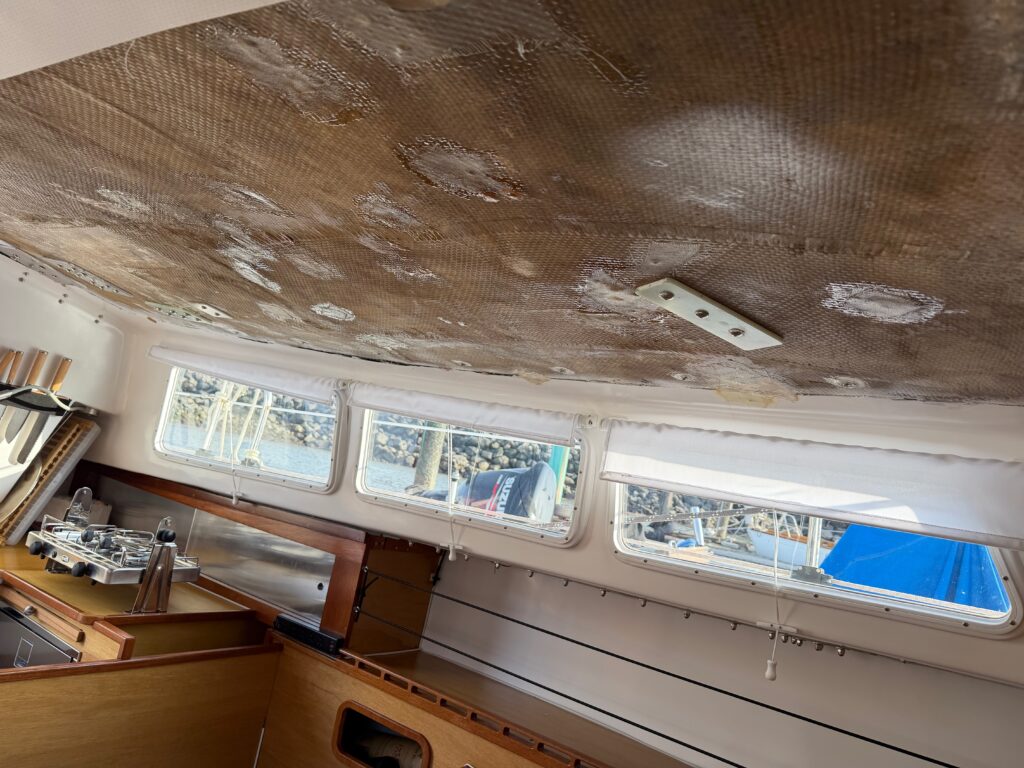
Came to the boat after a few hot days to find headliner peeling off in many places. The glue I got from Sailrite didn’t hold when temps went up. Will try to a) get a better glue and b) add some thin teak trim to help keep it in place.
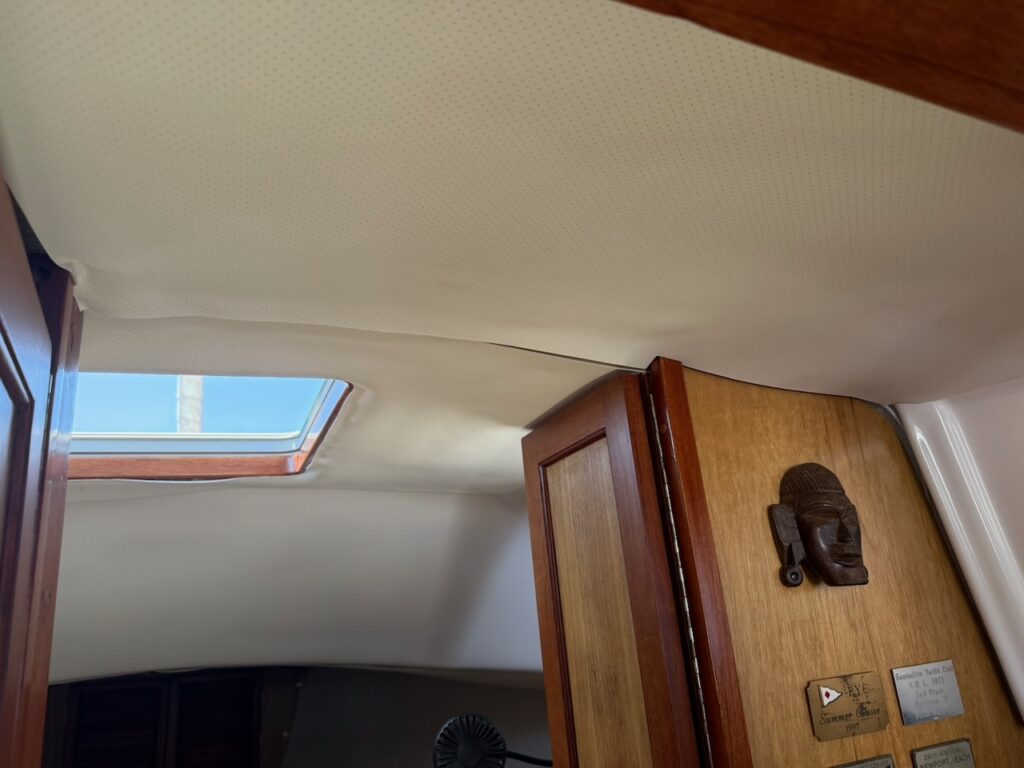
After all the patching and post-sanding cleaning, I finally installed the other half of liner in the saloon:
After that was done, I started on the liner for port-side shelving. That was even more tedious because of all the deck hardware fasteners protruding through liner. Turned out OK.
Steady progress.
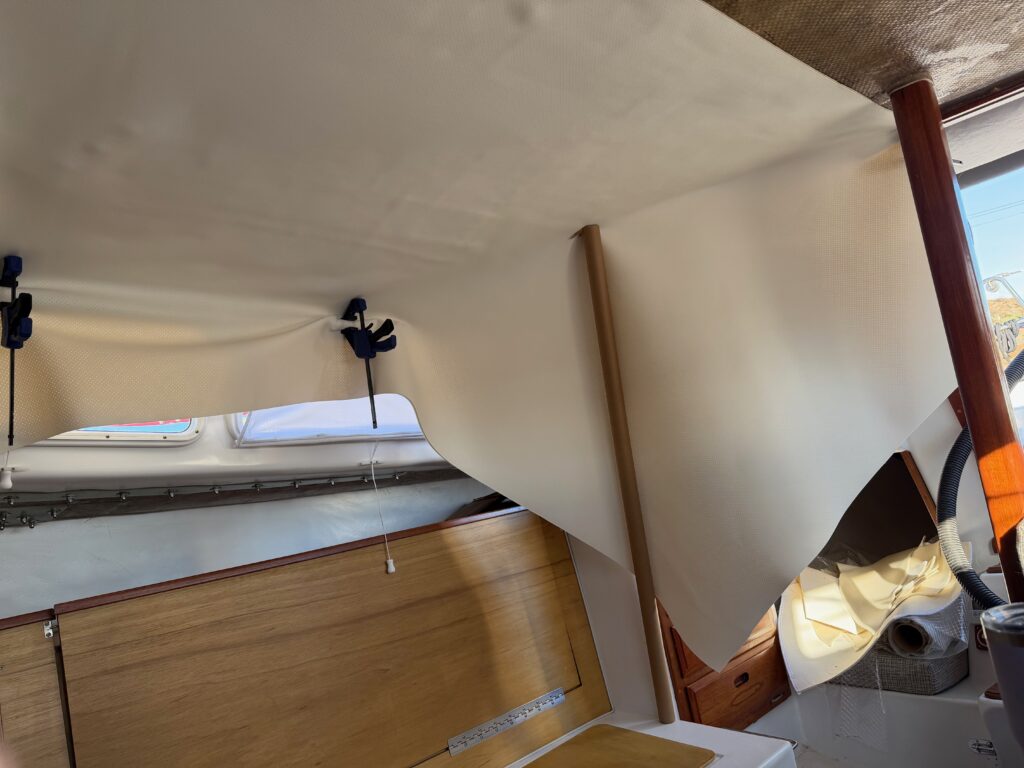
One learning from installing the first few panels of headliner was that it doesn’t cover imperfections as much as I hoped. To make the next panel look smoother I’d have to make the actual fiberglass smoother – remove some of the bumps, etc. As much as I hate sanding fiberglass it still seemed like a worthwhile task so I cleared out the cabin – all the books, cushions, galley items, etc. – and went on with sending off the rough bits and patching anything that looked compromised in any way and had any remote risk of leaking.
Even with the shop vac, the dust was everywhere and cleanup took forever. But I think we’ll see smoother panel in the end.
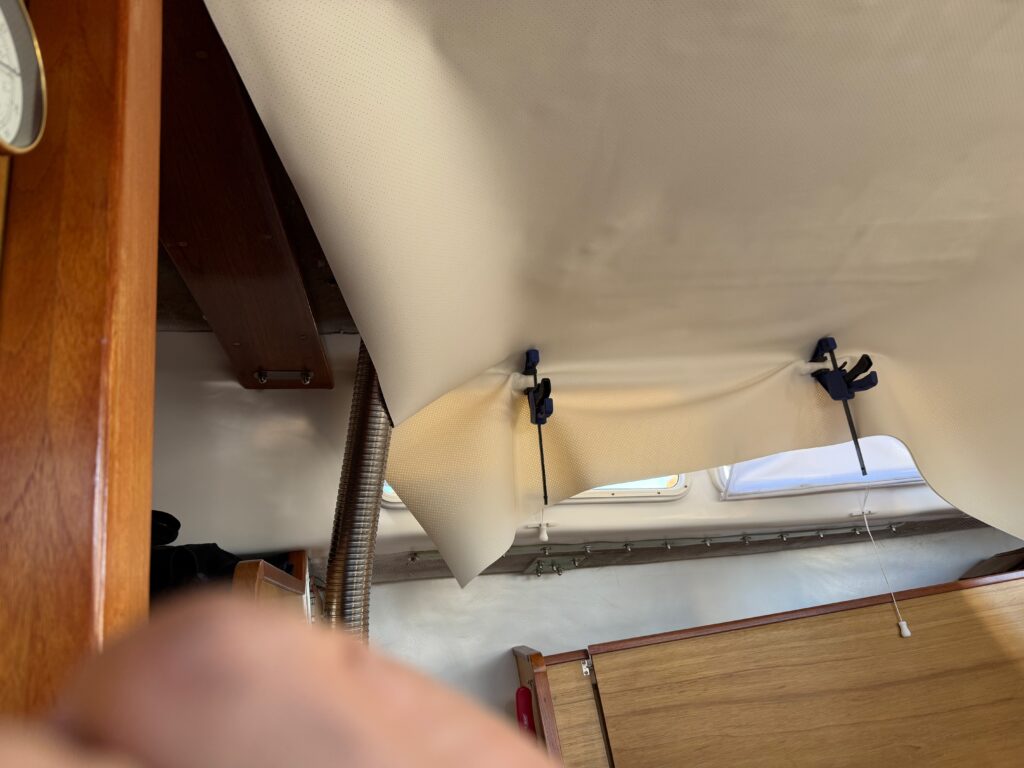
Continued on with headliner install and tackled half of the saloon. Was royal pain to deal with a panel this big on my own. Came up with a system that had a support pole and clamps and ultimately allowed to get the entire panel done. Took quite a bit of time but I’m happy with the result.
Marina was without power today but thankfully, I have put in an inverter as part of my propulsion power system upgrade. That made it possible to complete this weekend’s project.
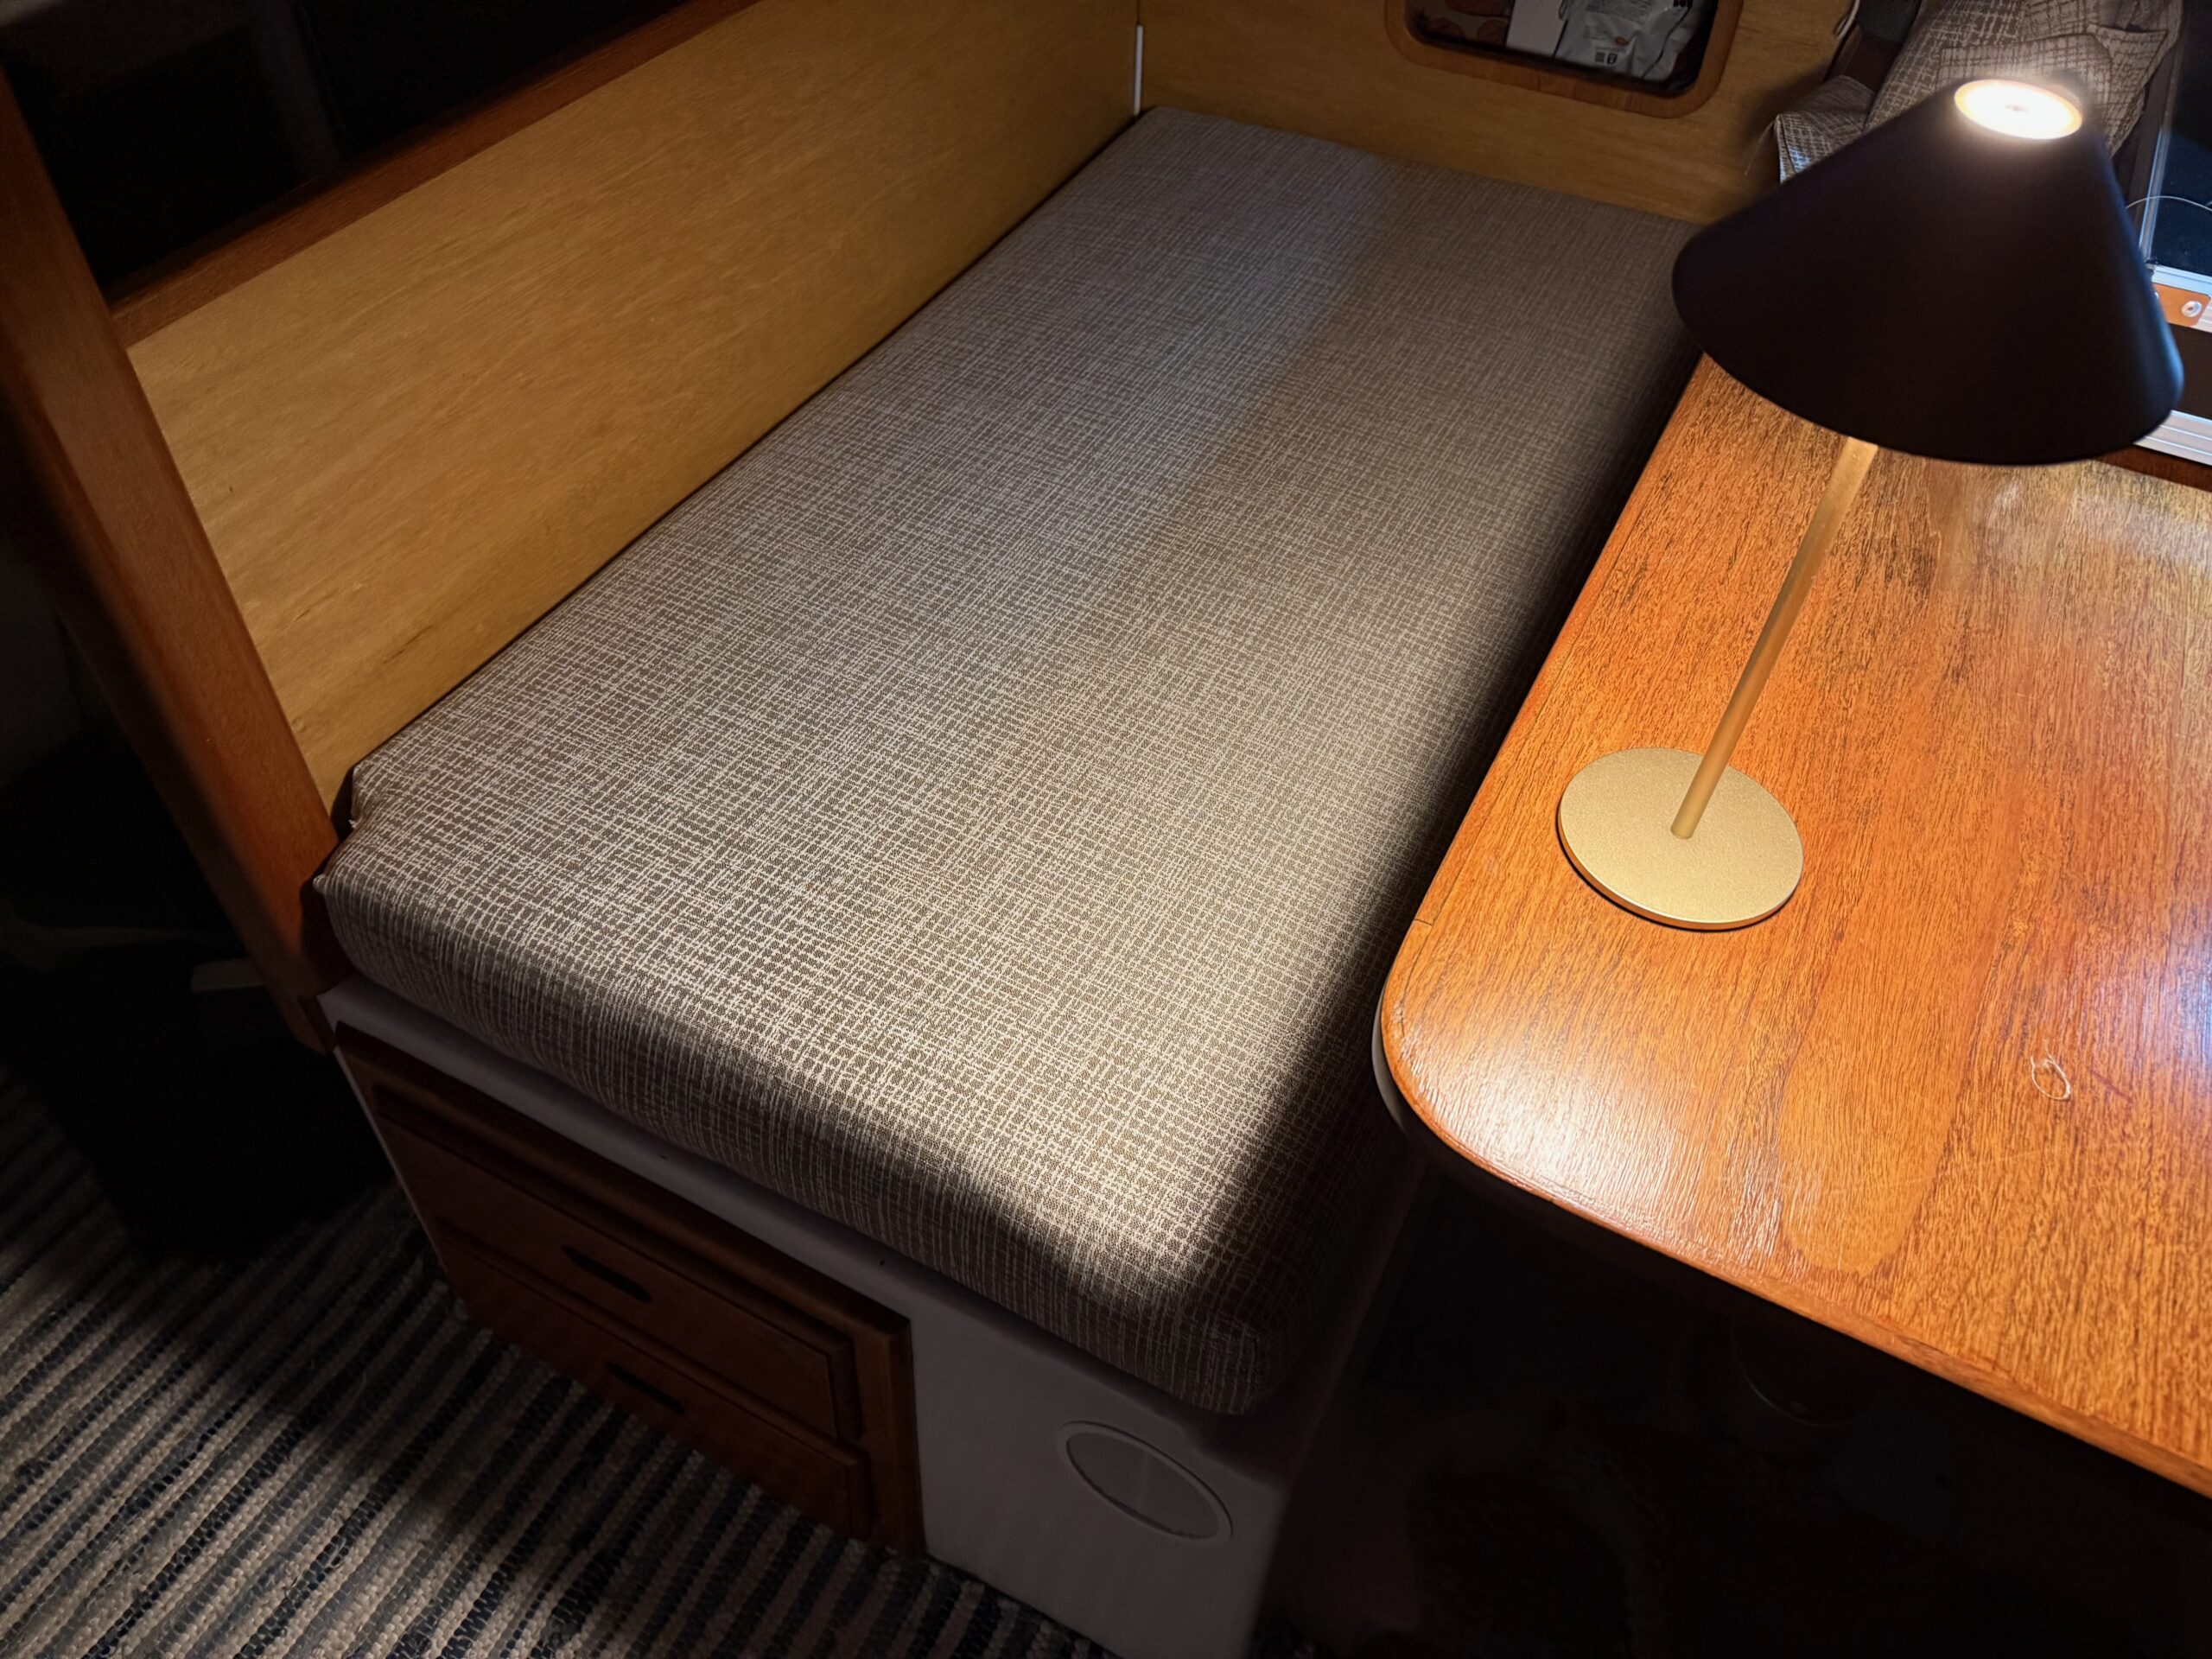

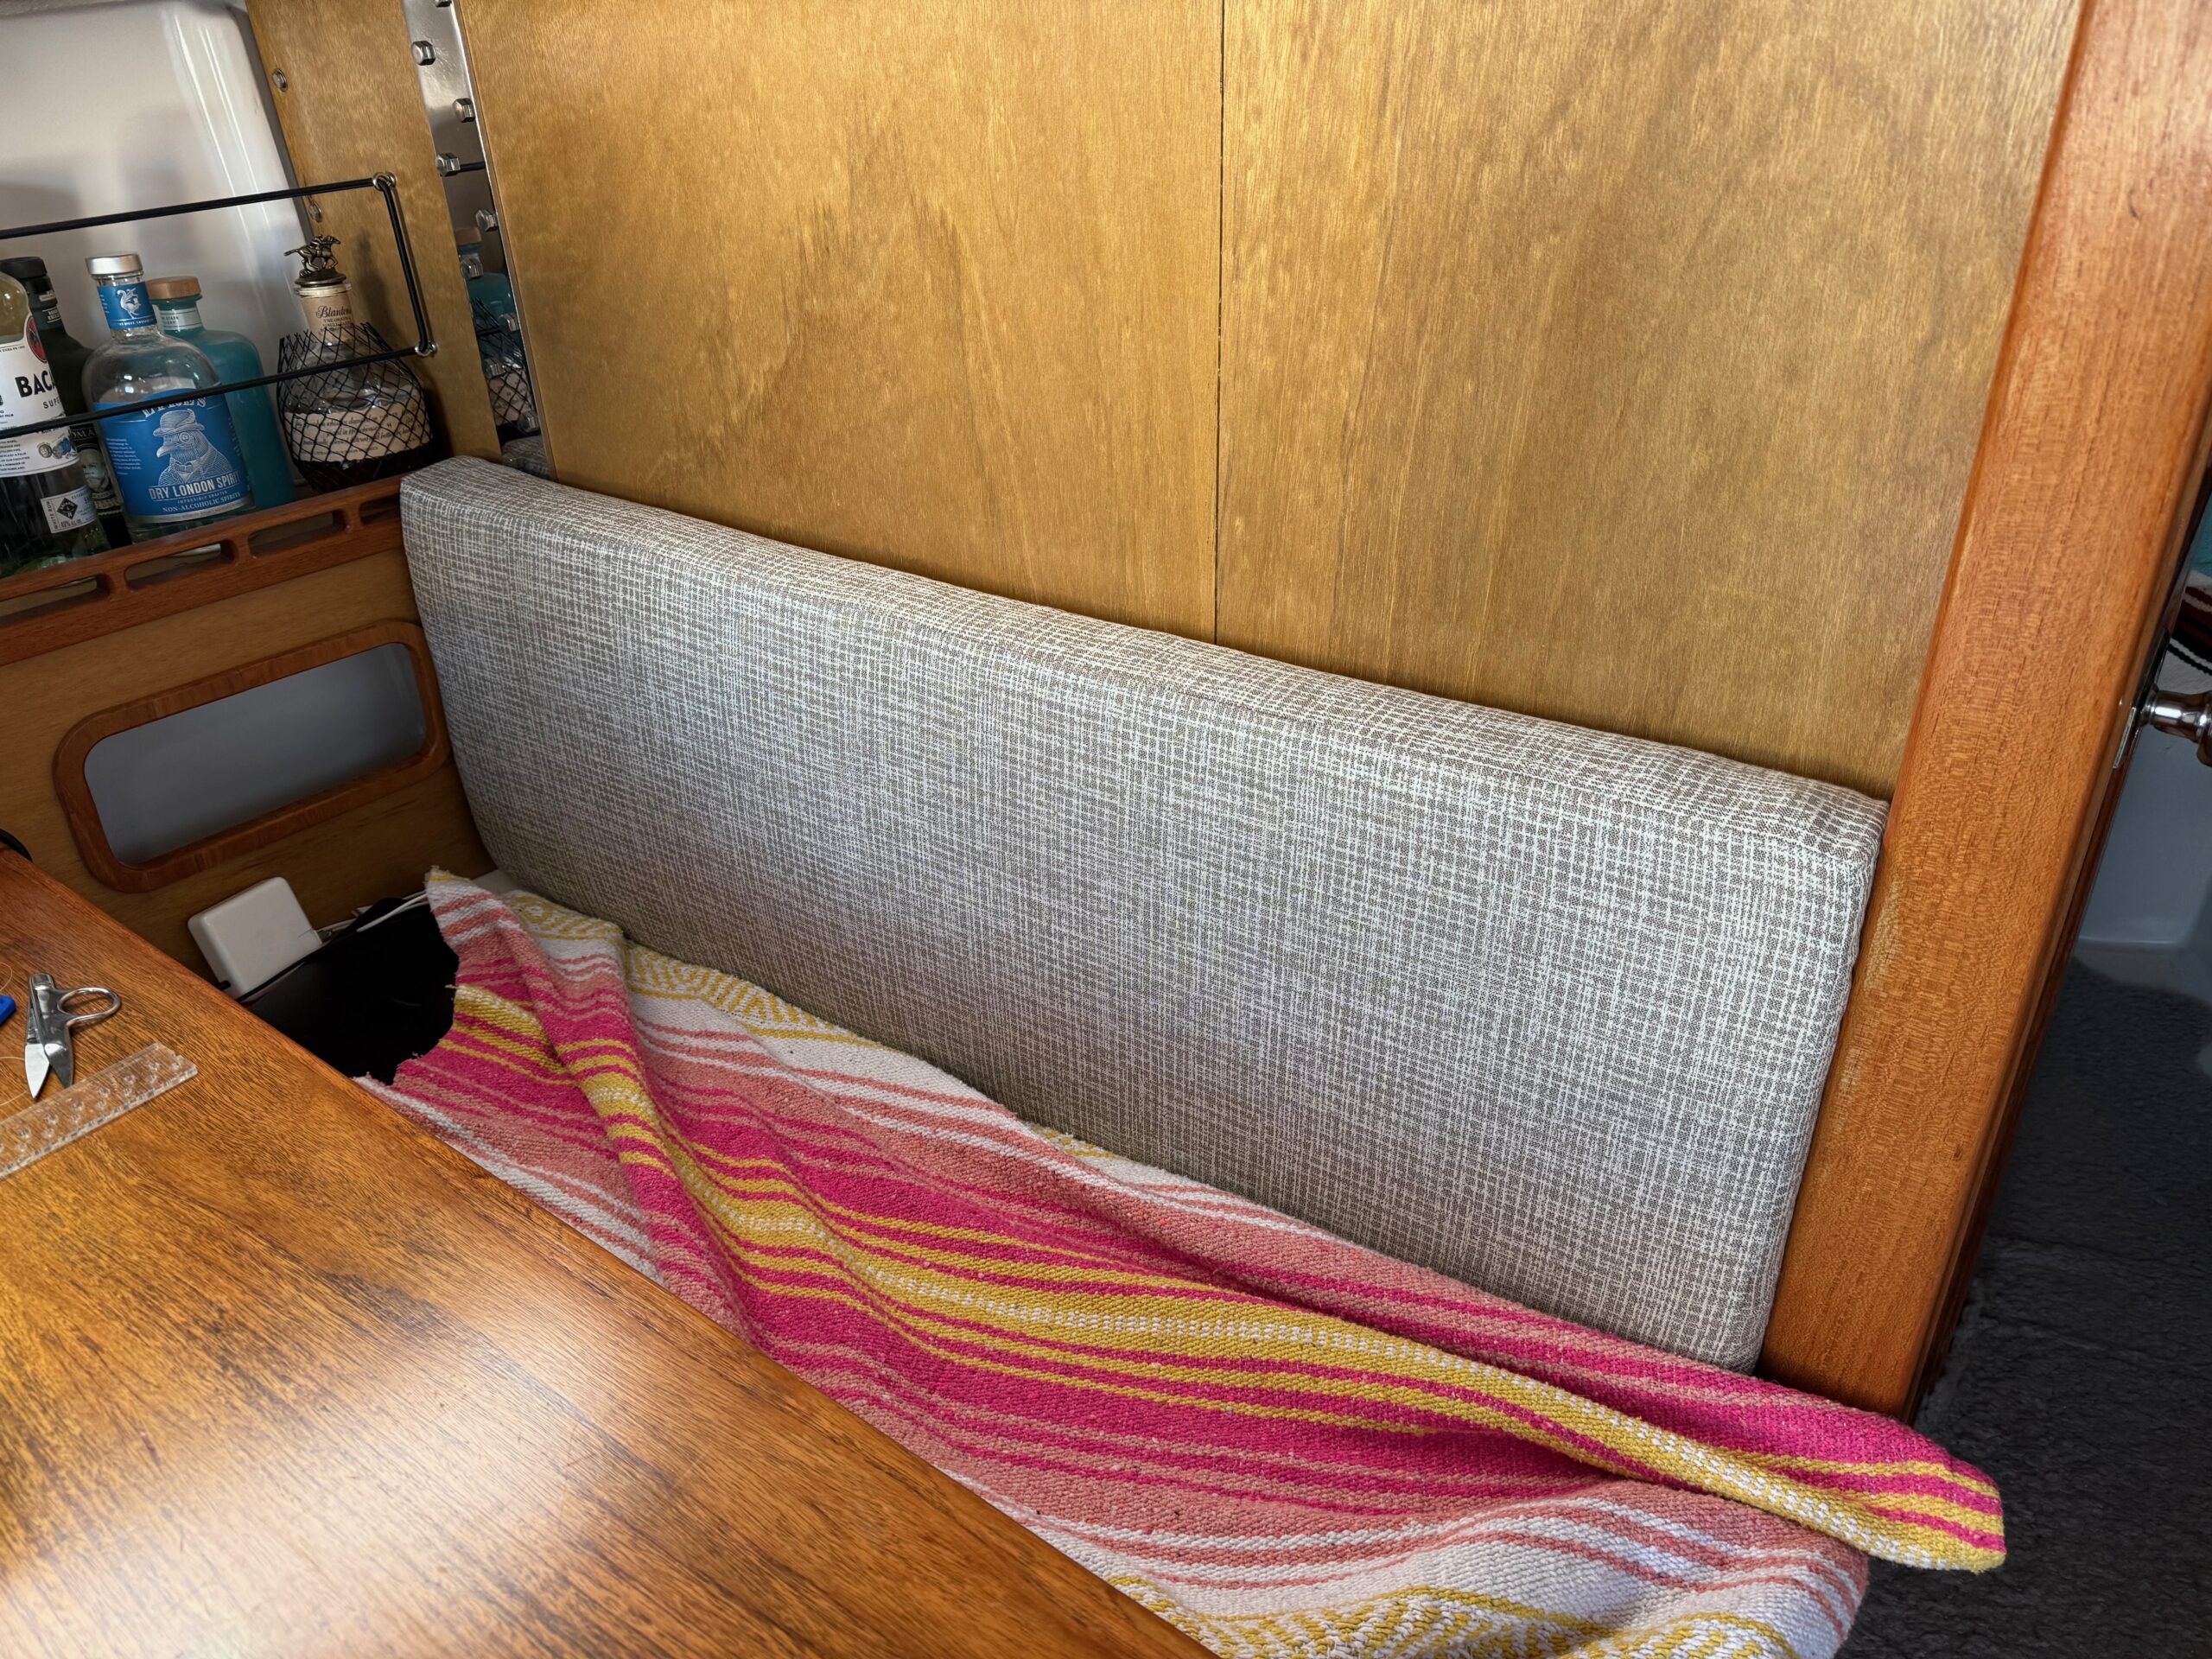
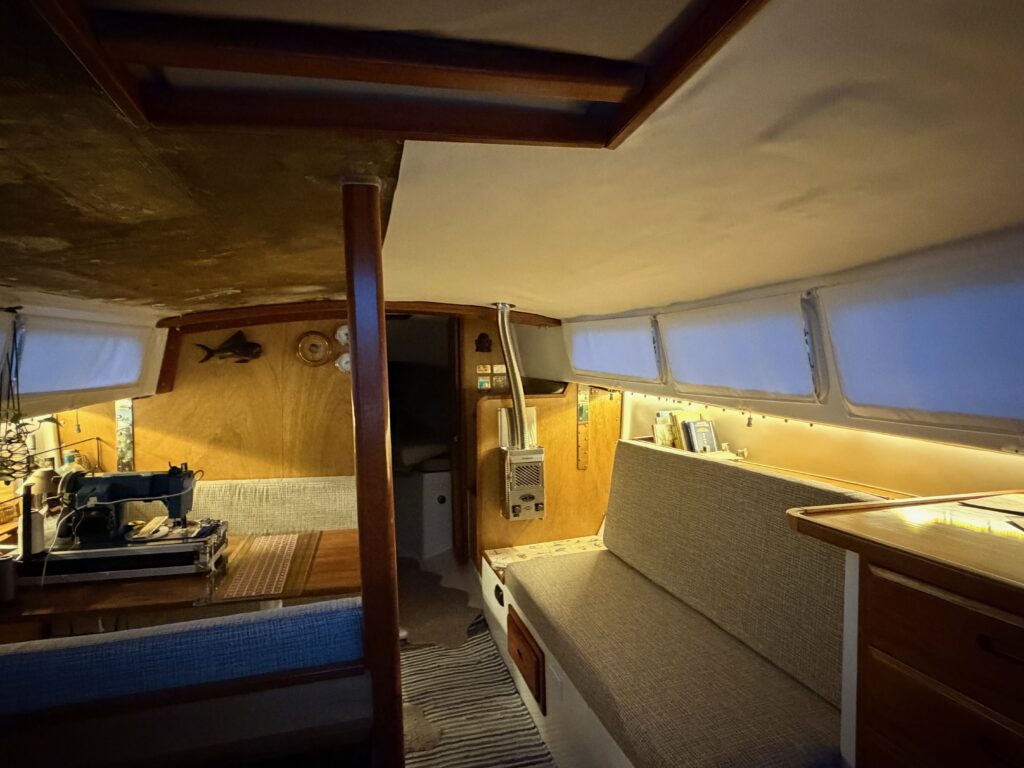
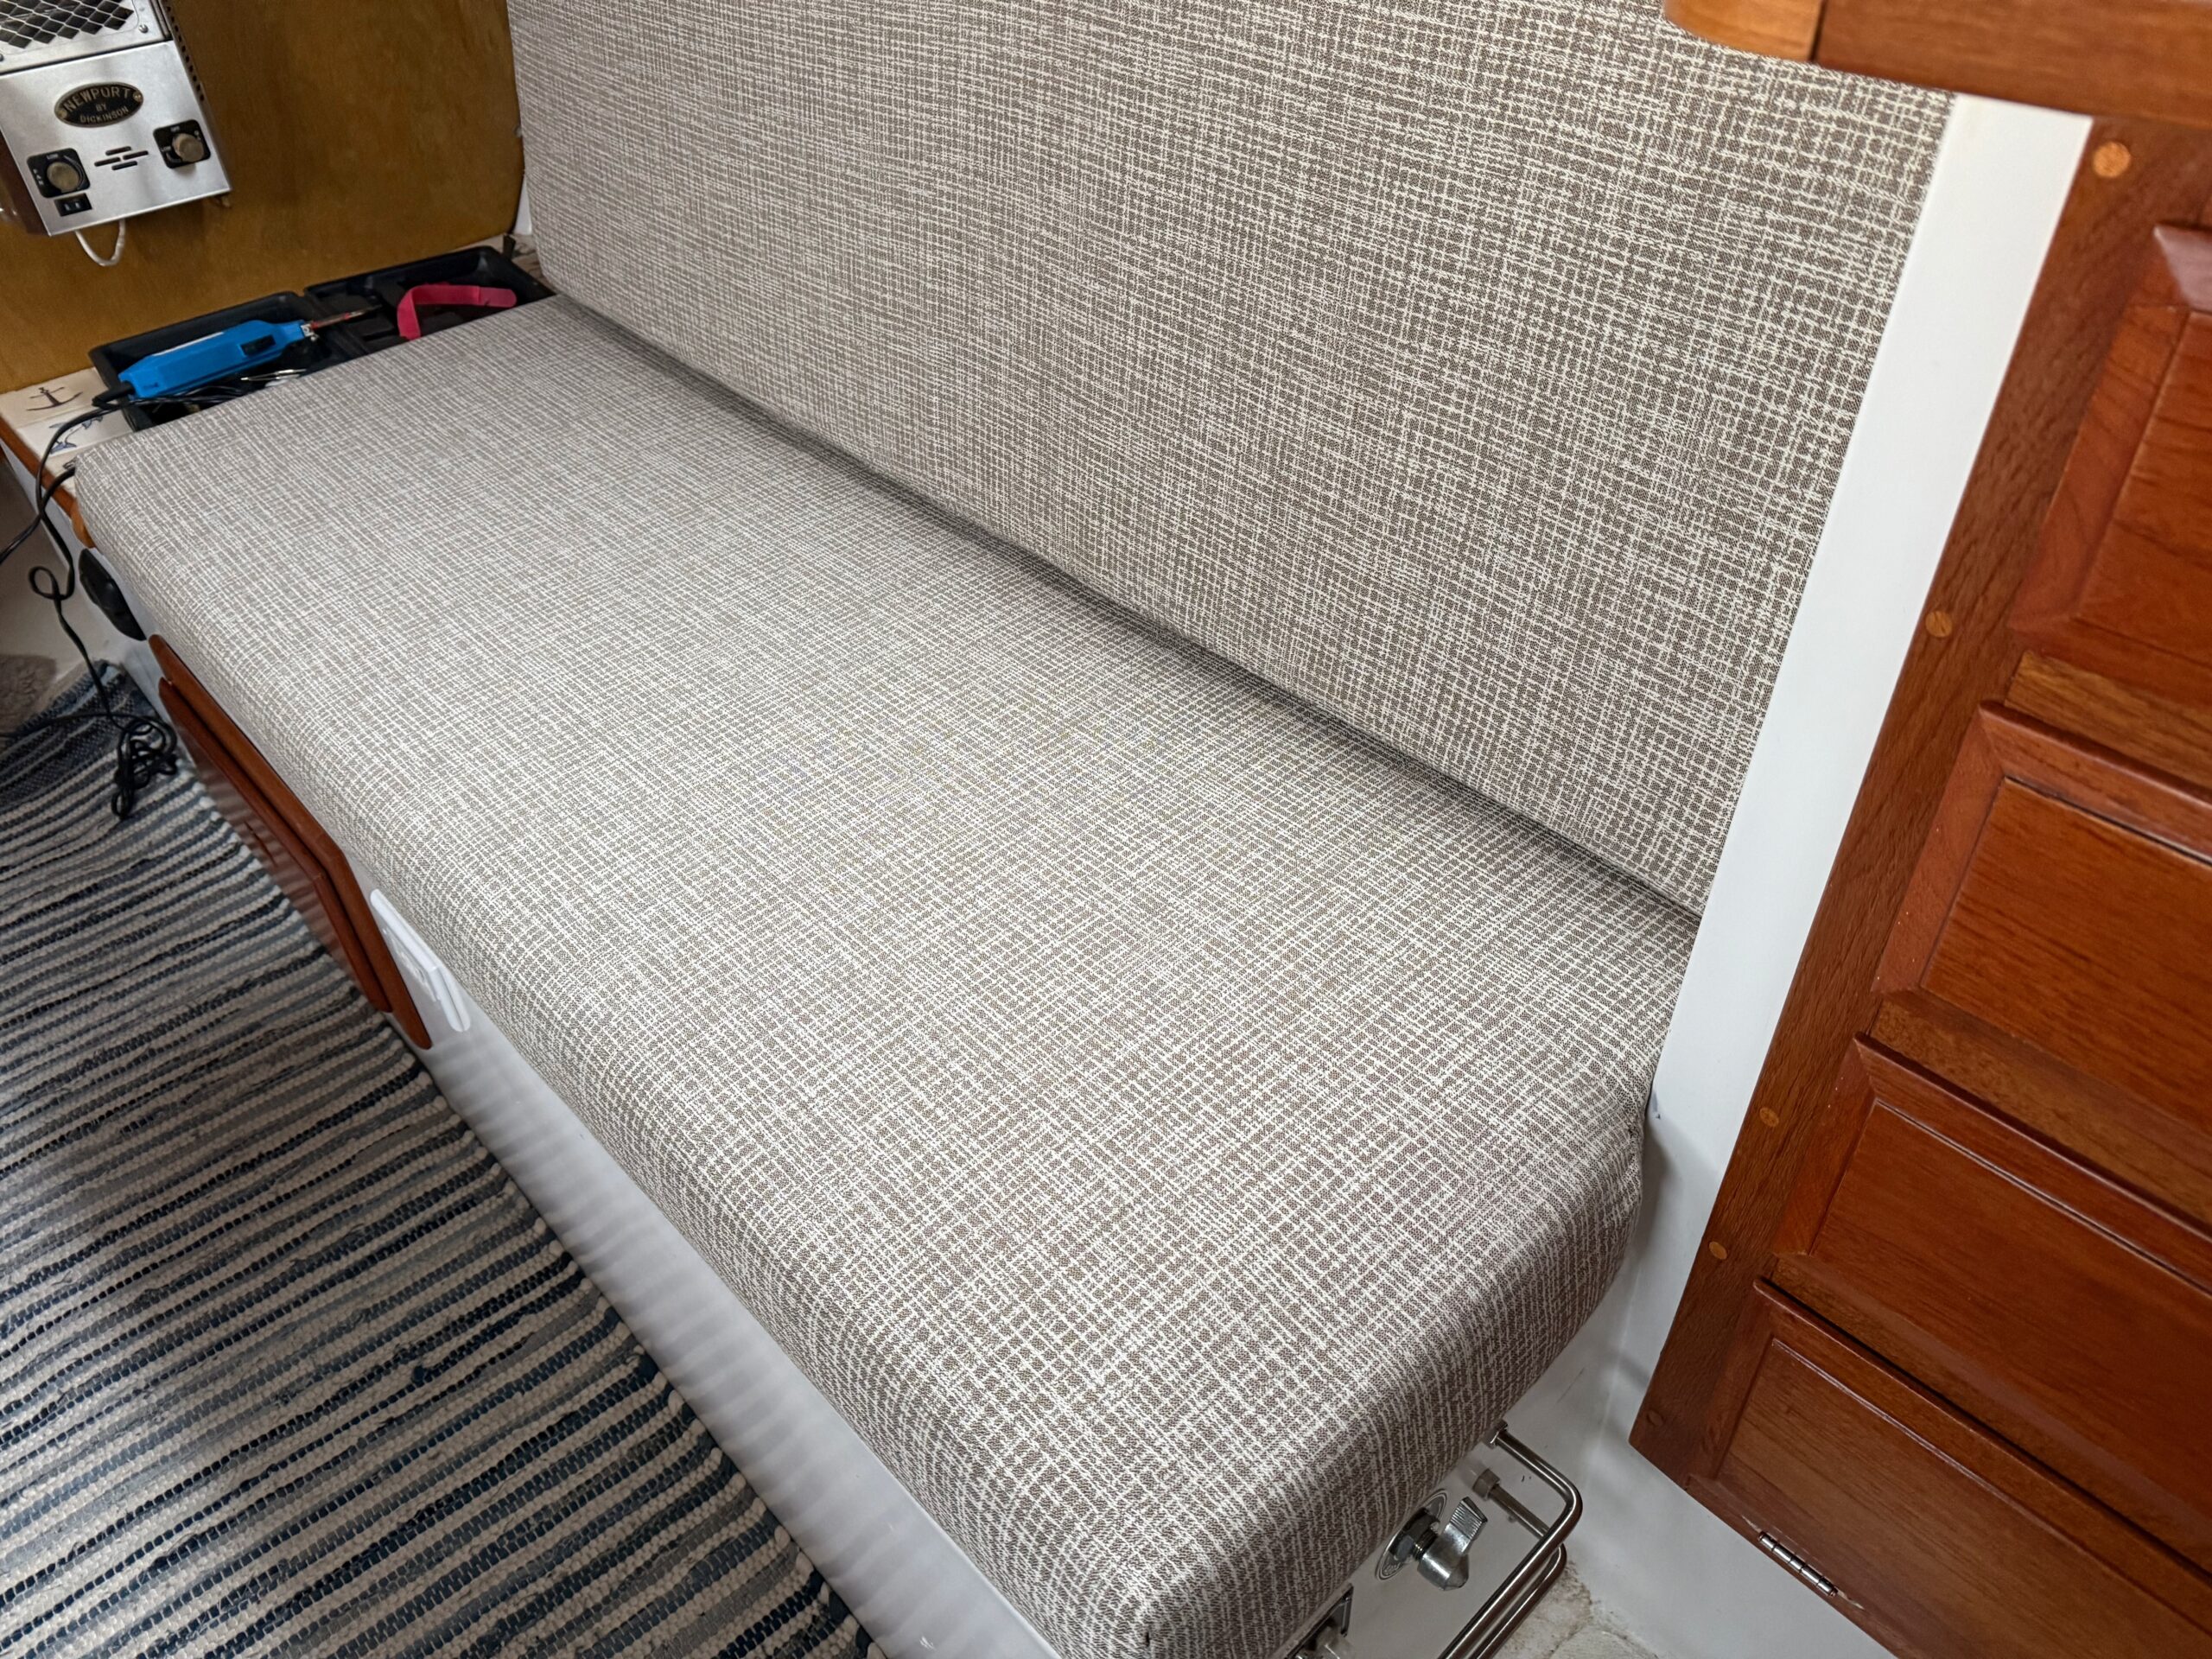
Upholstered the final saloon seat and paused to take in the new look. Love how cosy this. material looks, especially in the warm evening light.

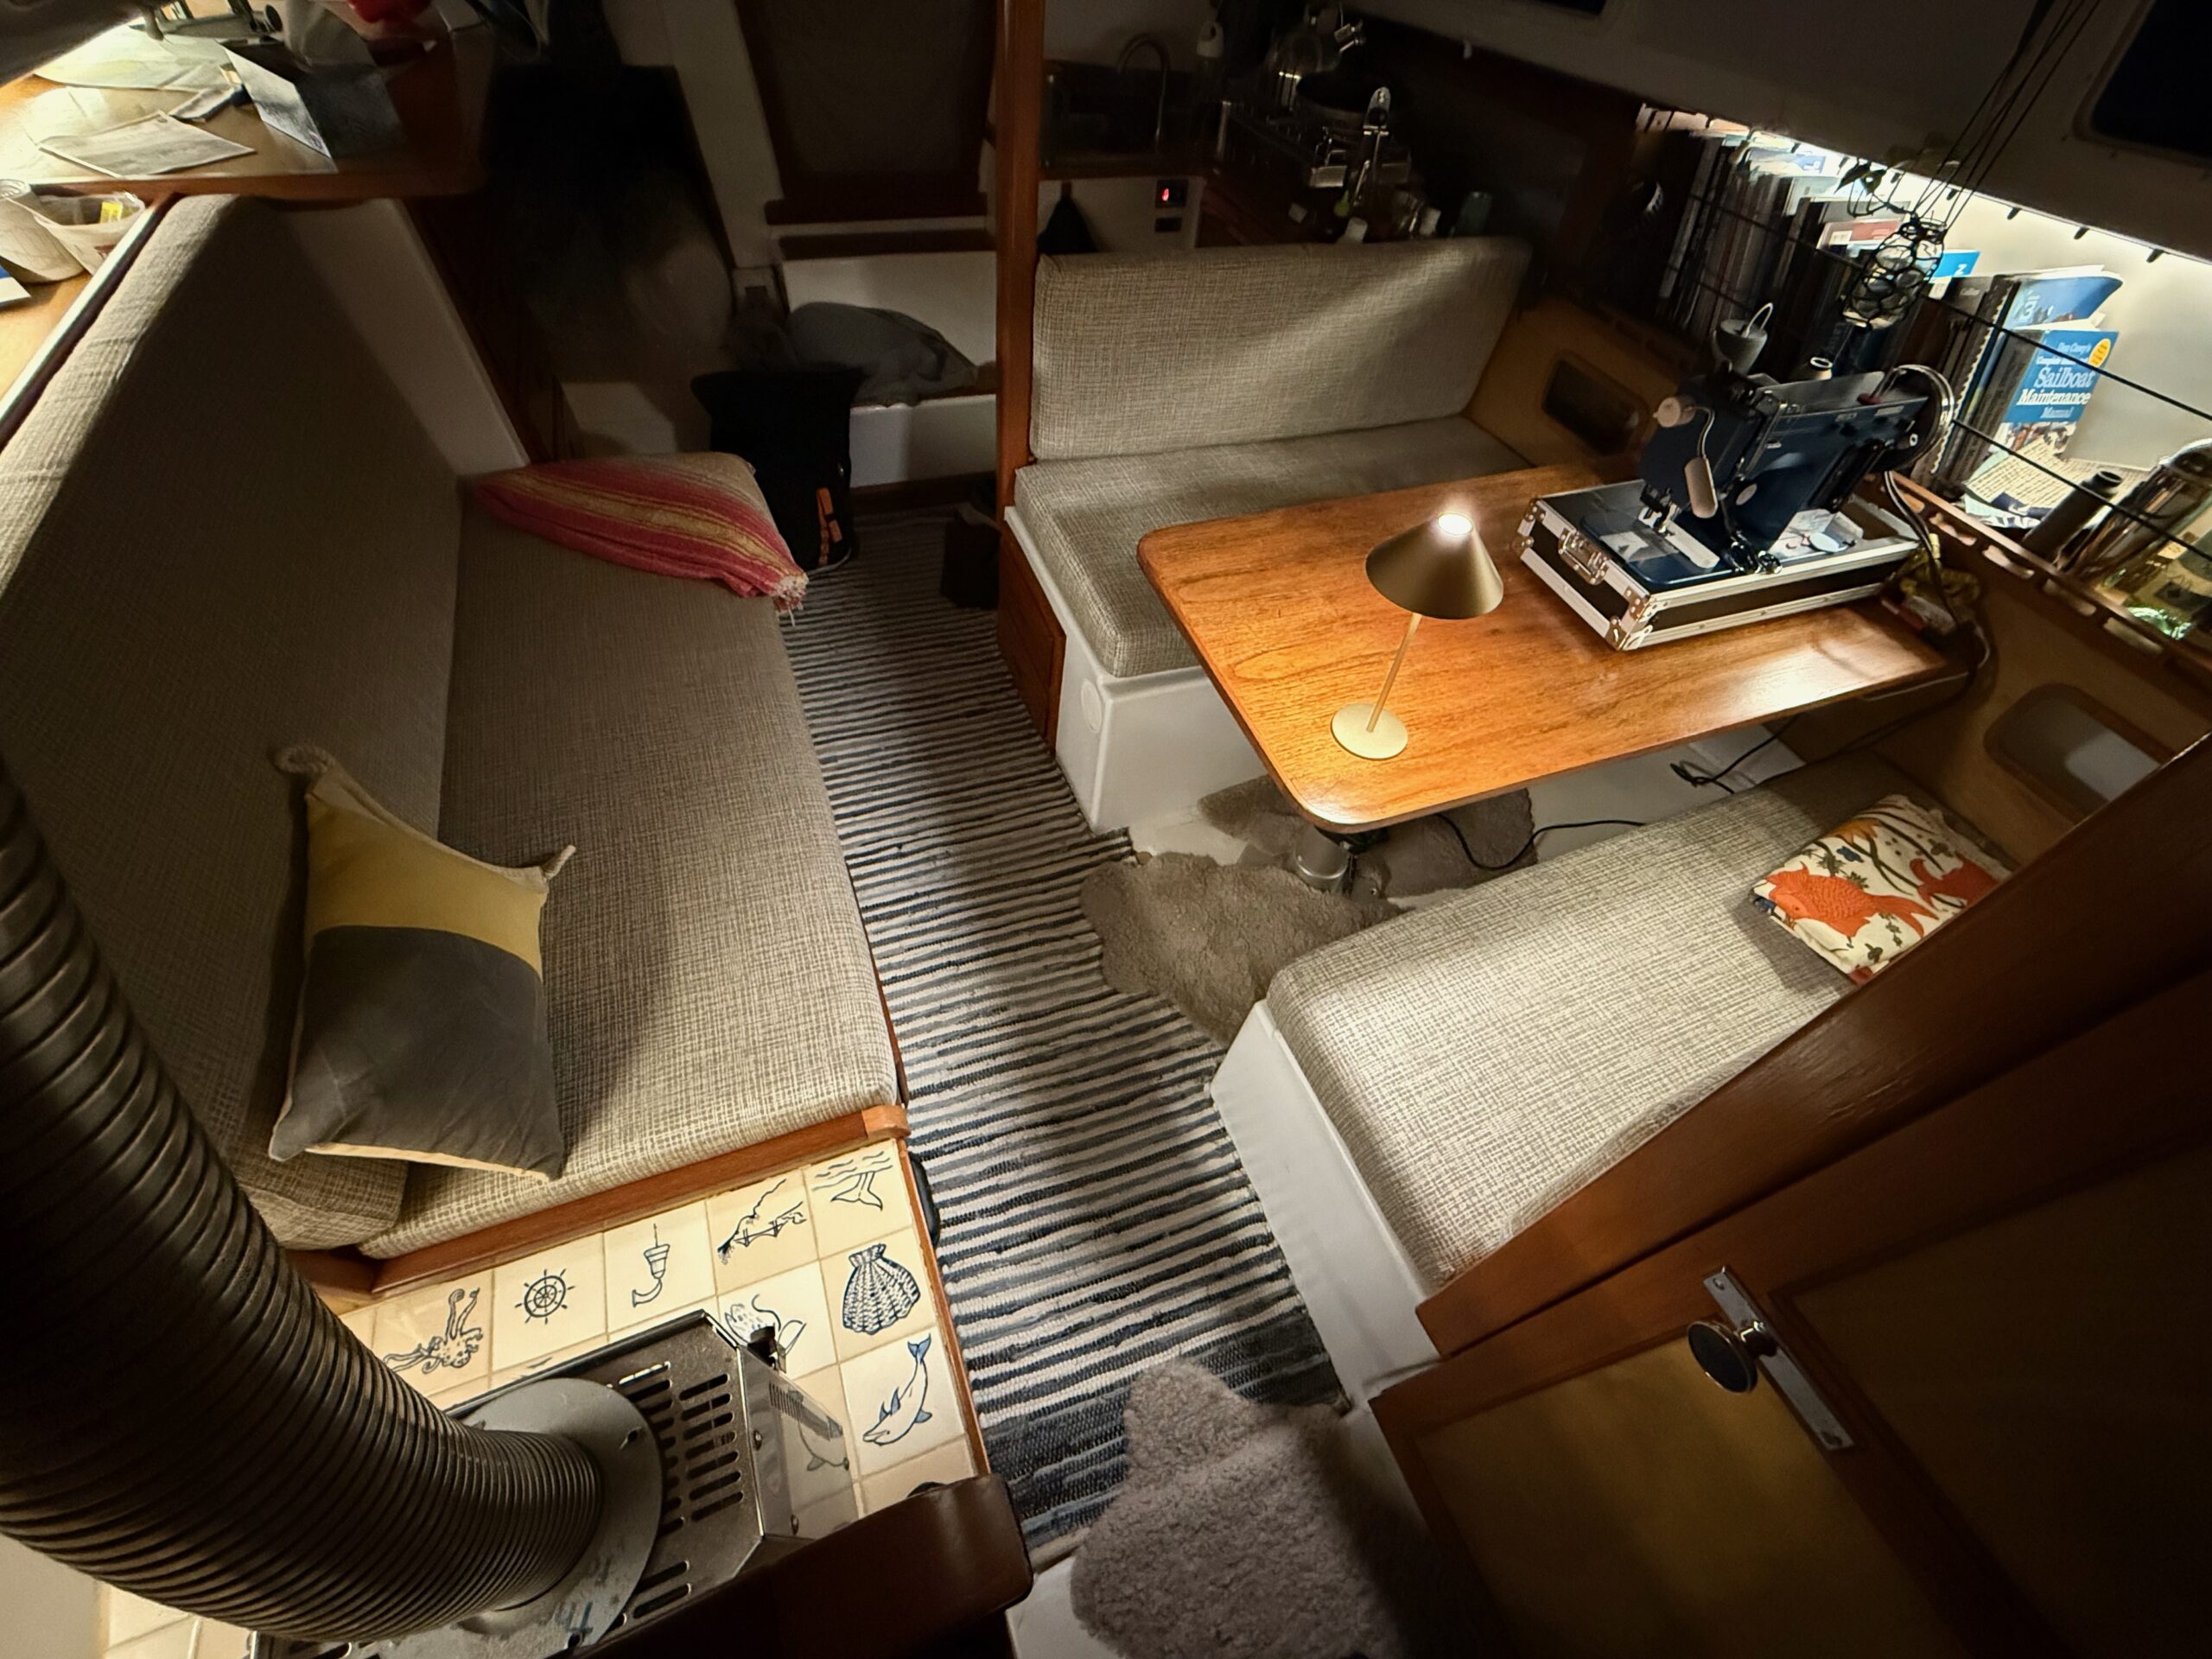
Don’t want to run my usual electric heater off the inverter so got the fireplace going. This is definitely turning into a super cozy happy place!
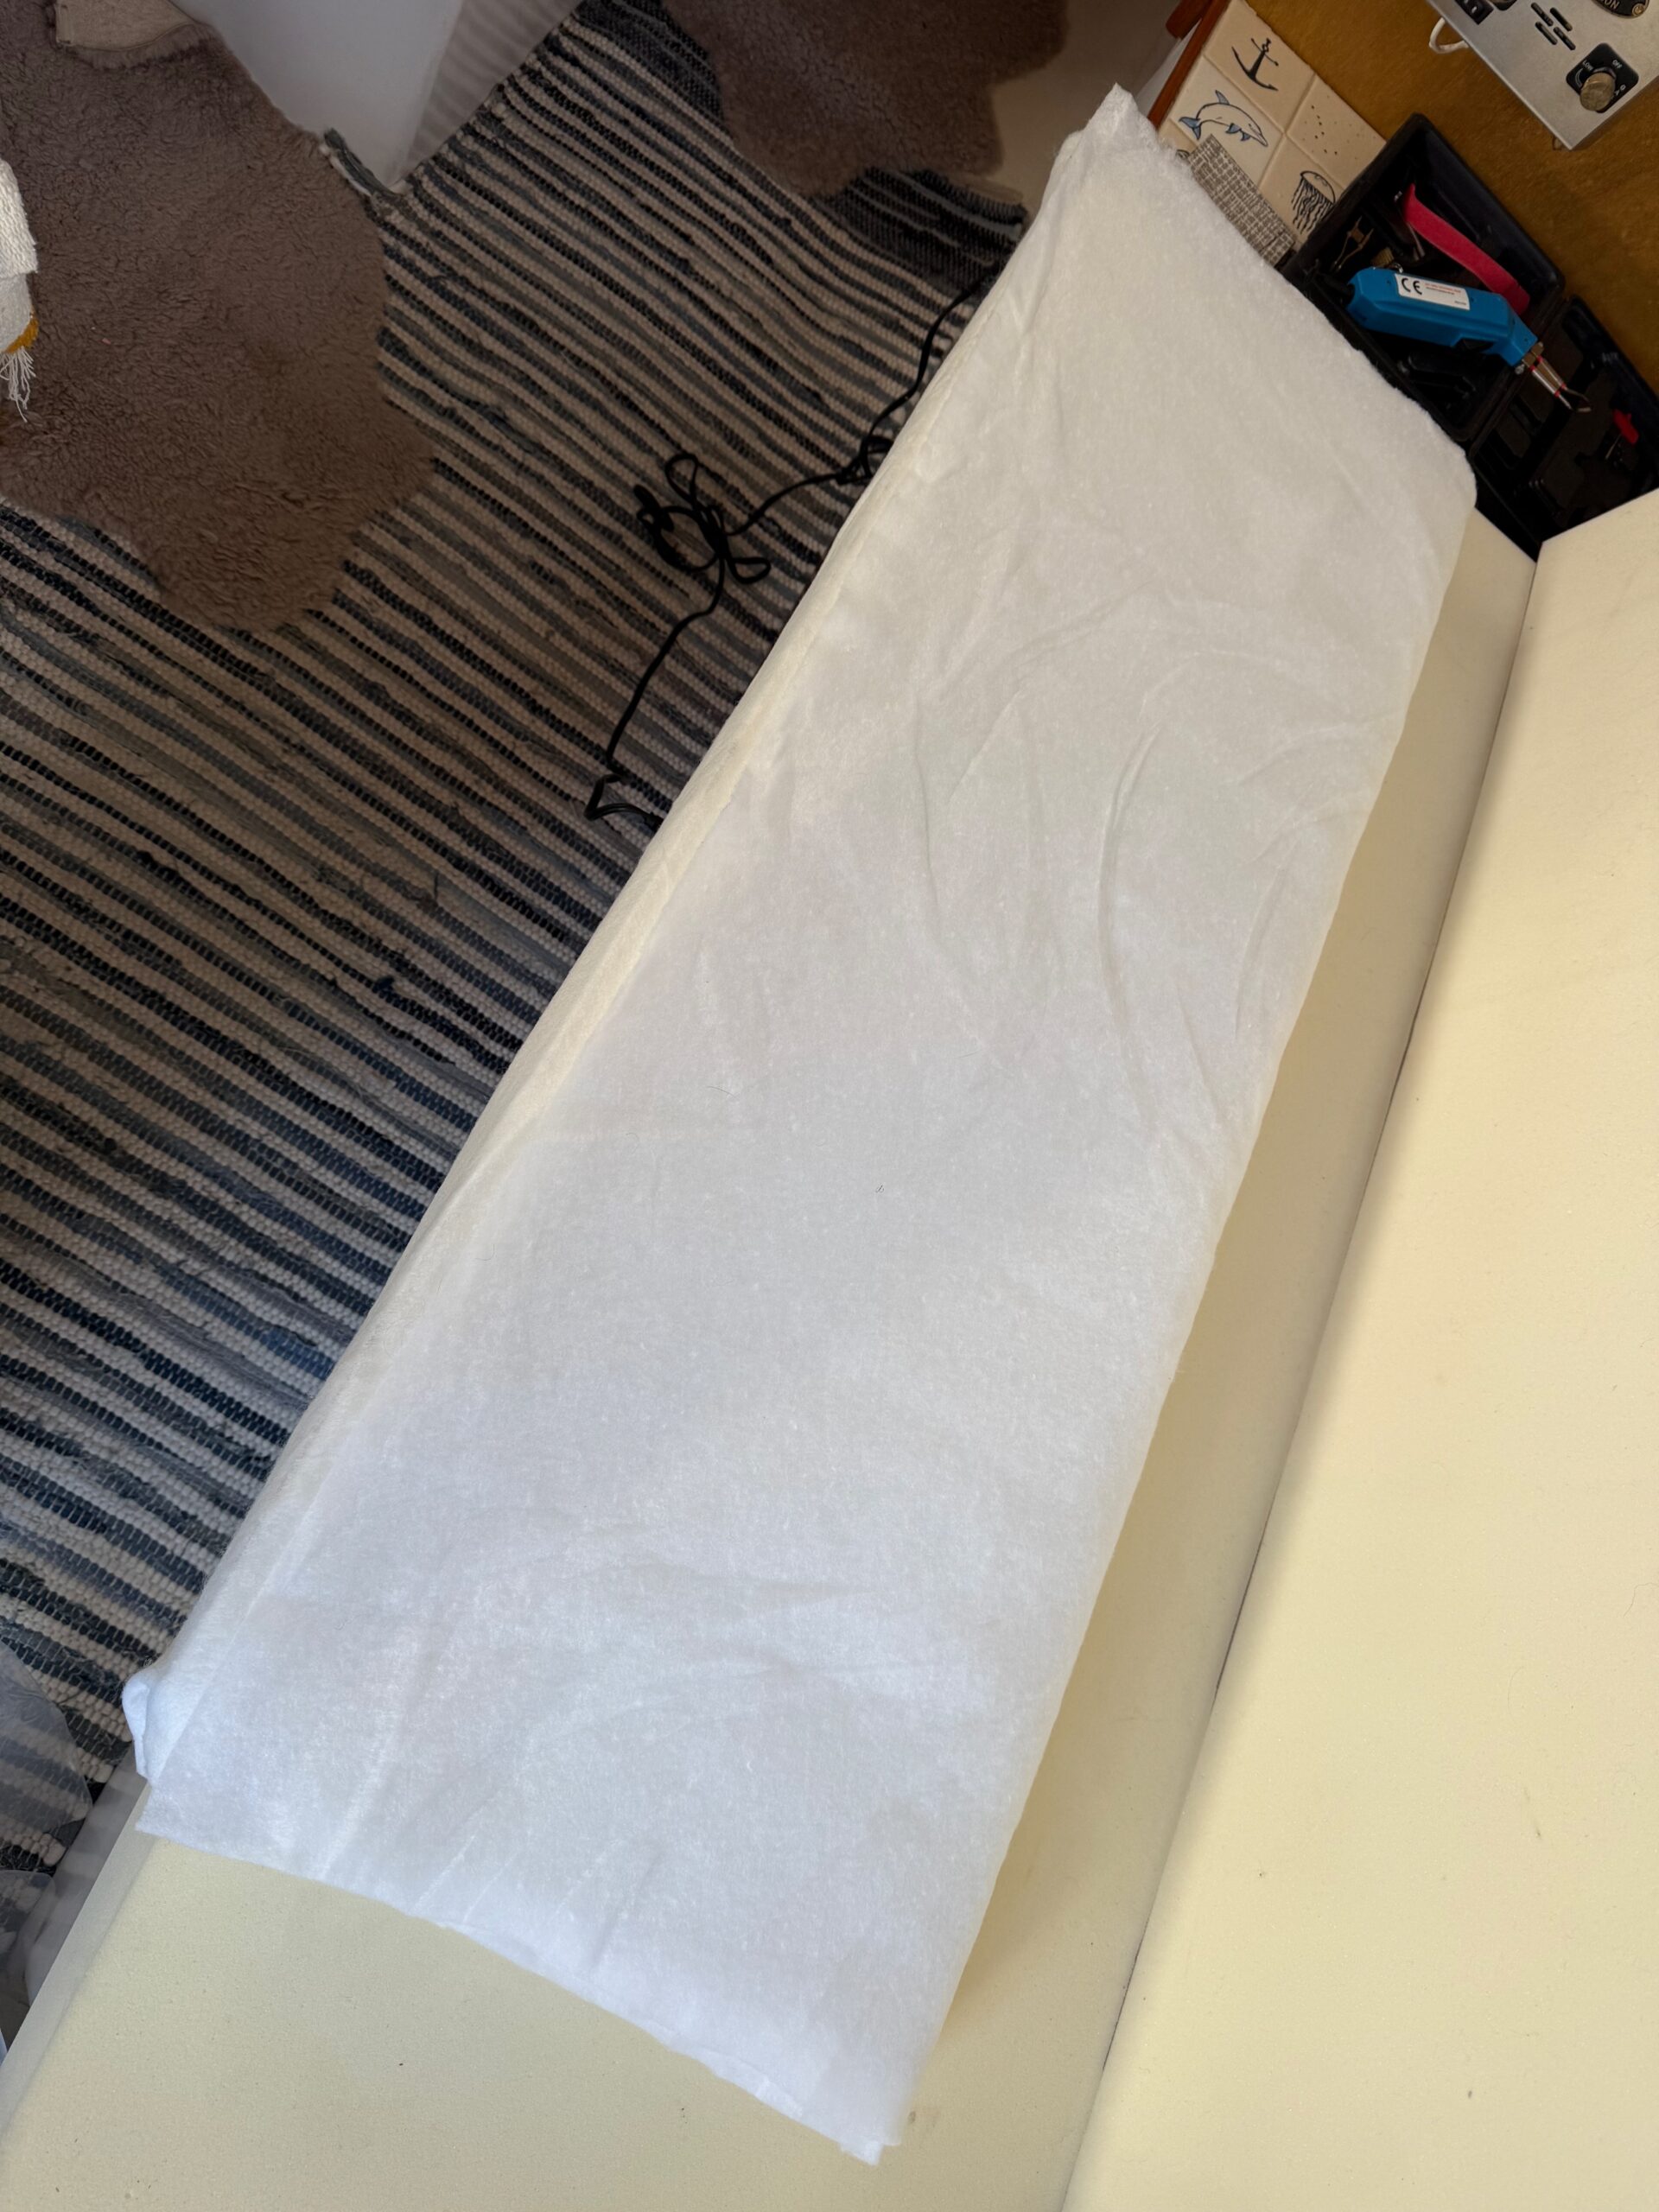
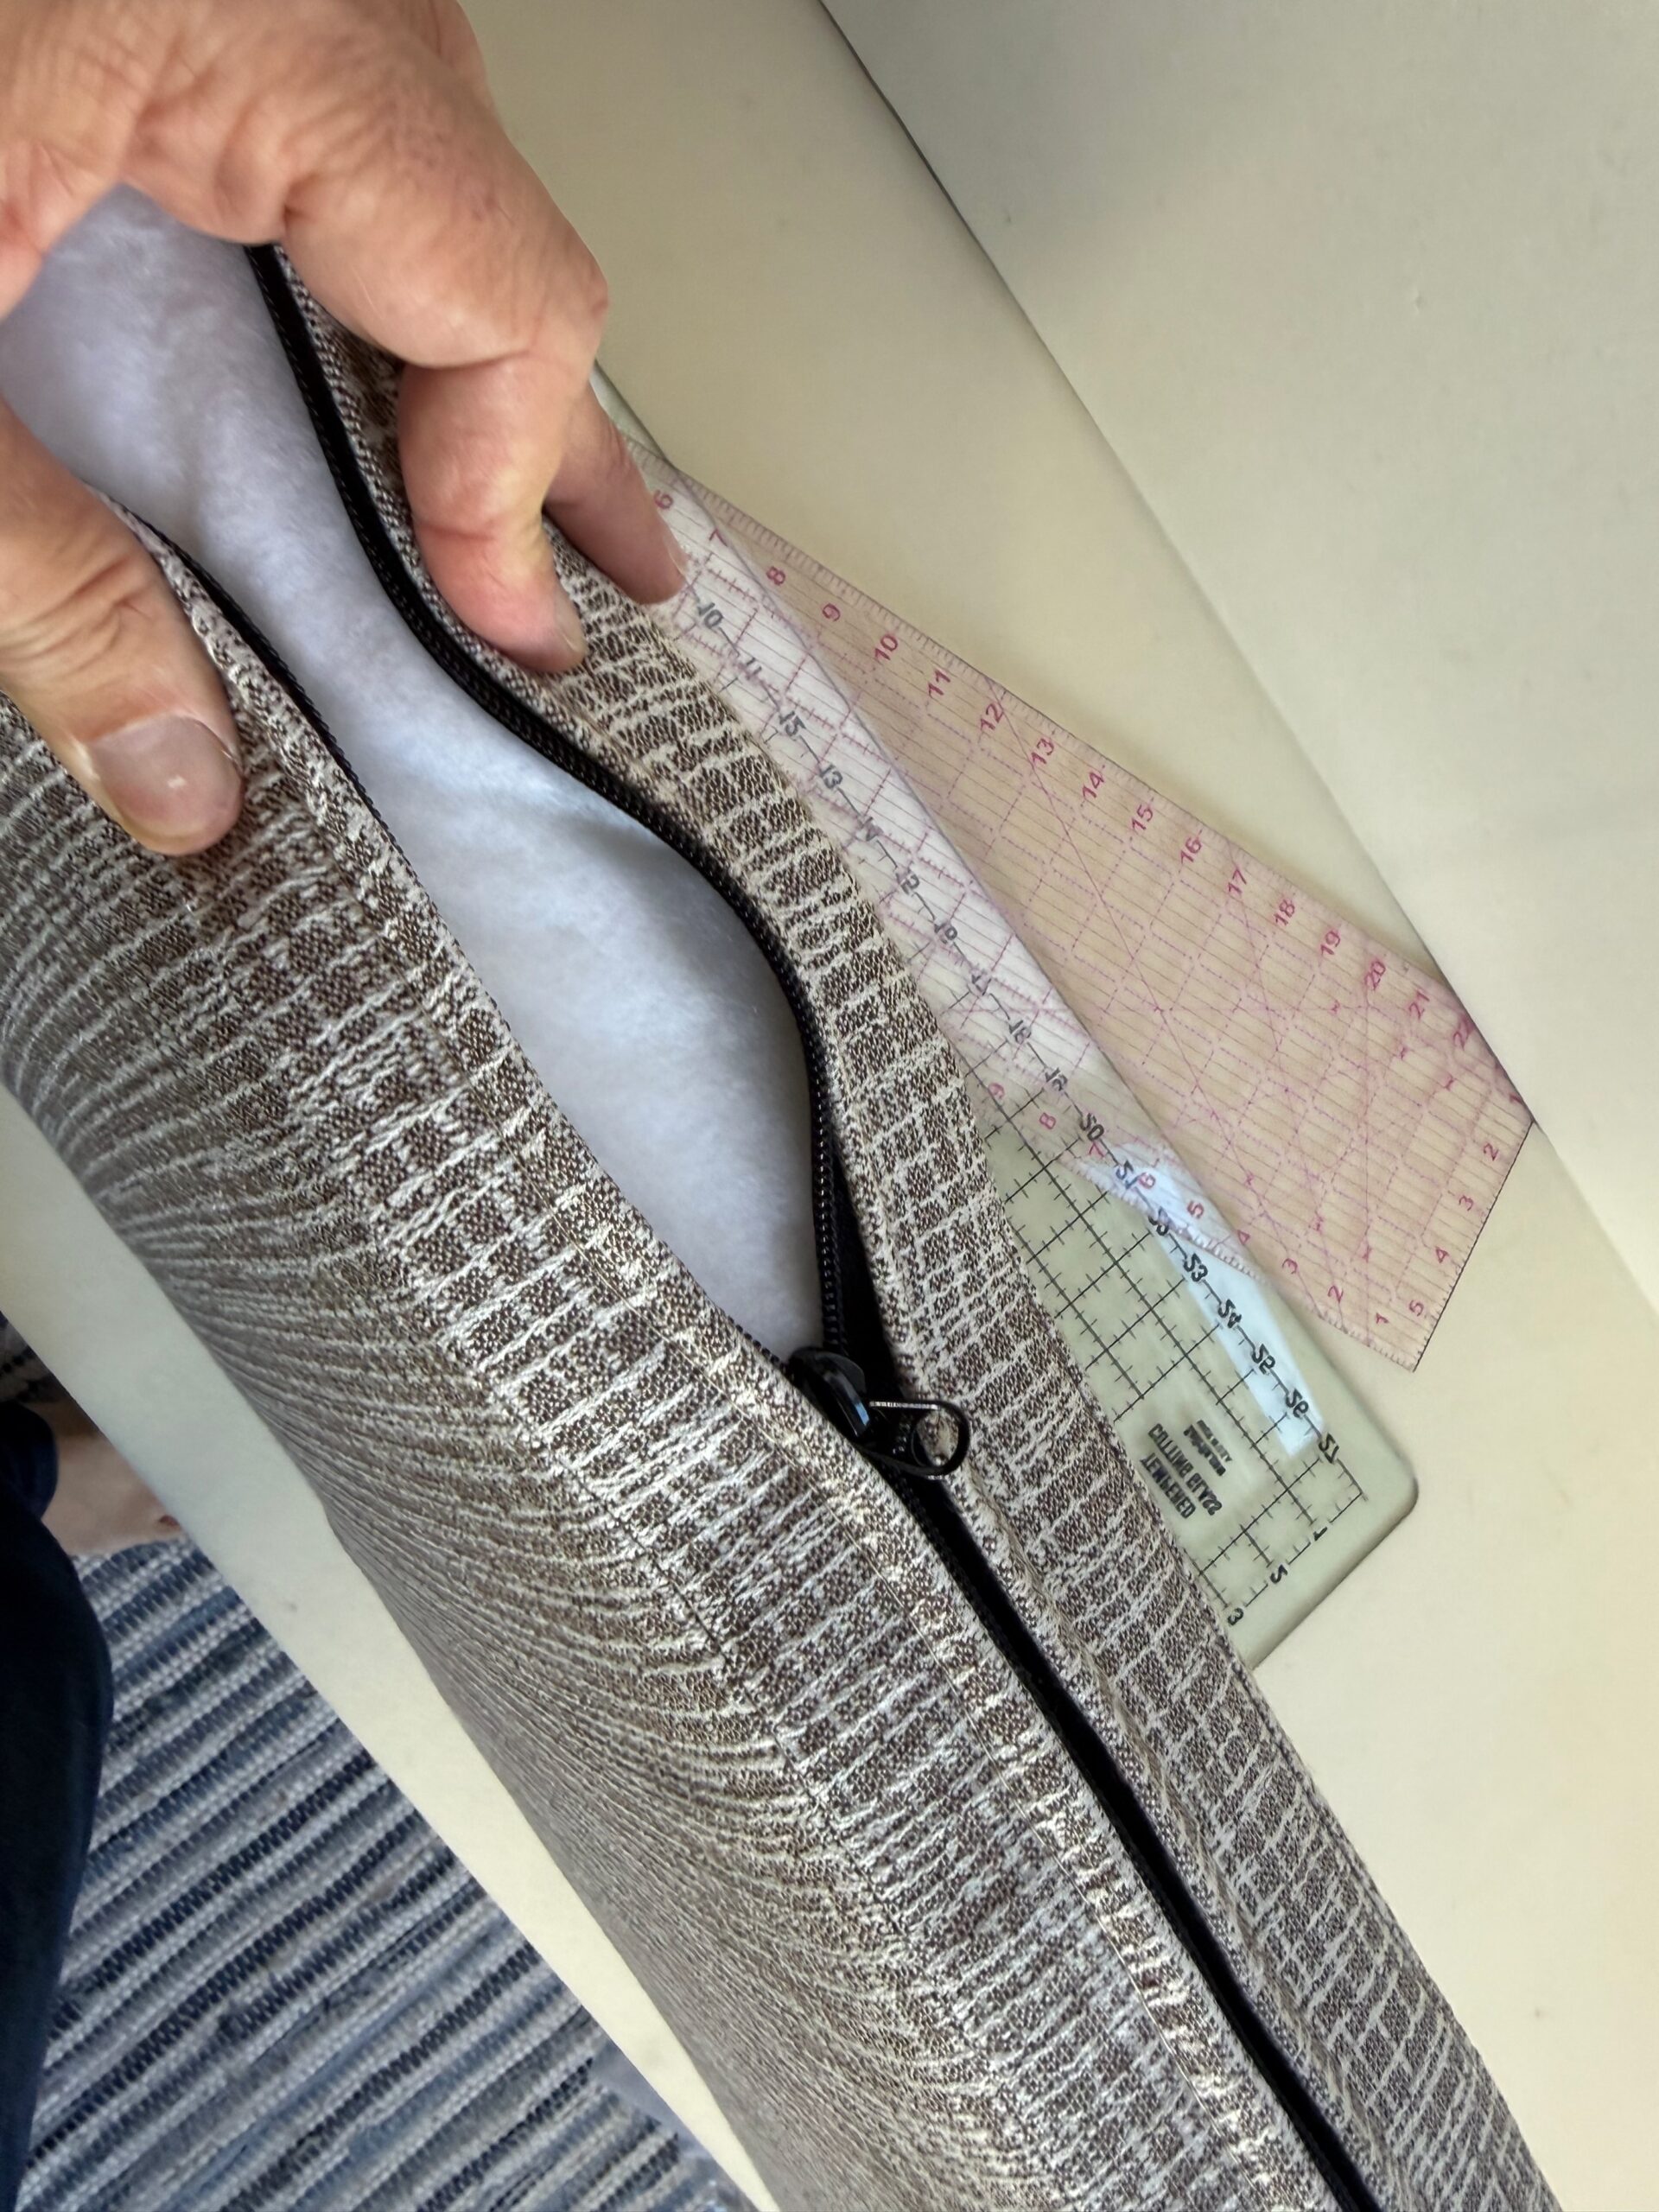
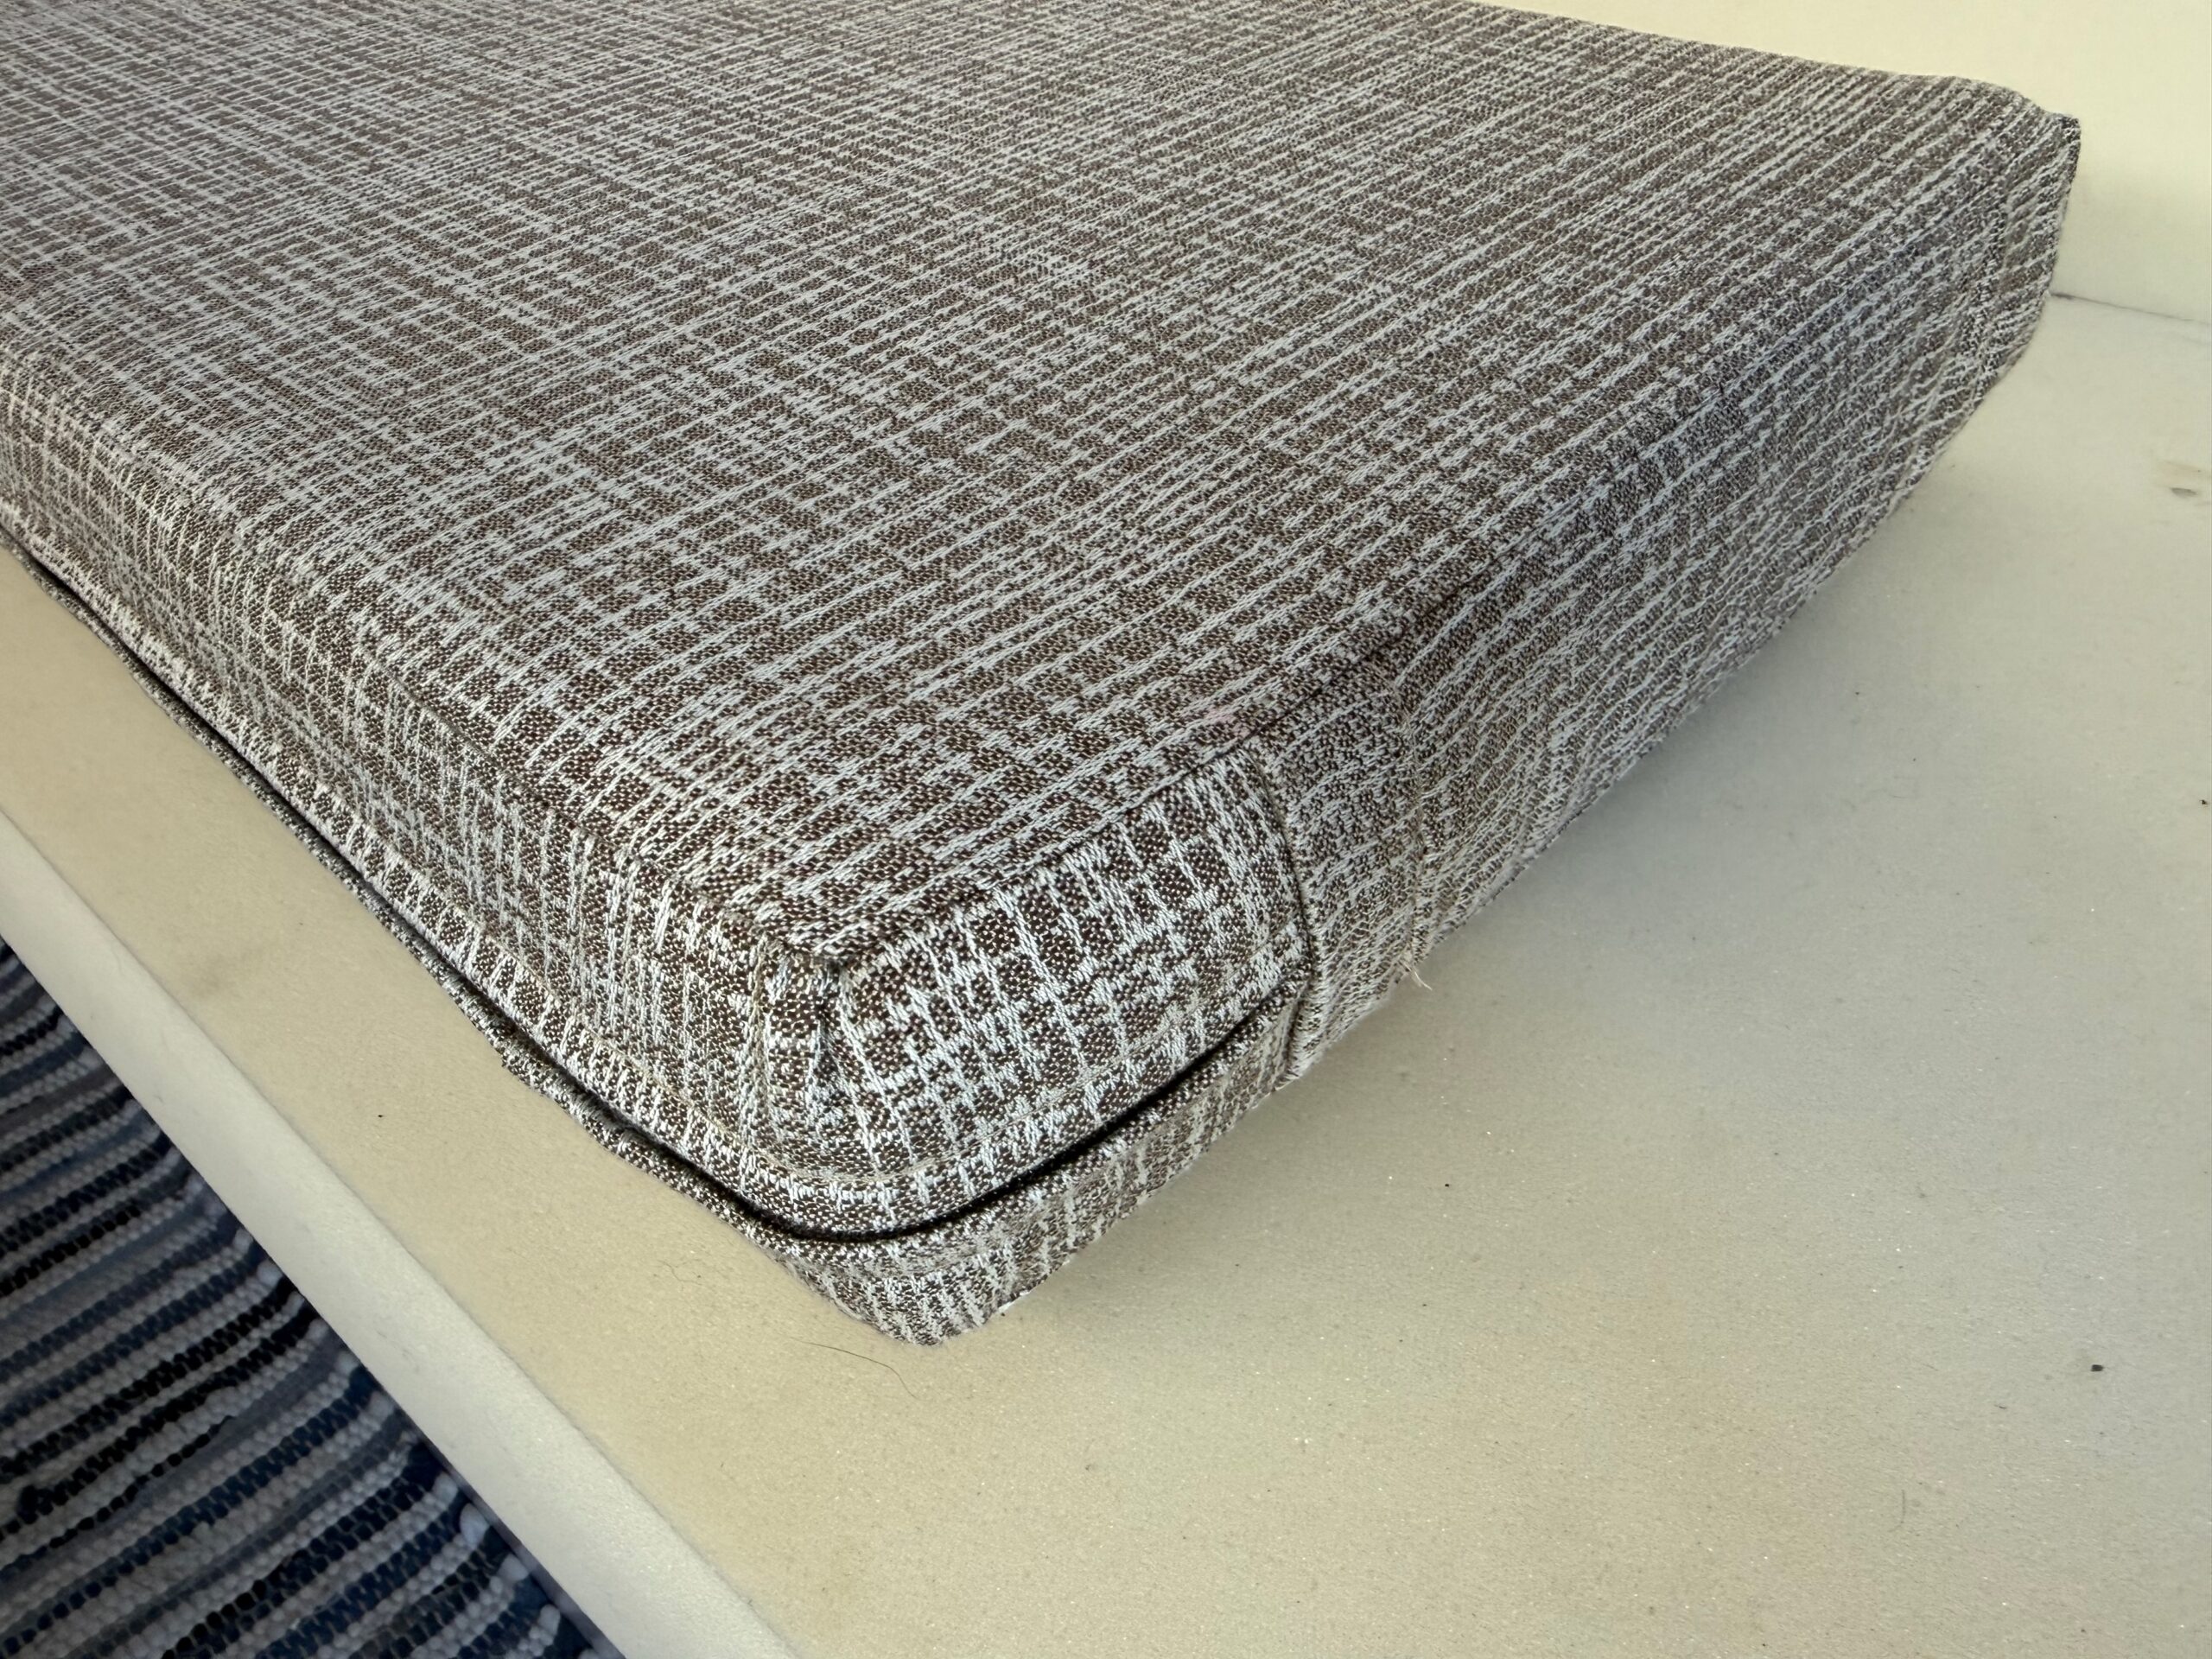
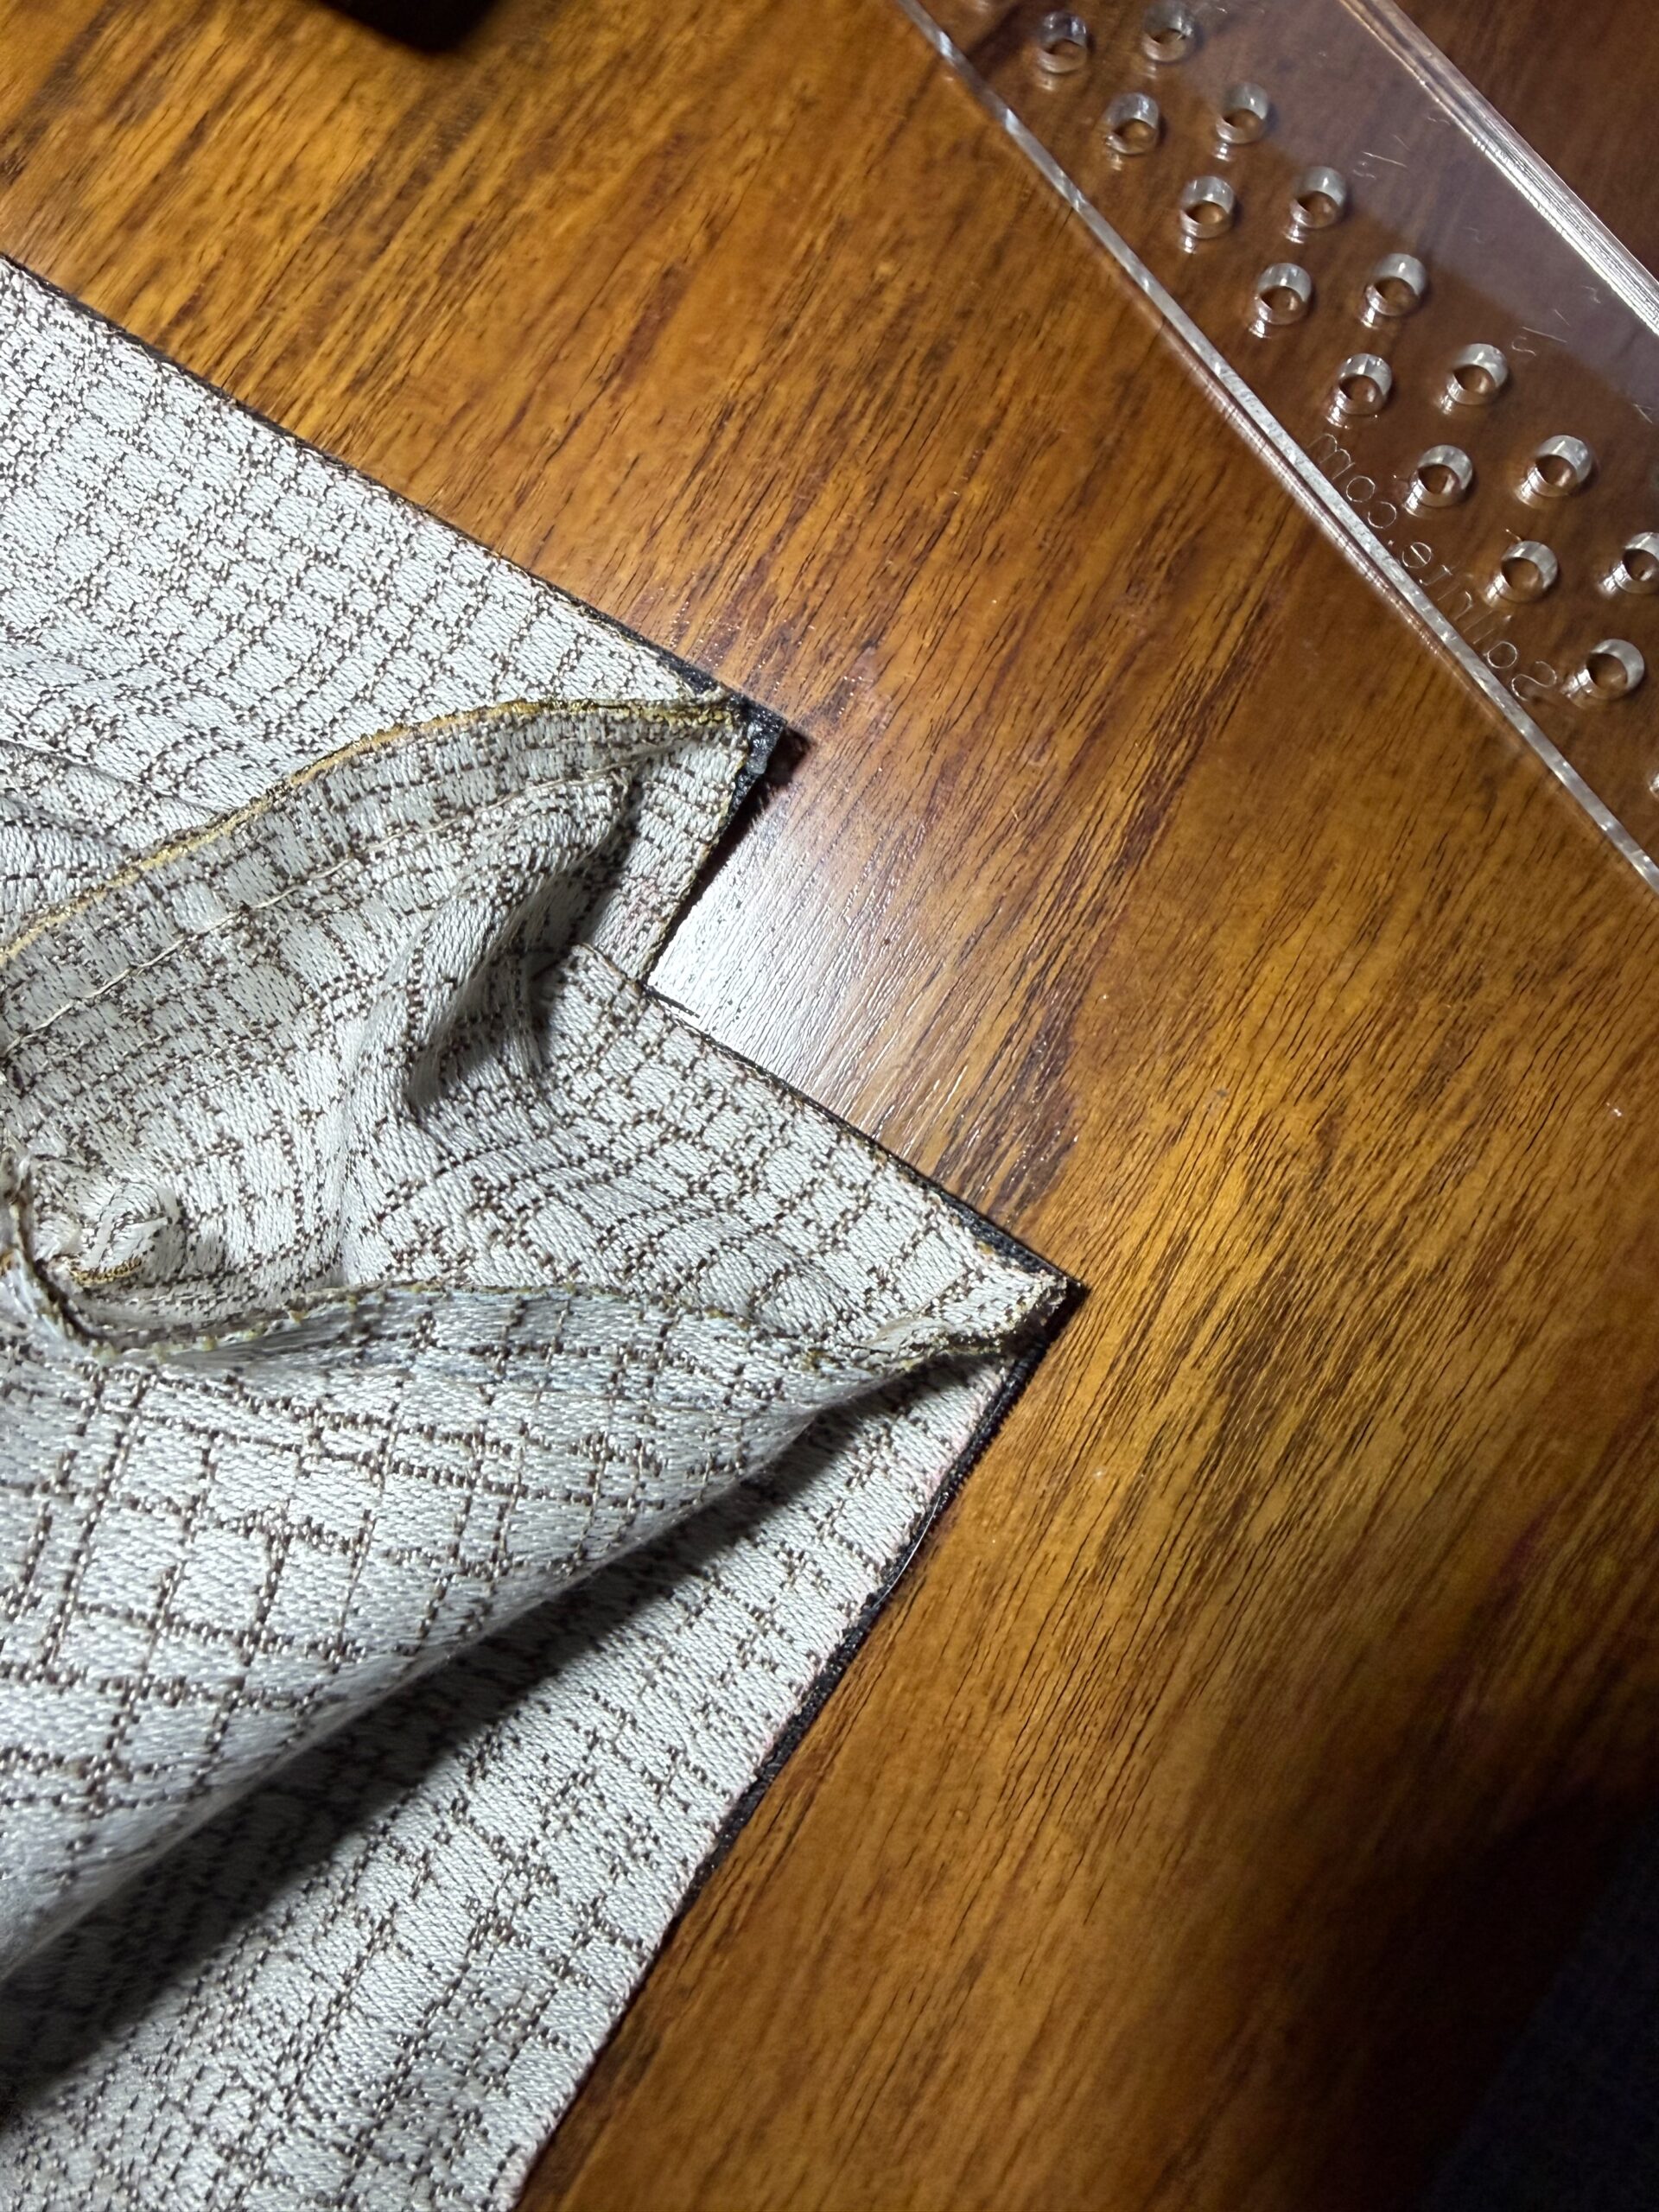
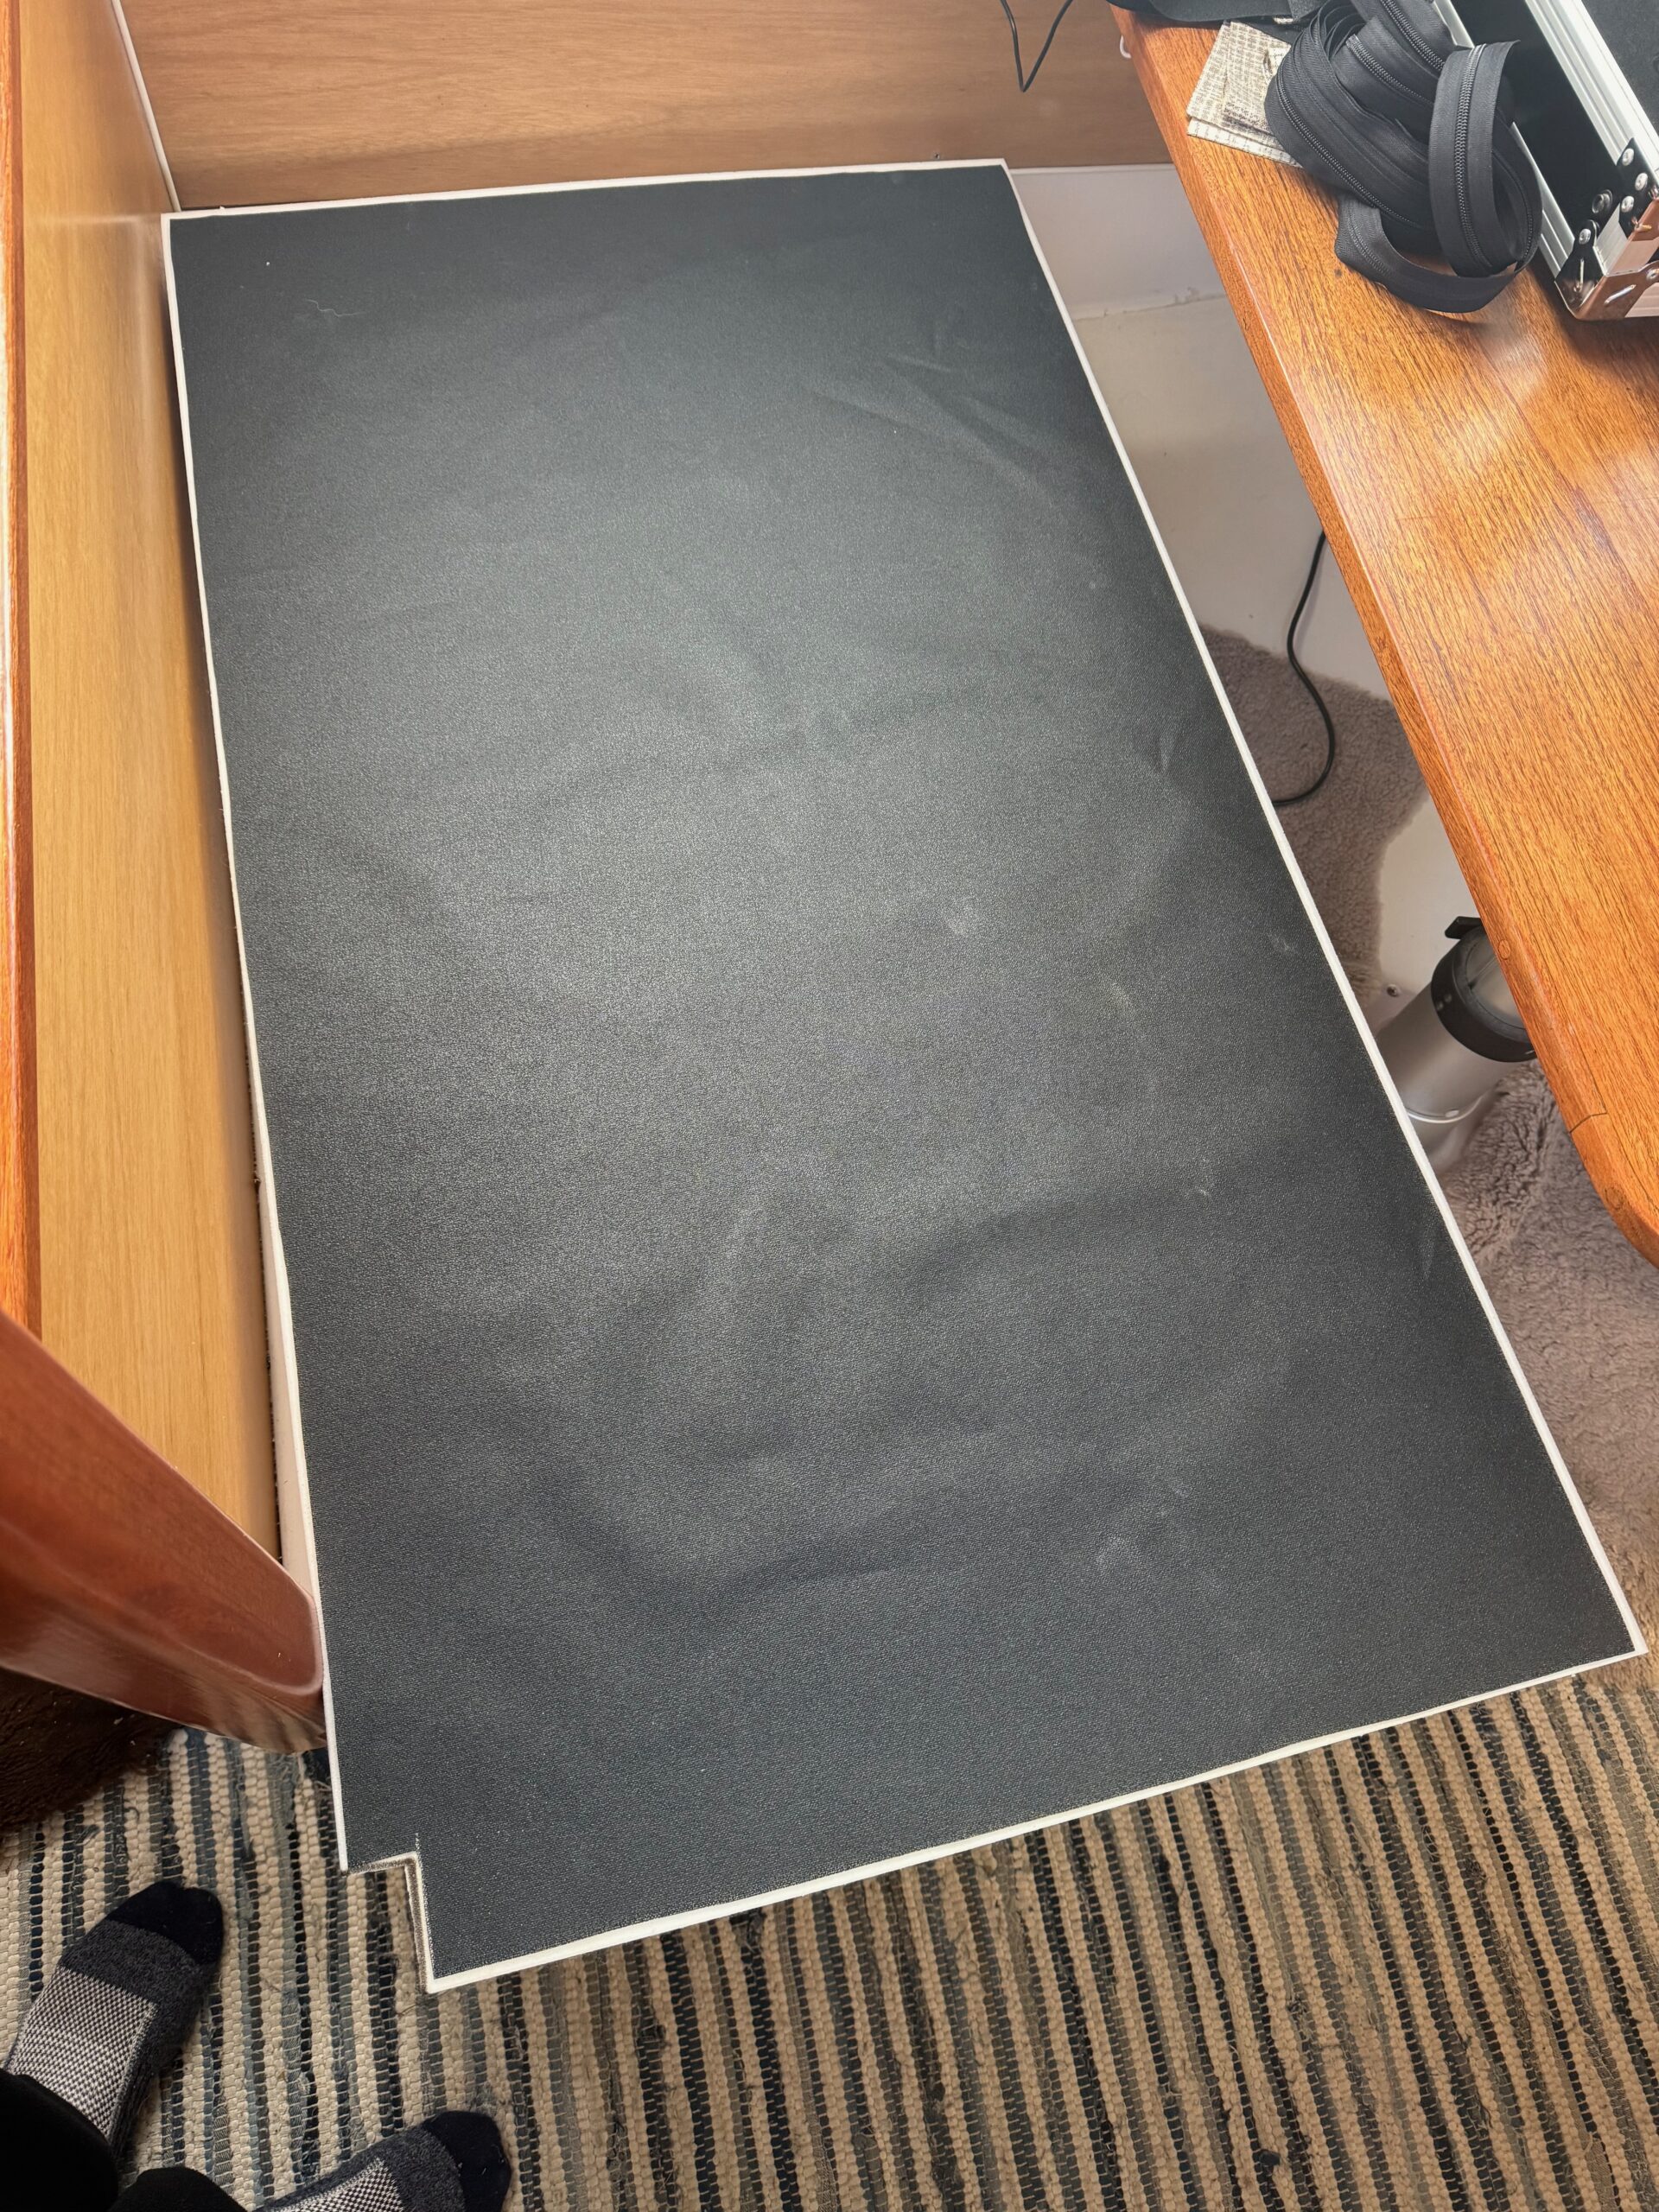
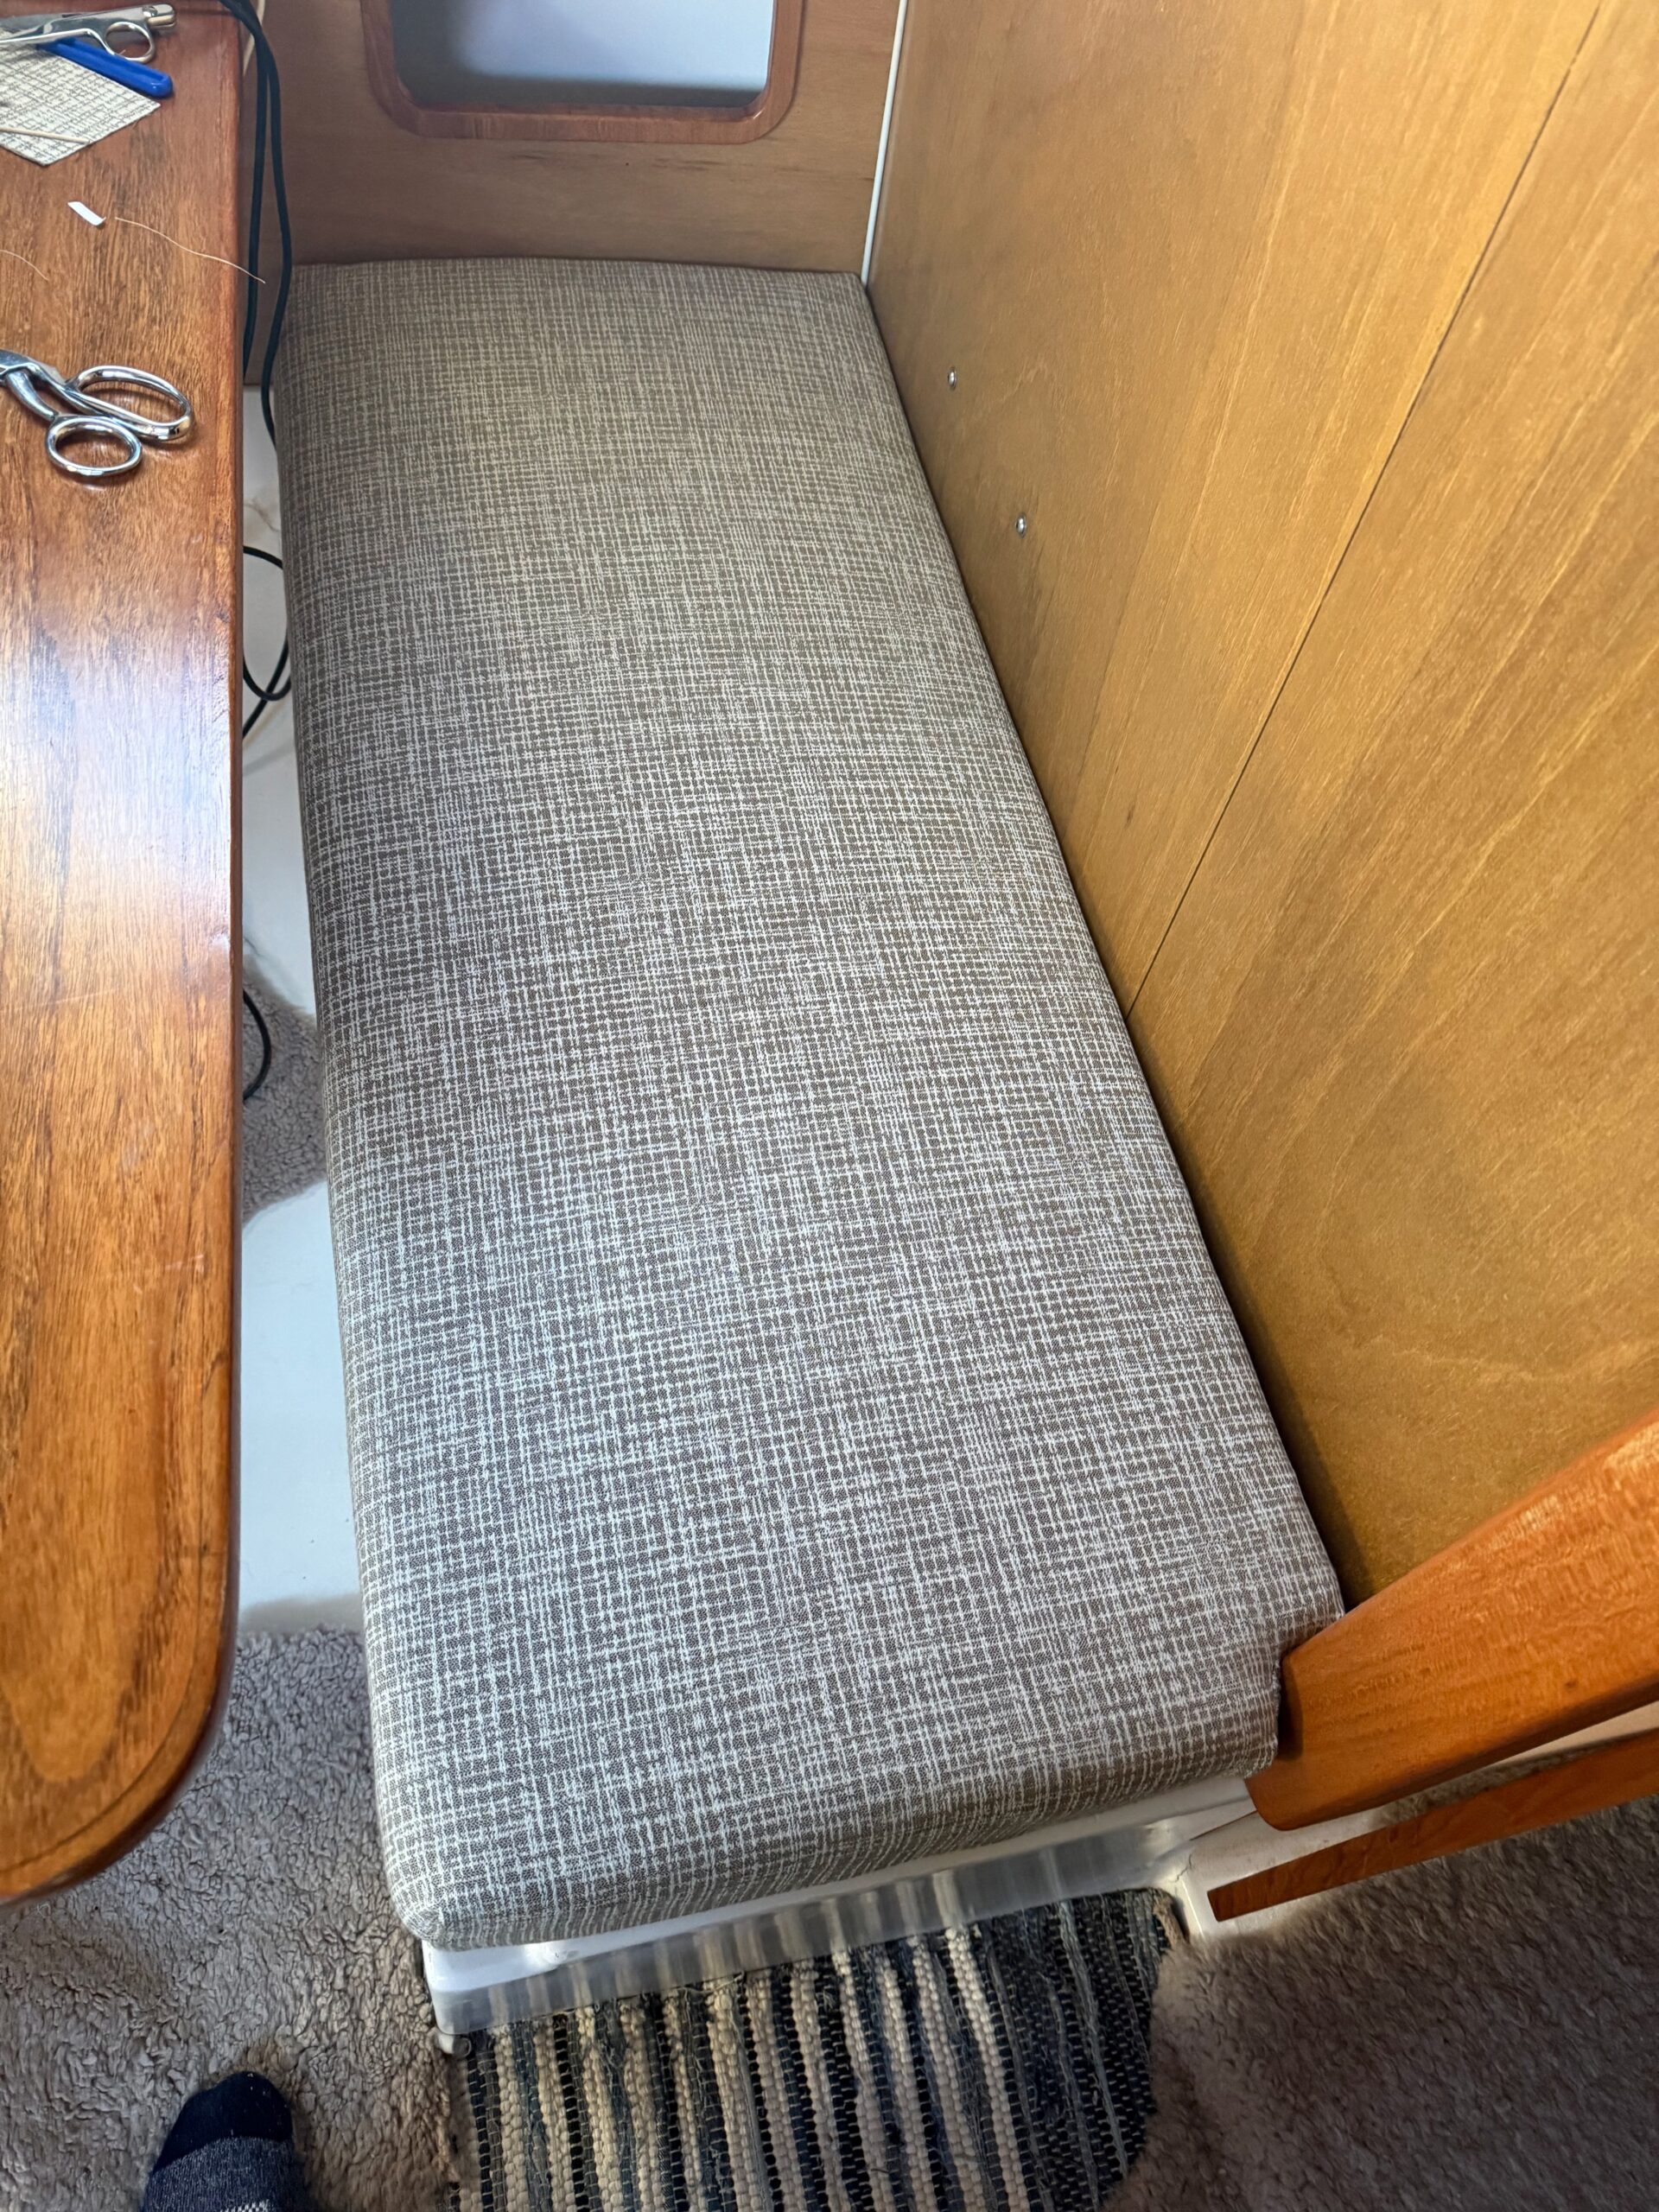
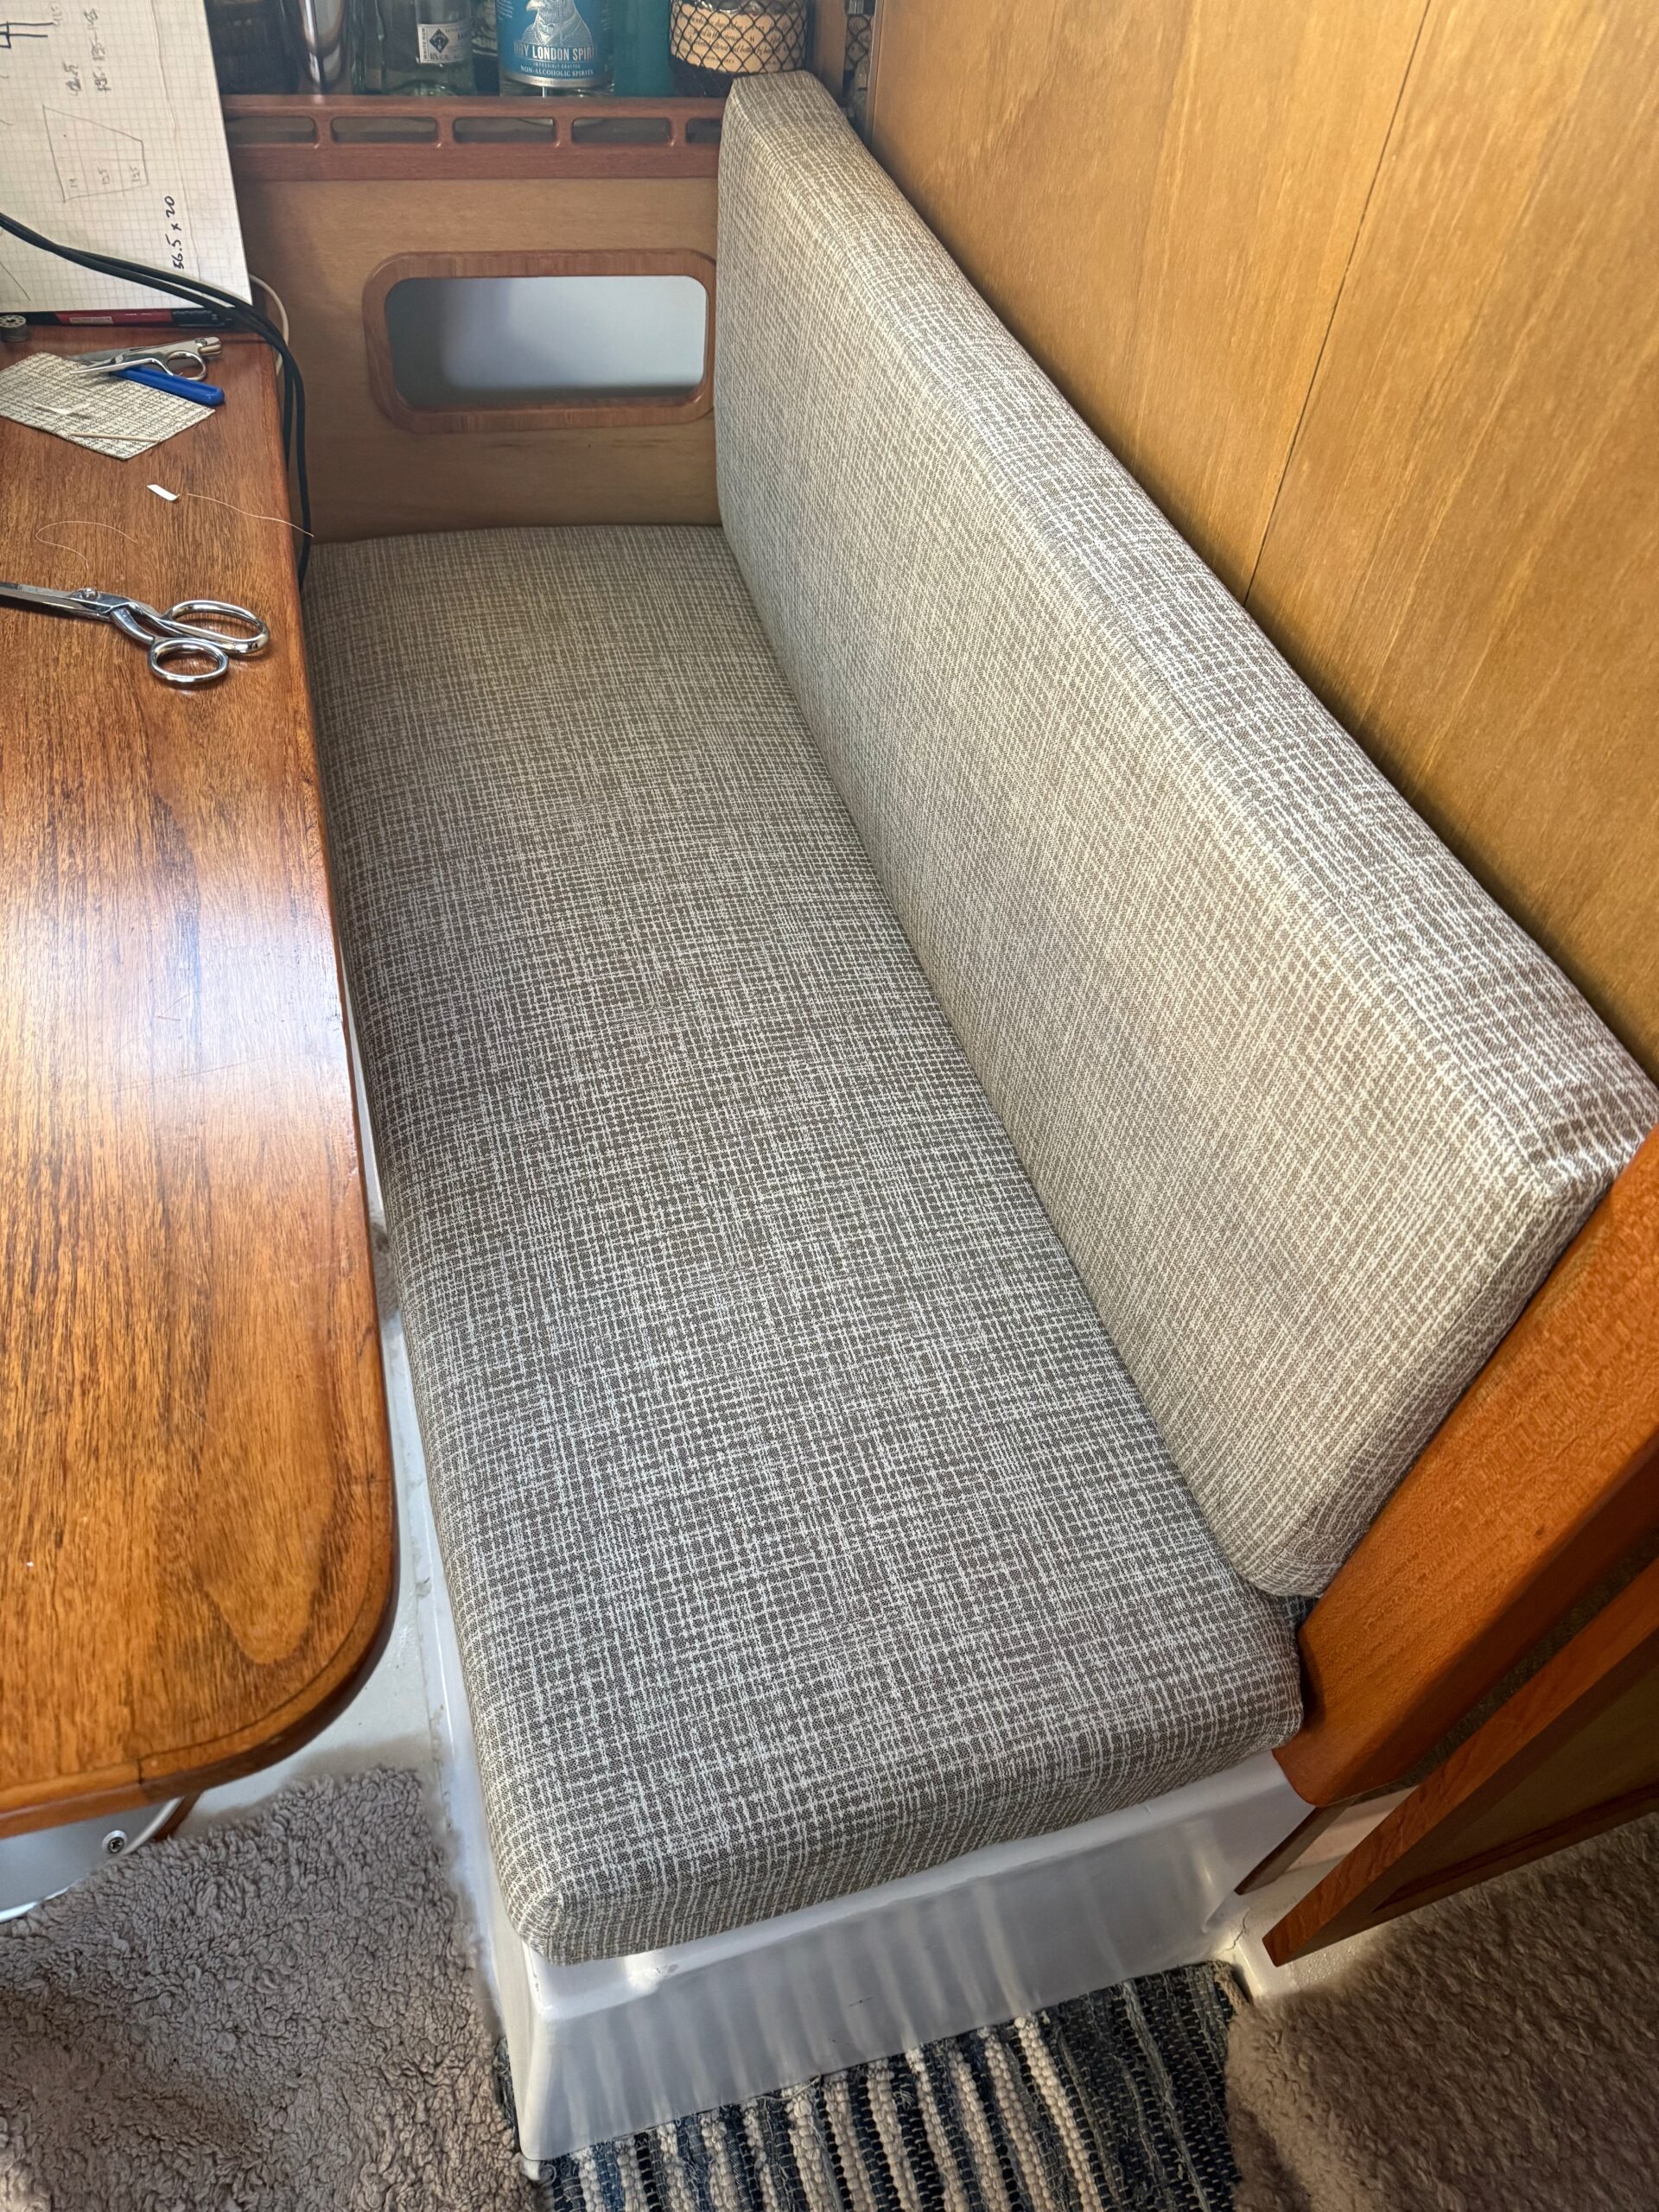
With all 3 back support cushions done, it was time to get the seats upholstered. These ones are a bit more complicated because ever single one of the 3 has a small notch on one of the corners.
That makes them not really reversible and to save on the cost of material and make them more likely to stay in place I ended up using special nonskid backing. The zipper goes into the backing panel.
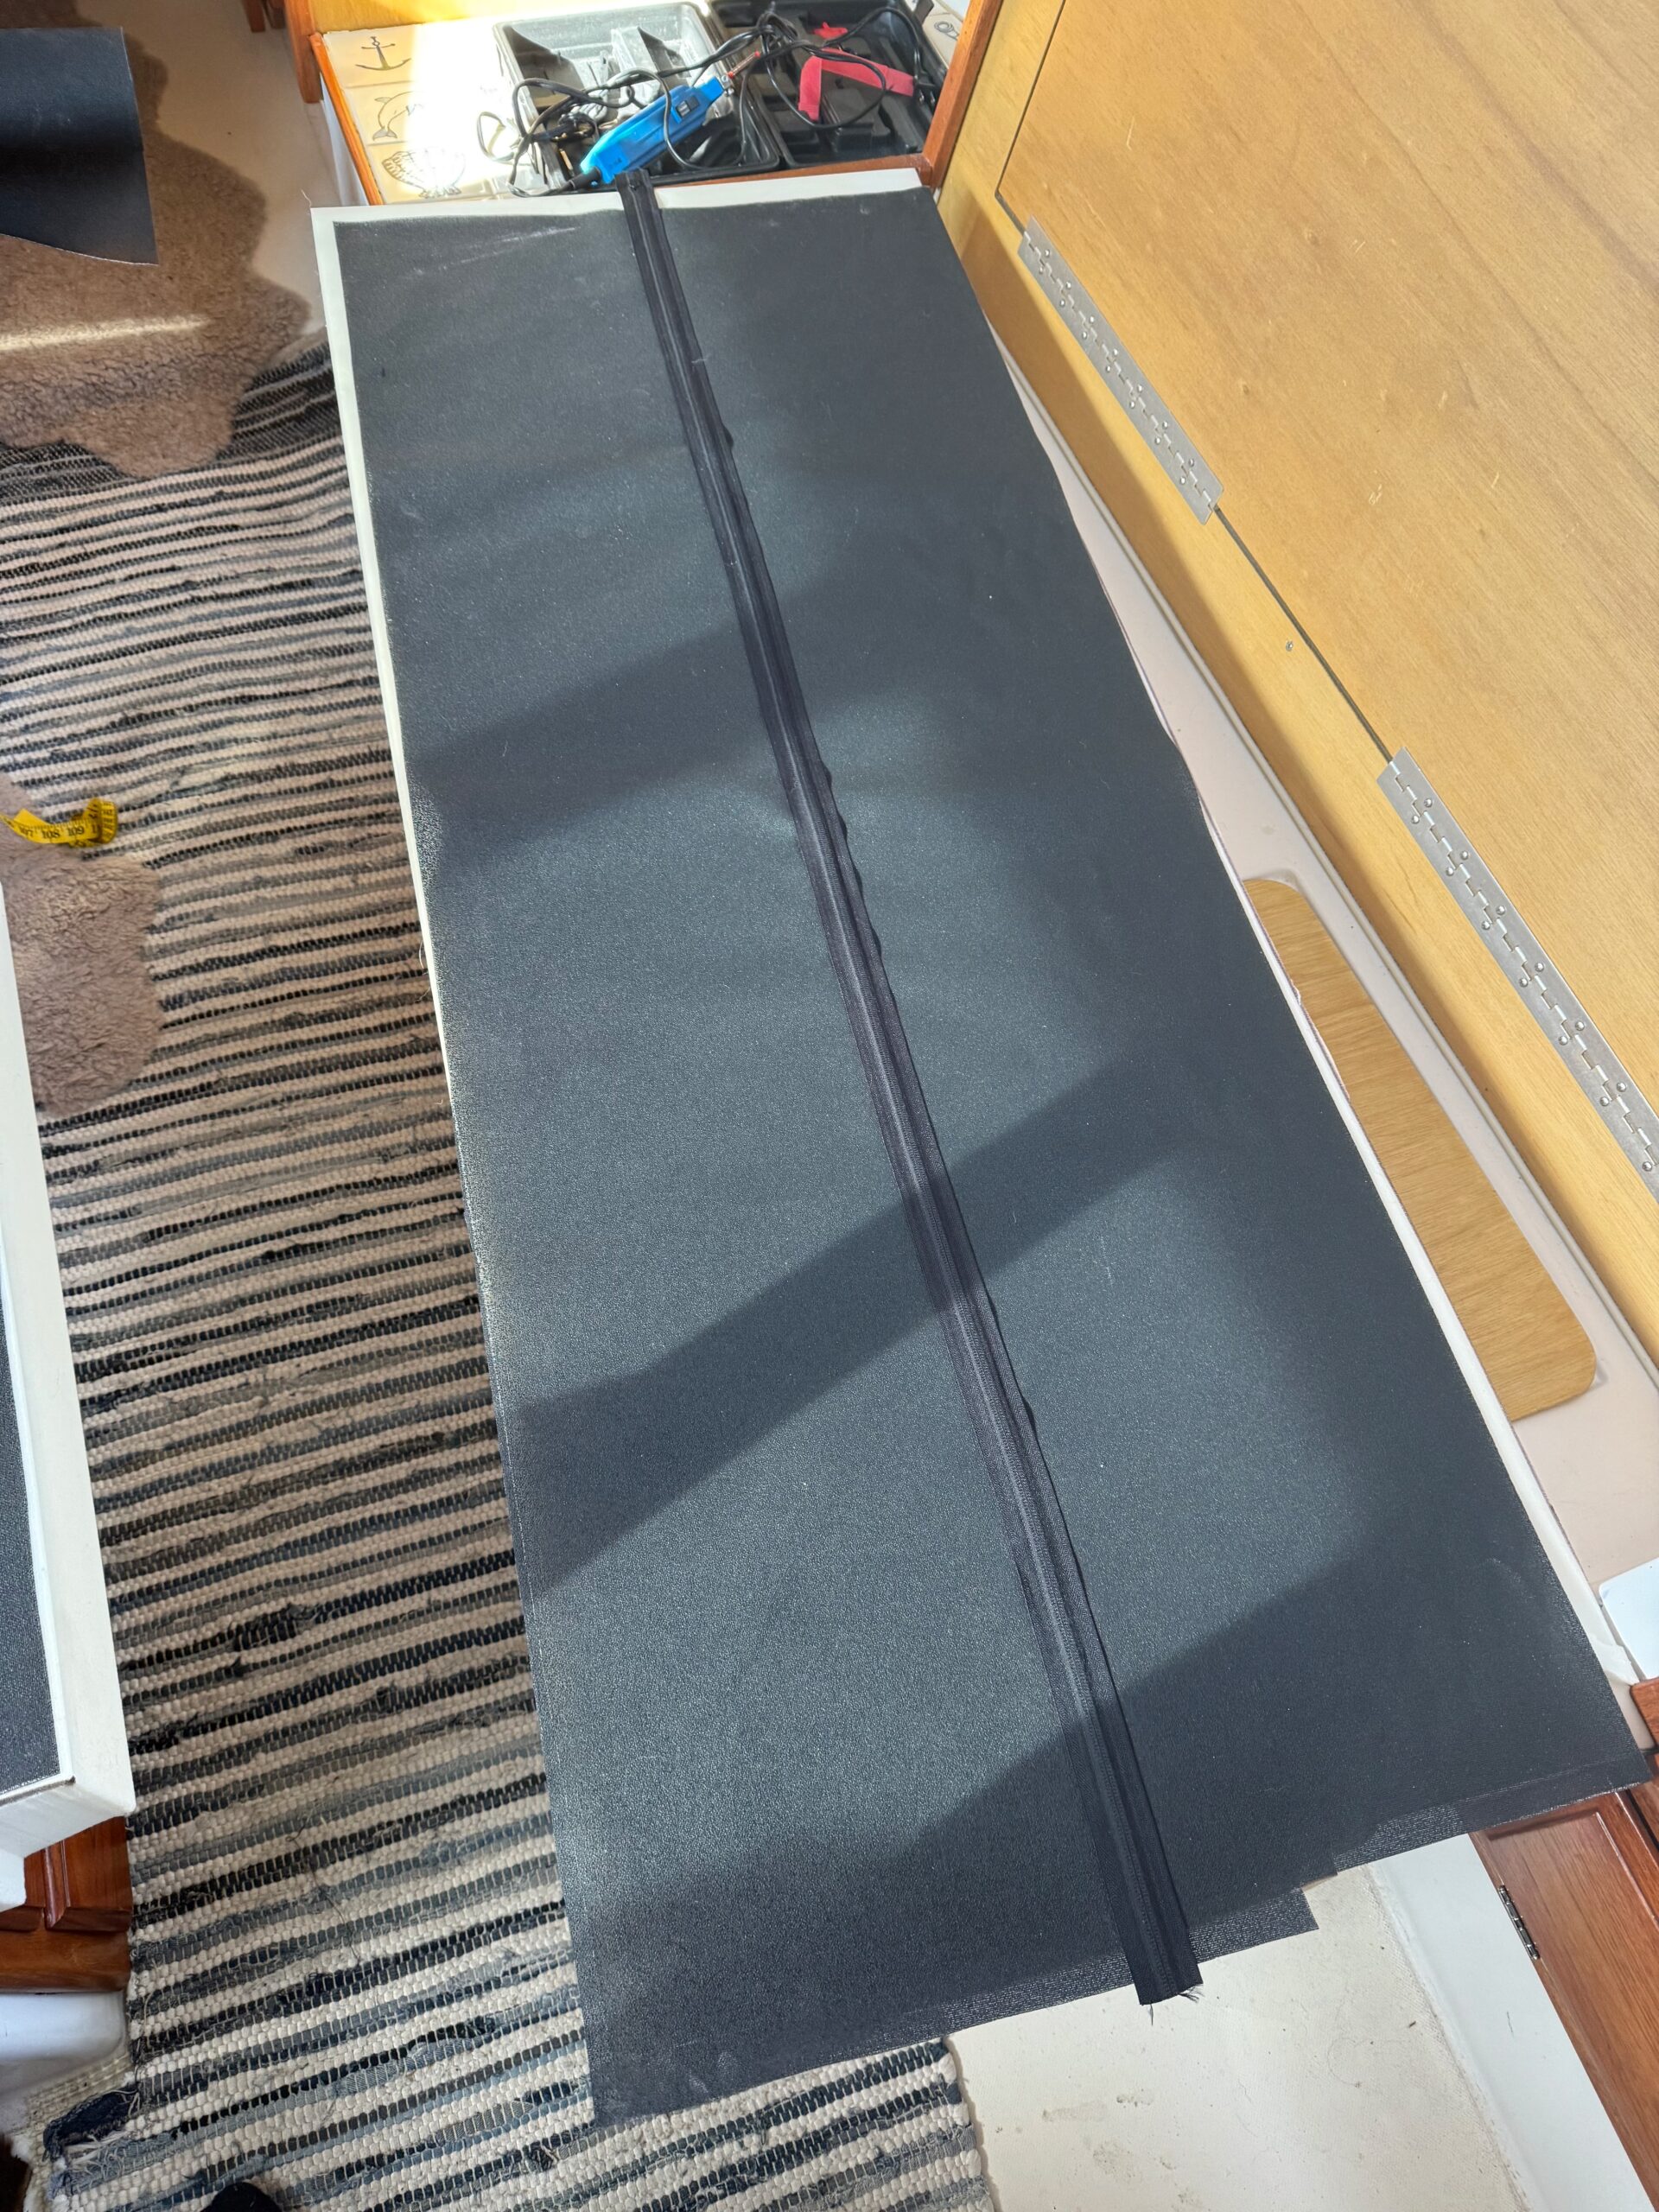
Then I make the top part using “simple box cushion”, except of course it has a notch that takes the “simple” part out of the name 🙂
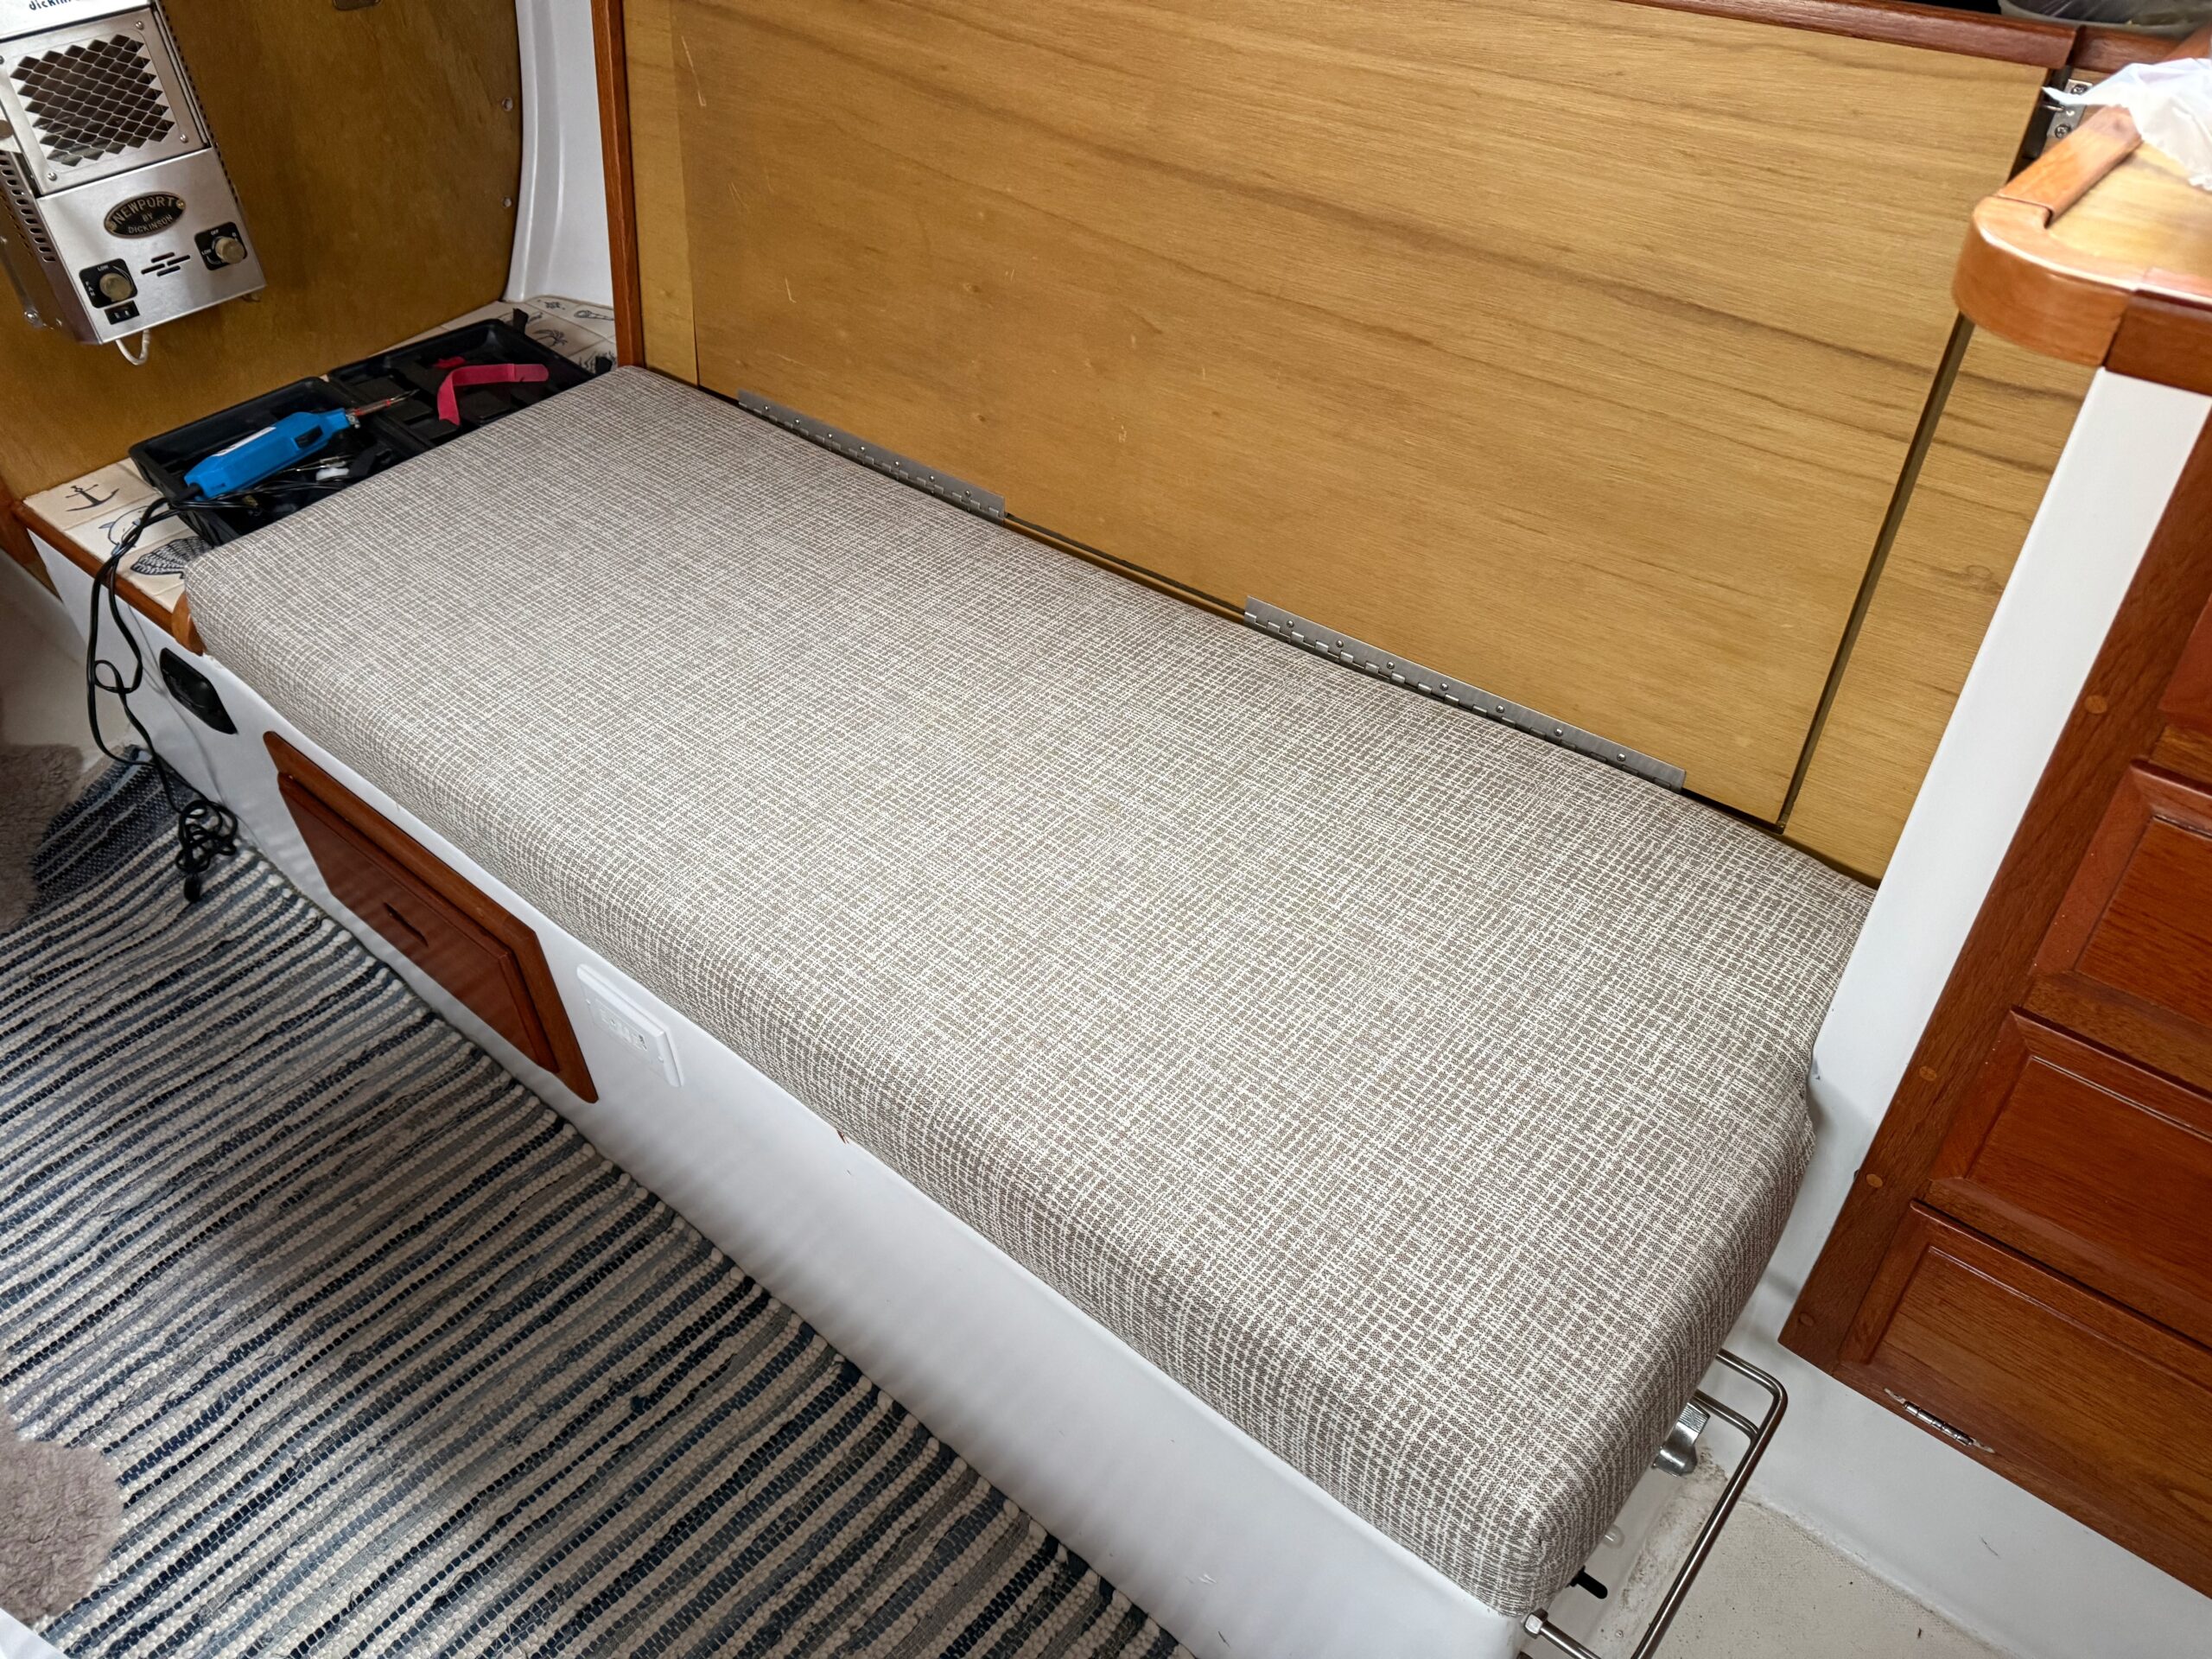
Turned out pretty nice.
Made the final reversible cushion for the back of the seat by the fireplace. Now all the remaining ones are simple box cushions and should move quicker. Fingers crossed.
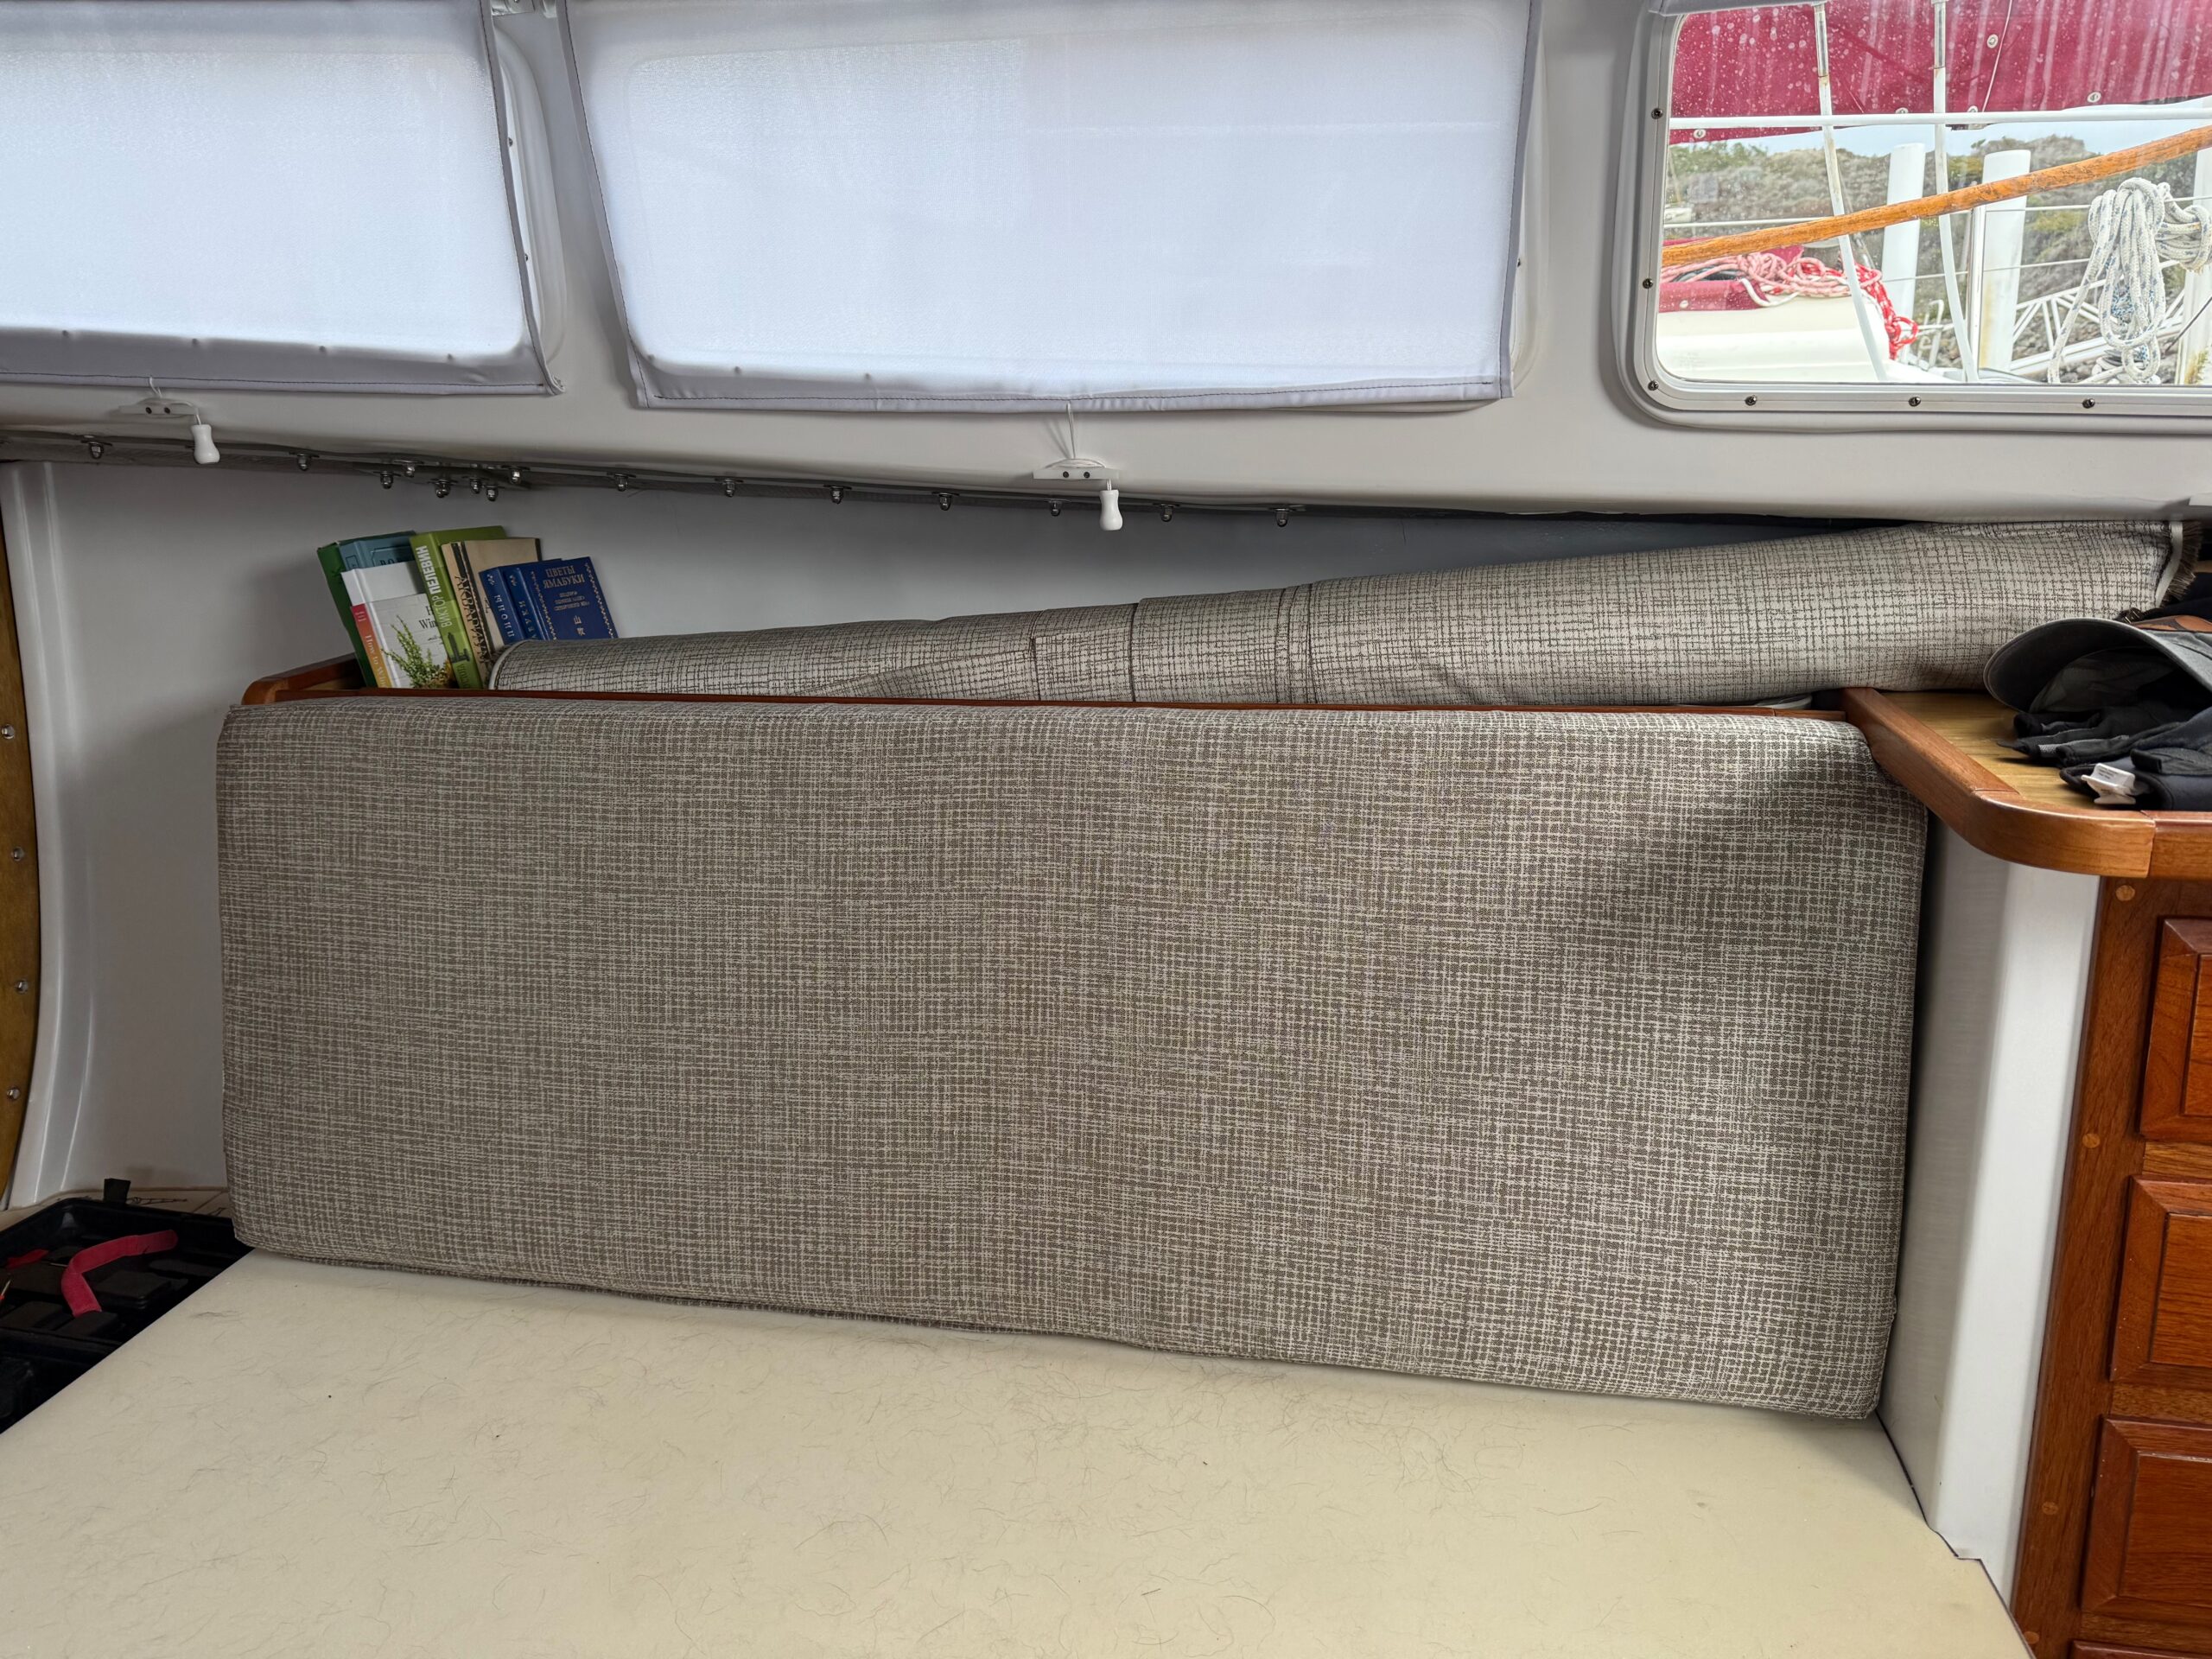
Making progress on cushions. Made the 2nd reversible cover for the back of the saloon seat. Turned out pretty nice – happy with it.