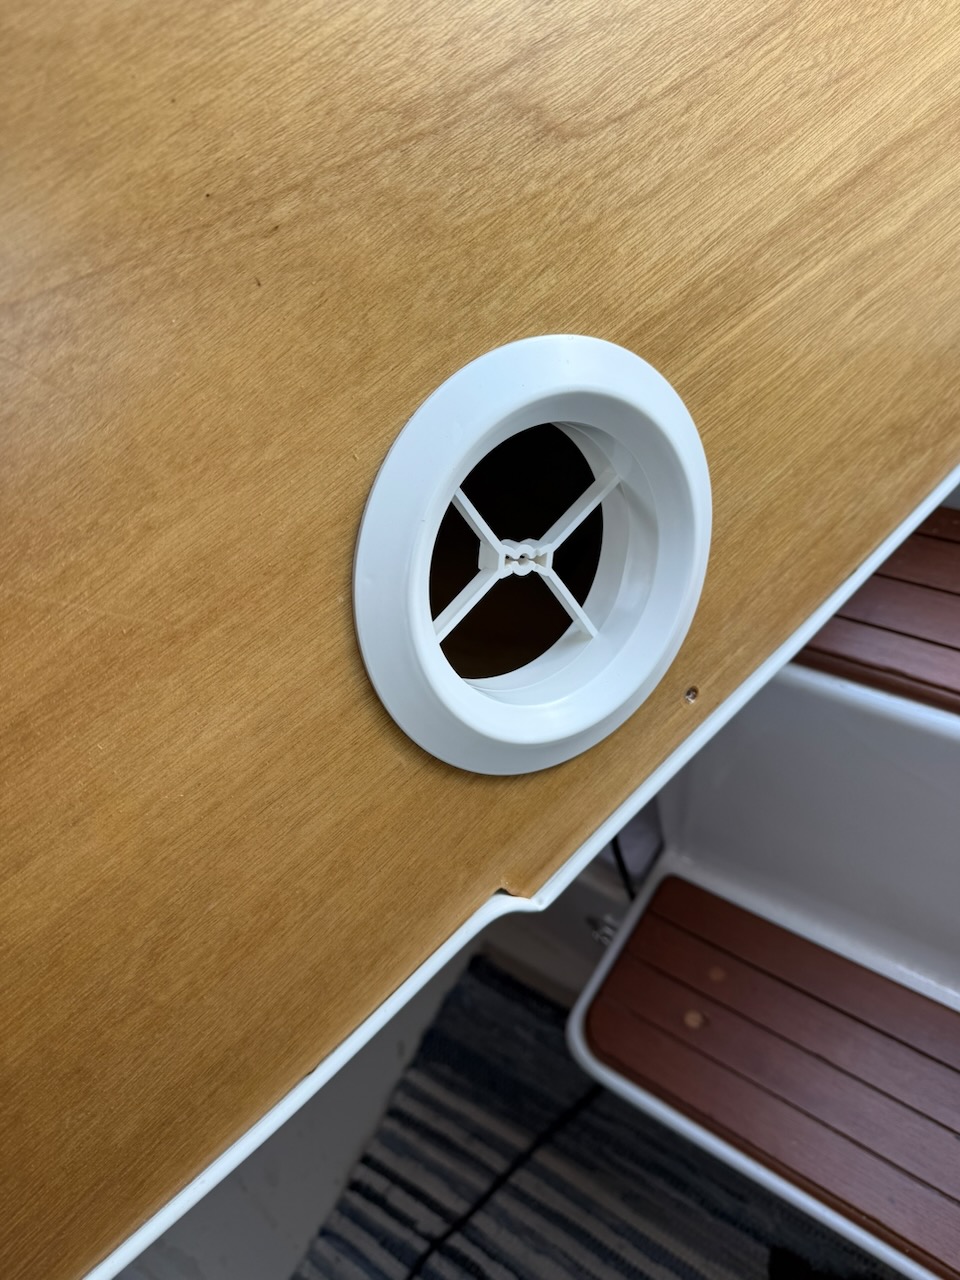
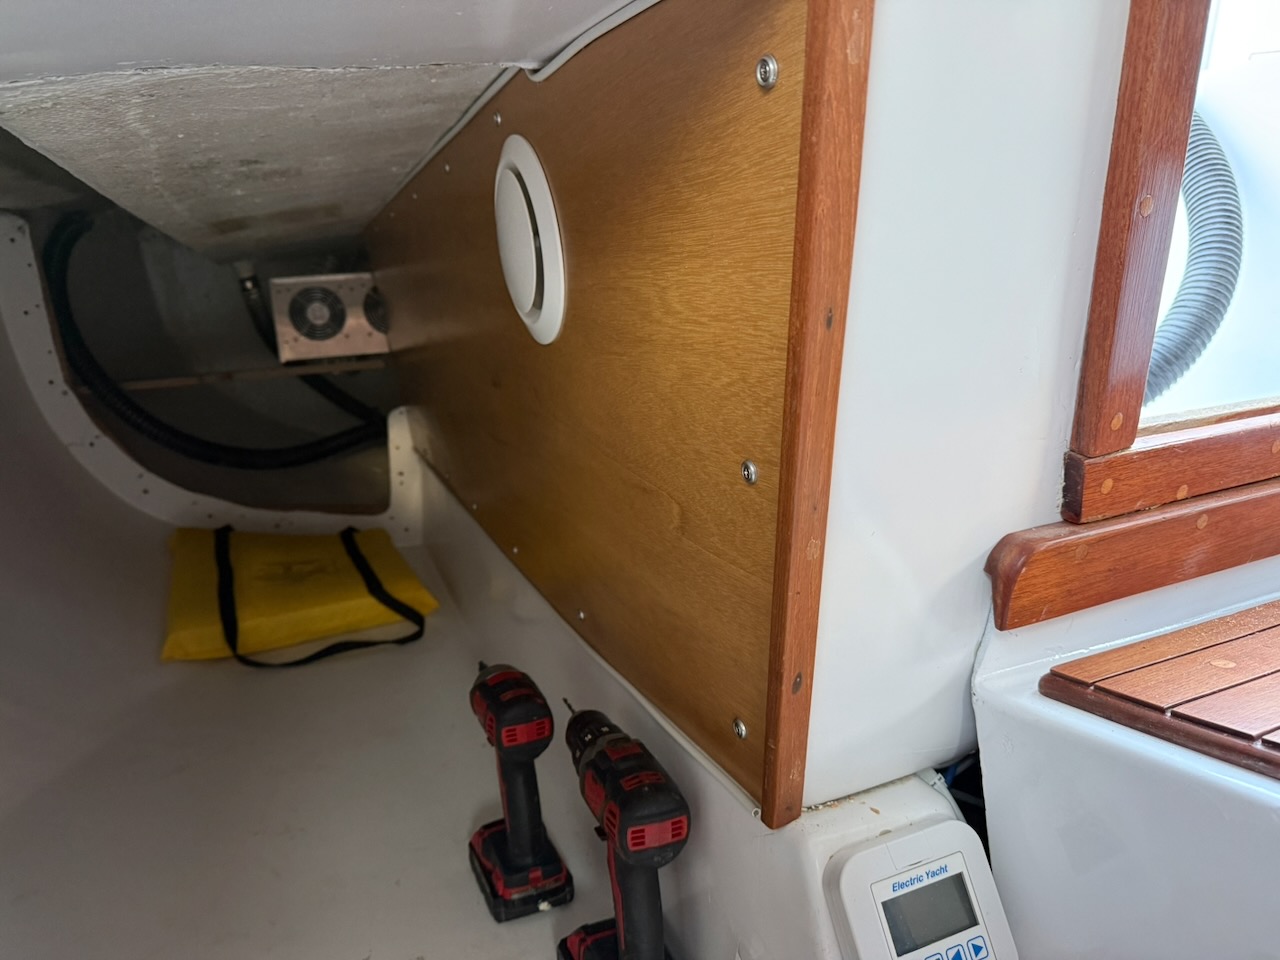
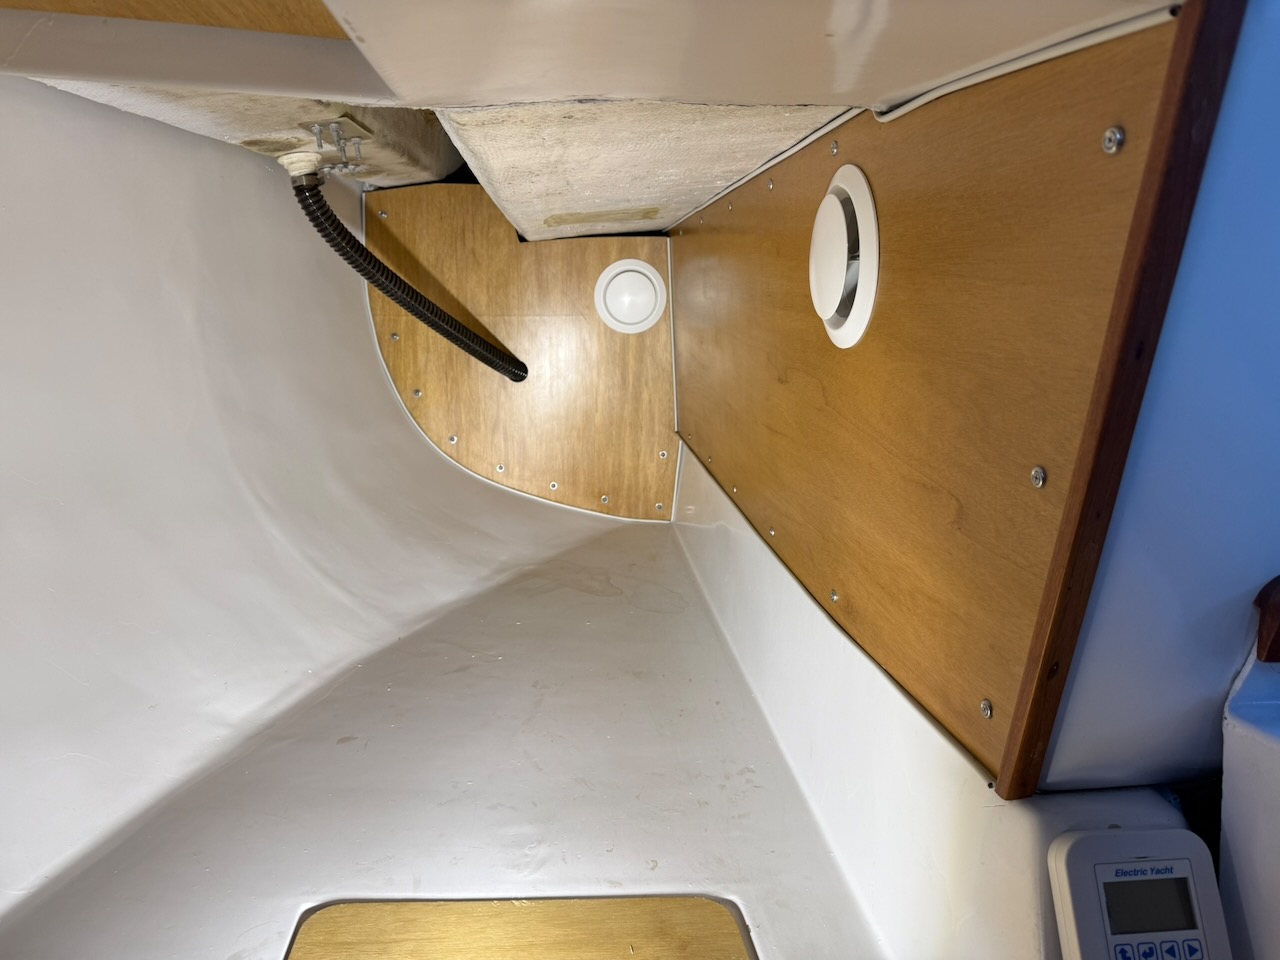
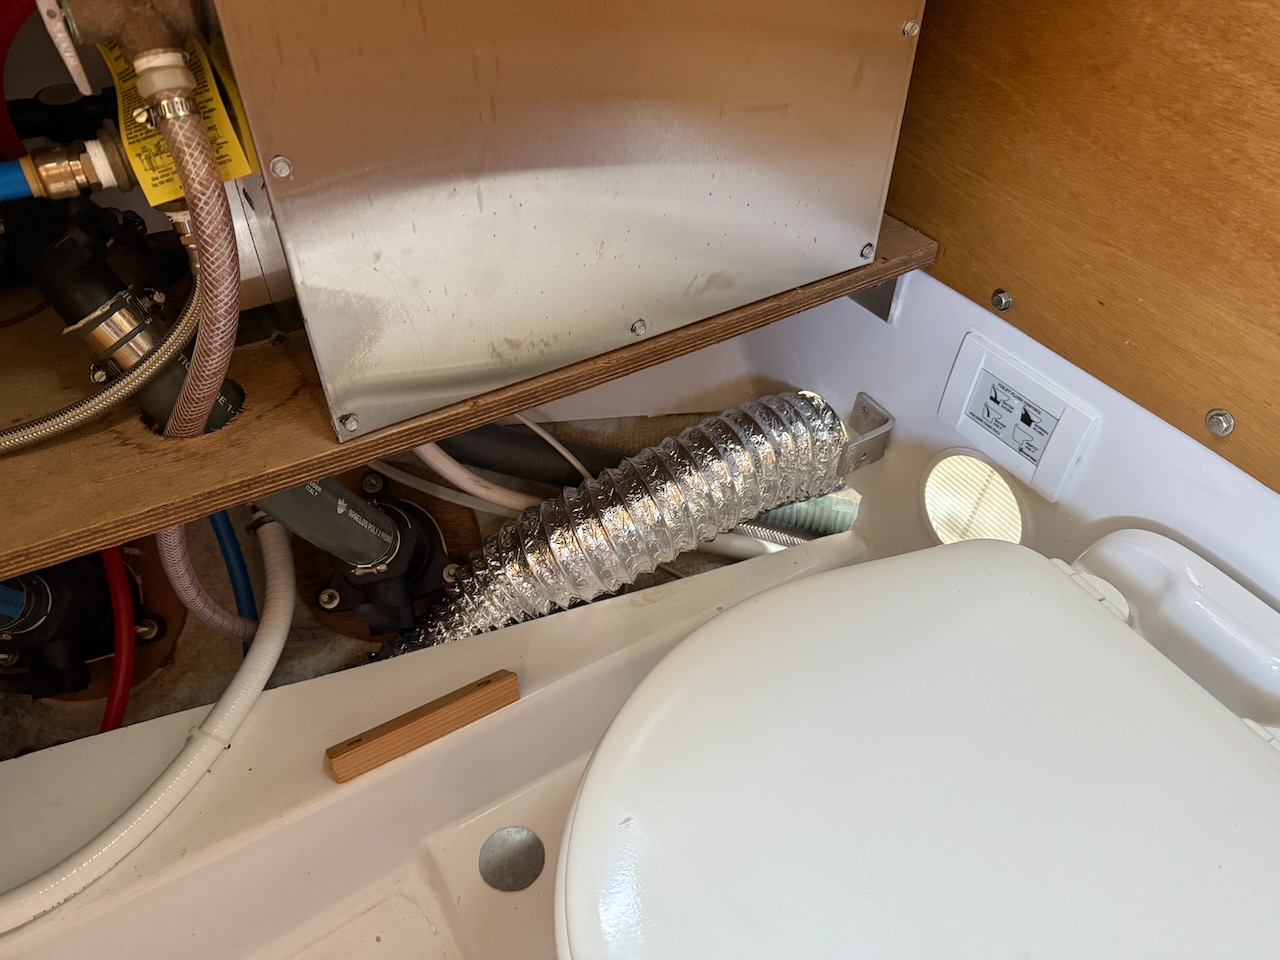
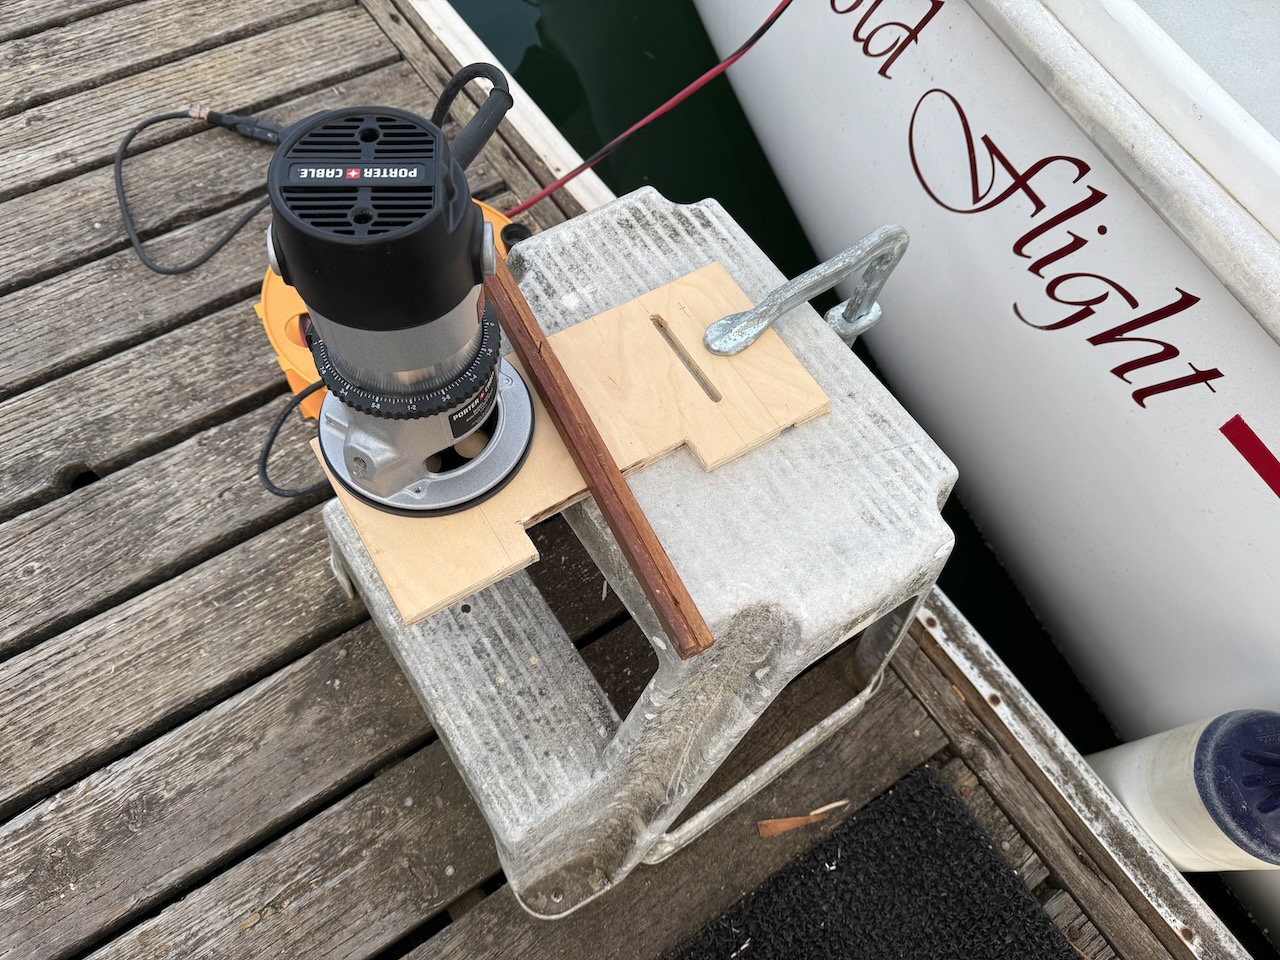
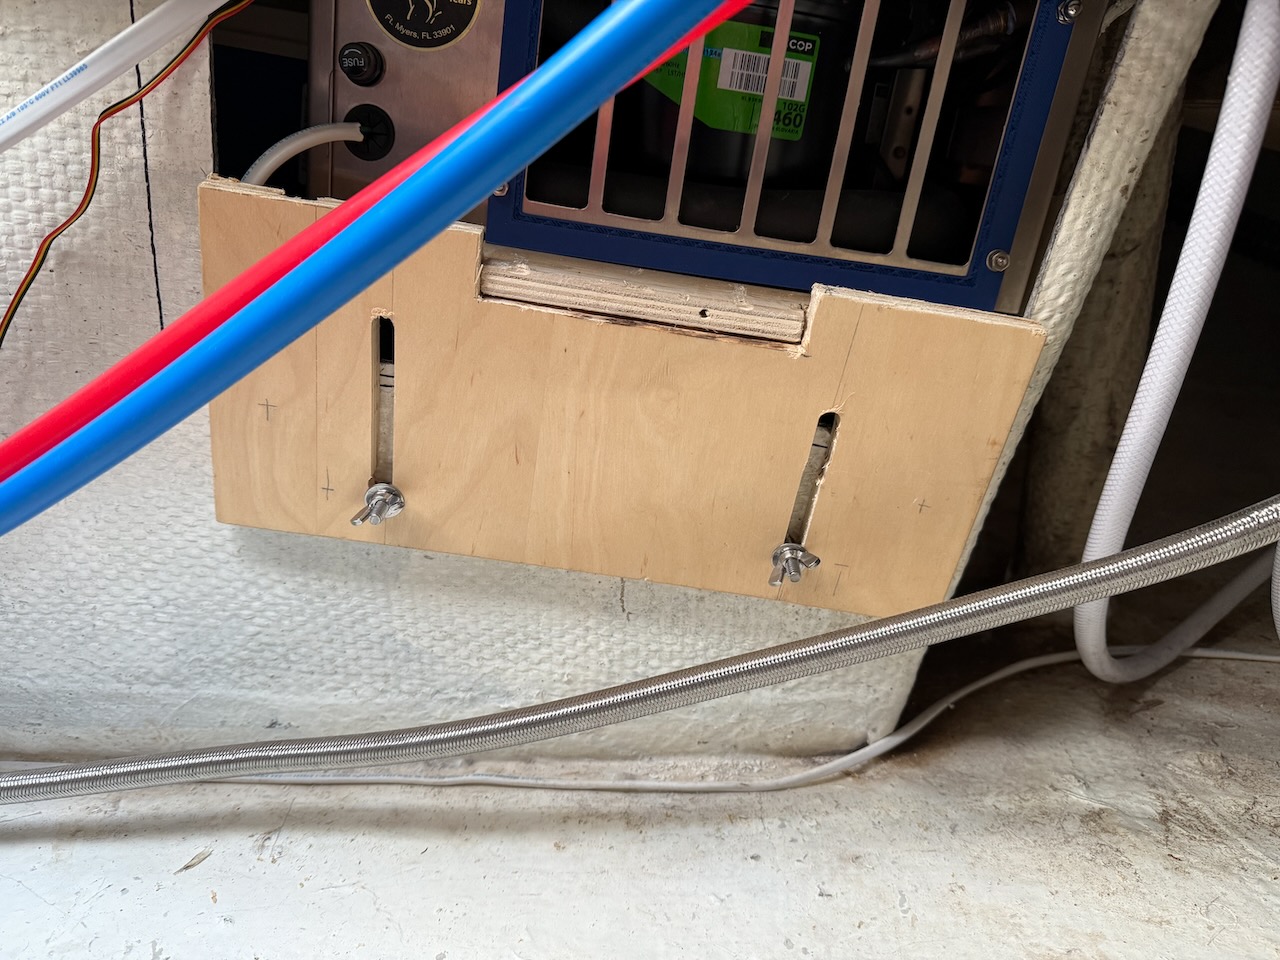
Picking up from the last push on dehumidifier, I strapped down to the new shelf, cut out air vents in the panels and re-installed panels back. Nice and clean.

1971 Newport 30 Sailboat
Picking up from the last push on dehumidifier, I strapped down to the new shelf, cut out air vents in the panels and re-installed panels back. Nice and clean.
With foam in the saloon, pushed hard this weekend to get dehumidifier installation complete and get interior humidity to mold-unfriendly levels.
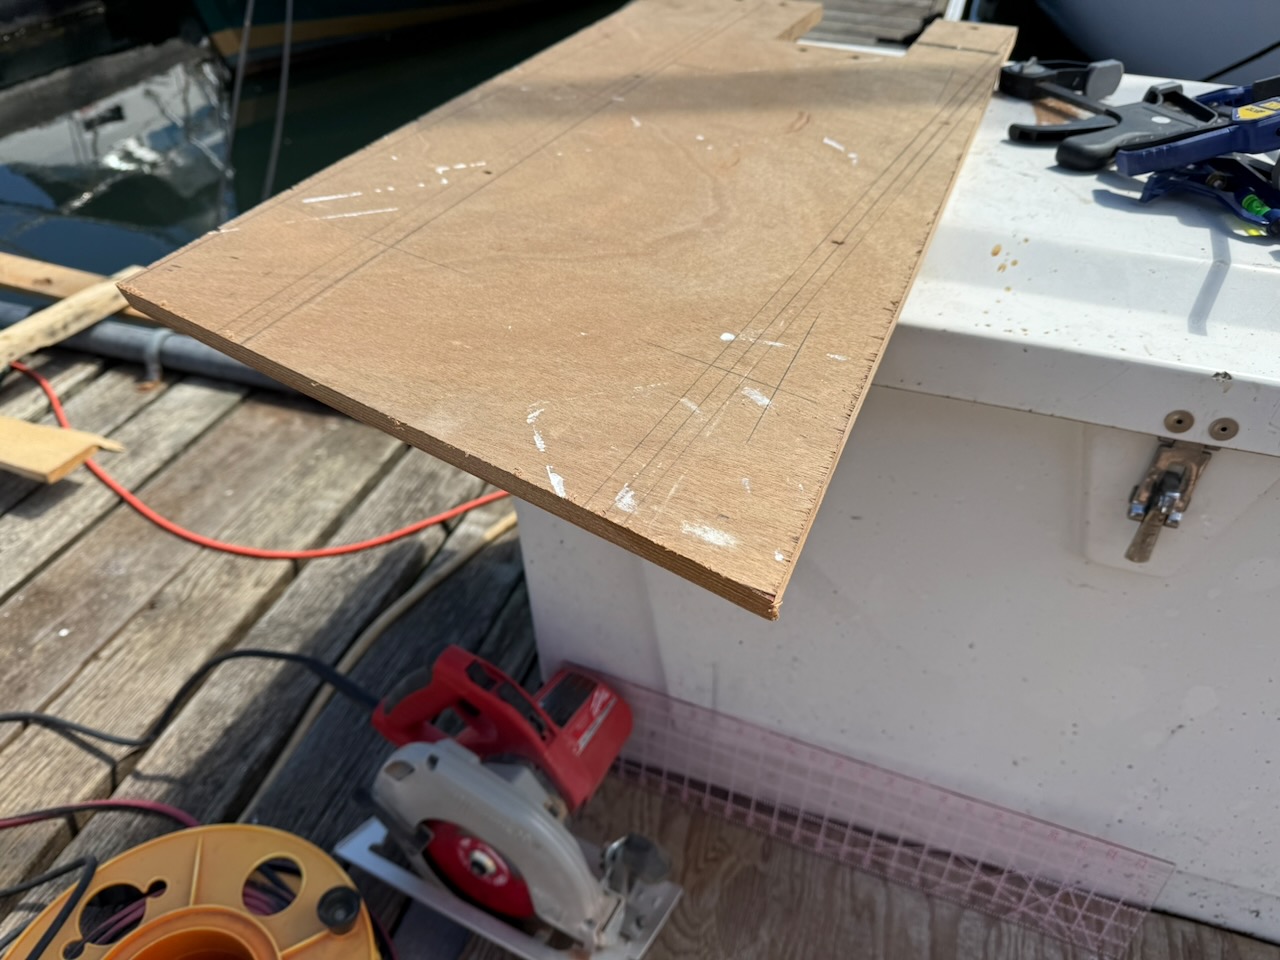
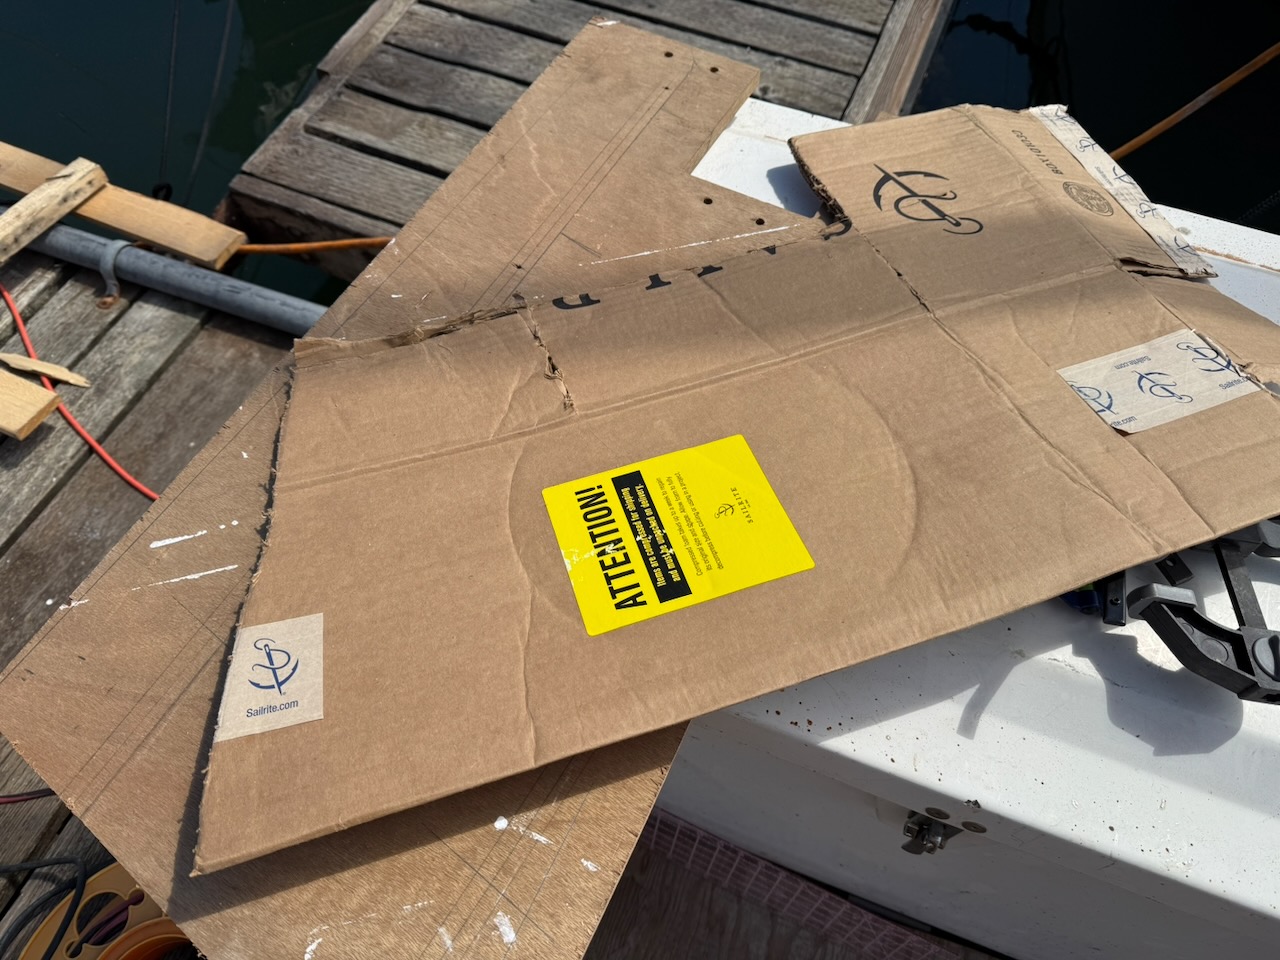
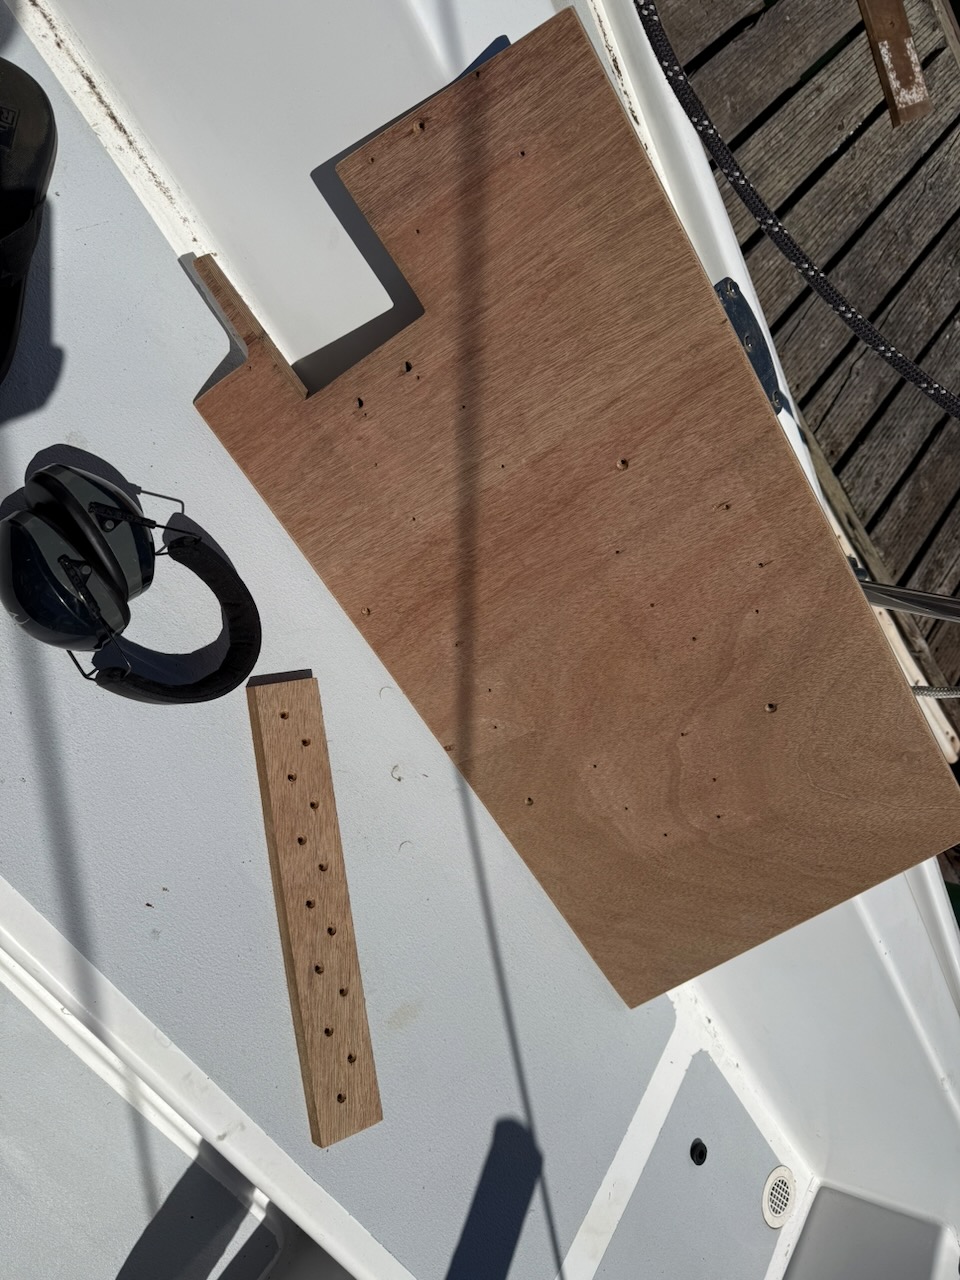
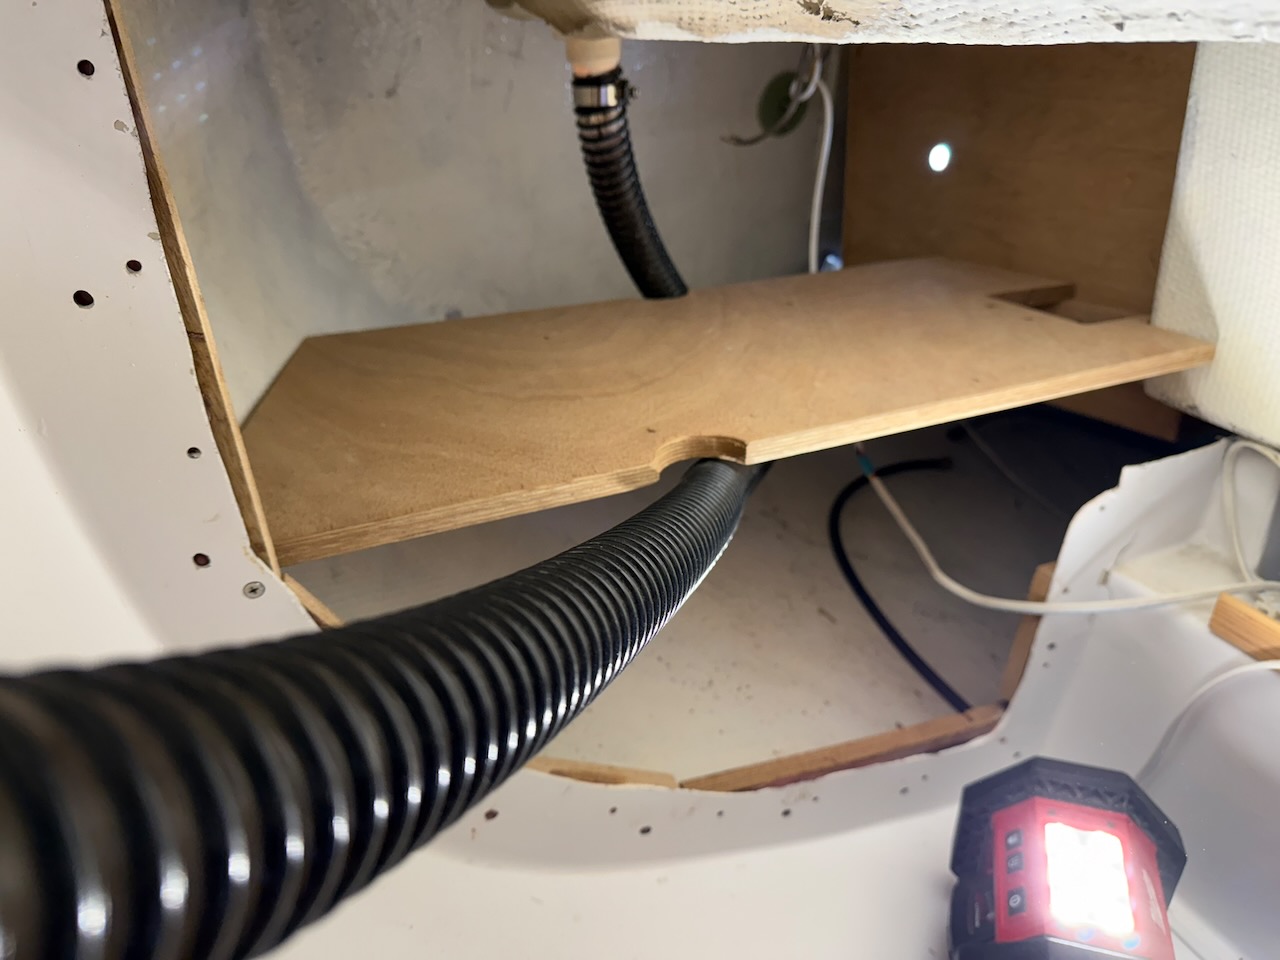
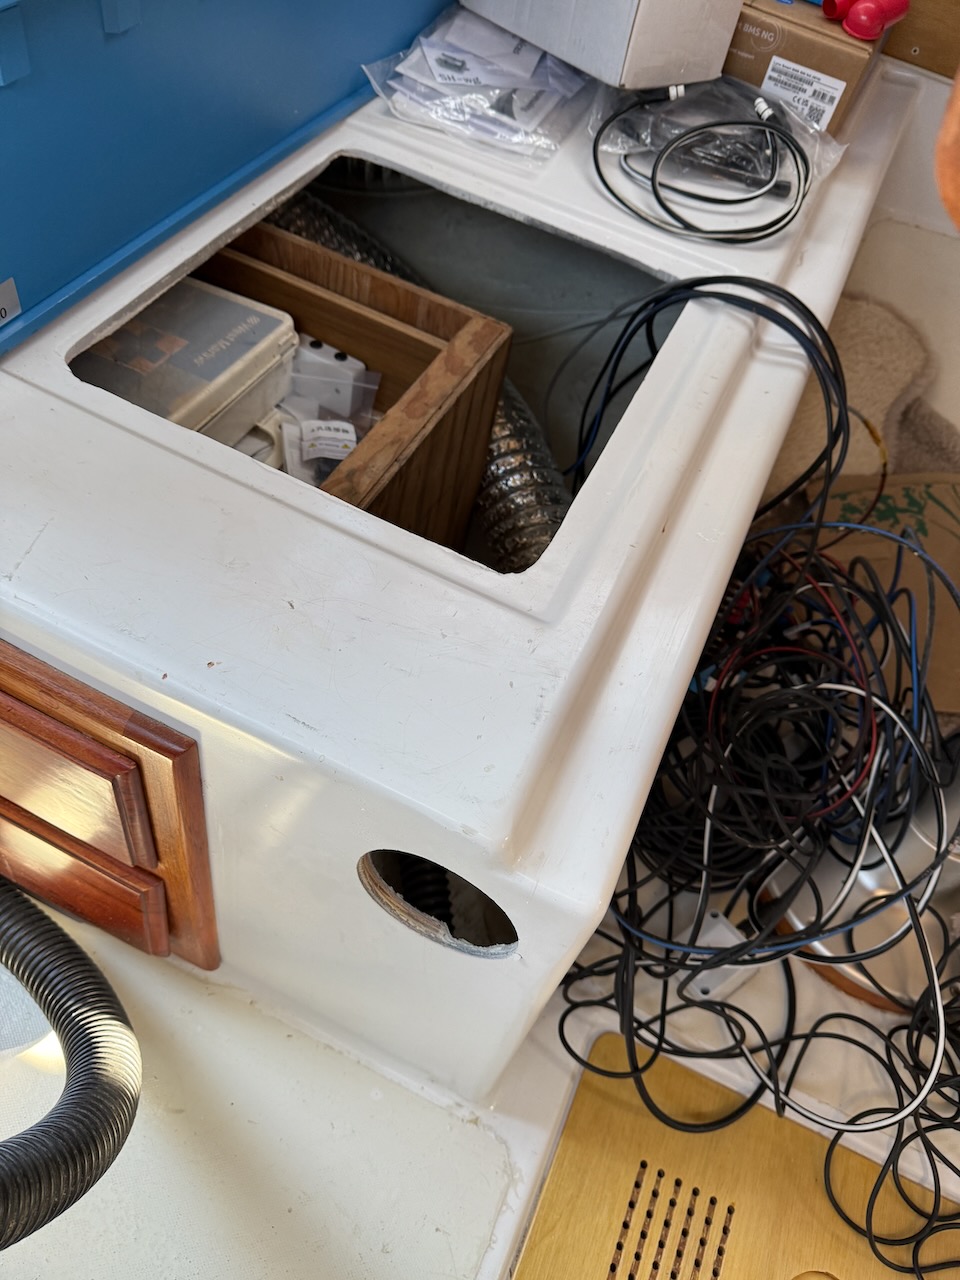
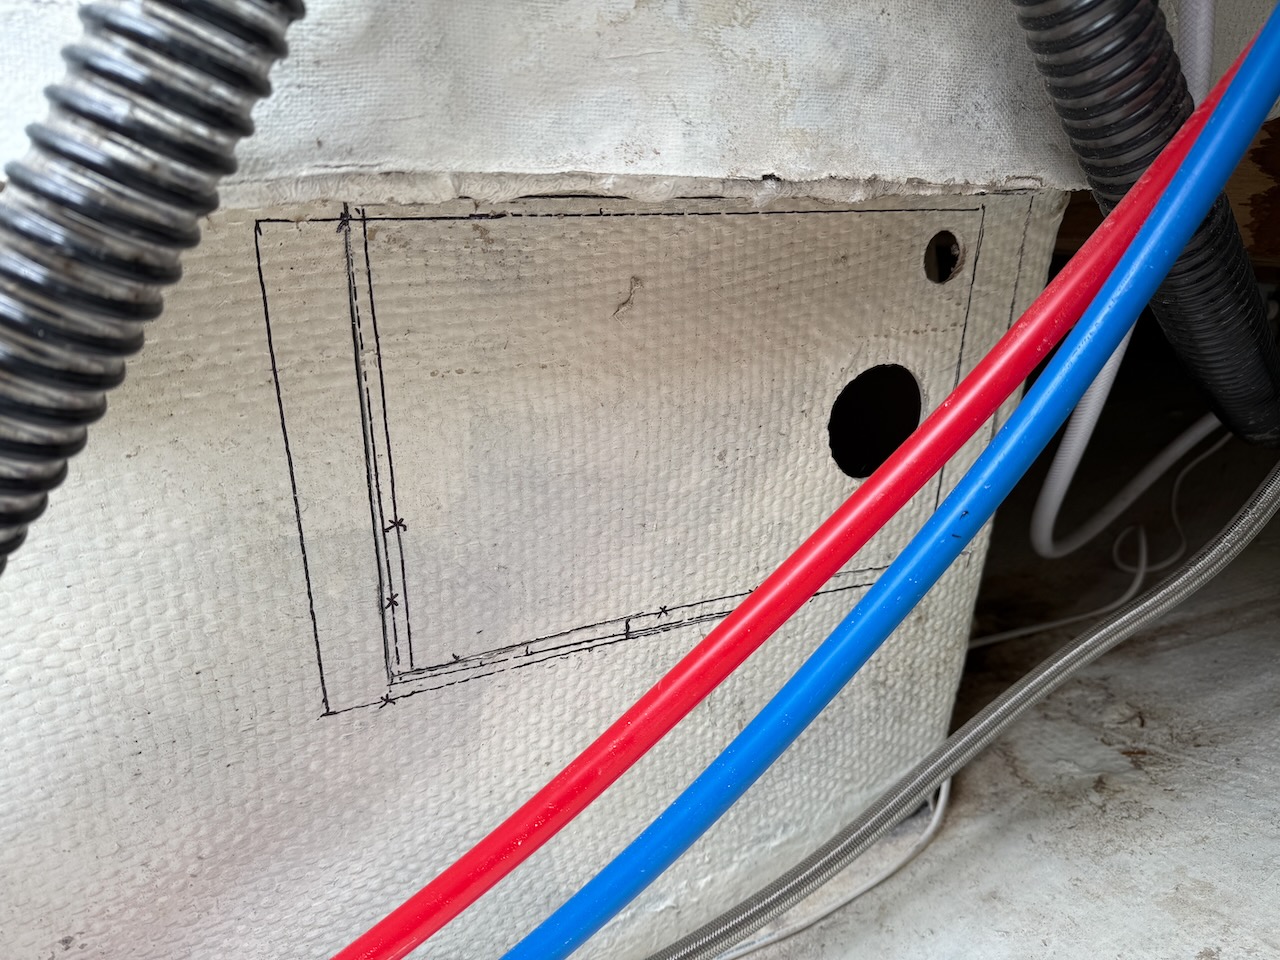
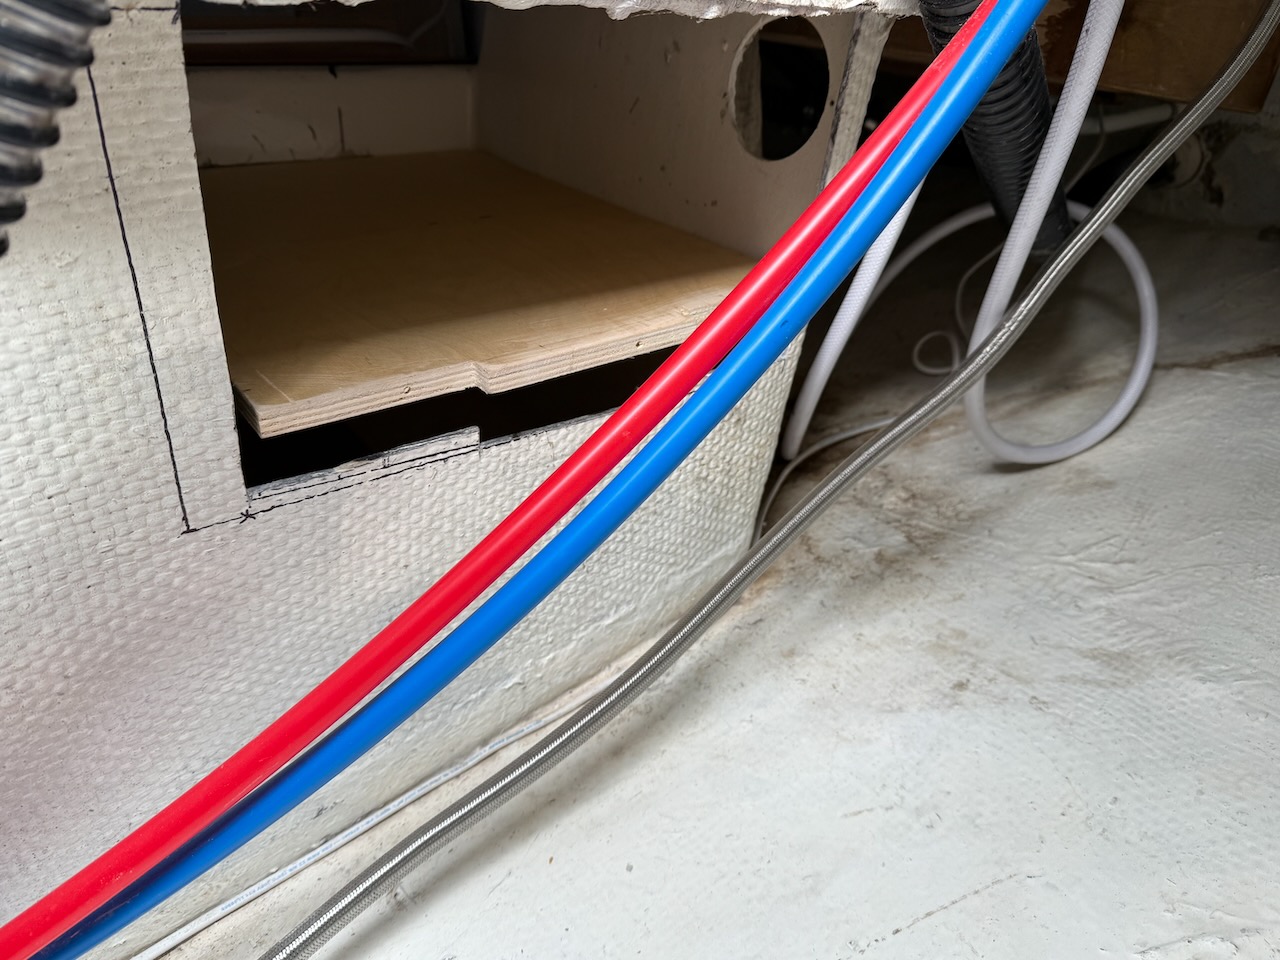
First, used the old battery support shelf to make new mounting shelf. Templated with cardboard to fit the curves of the hull and deck drain hoses.
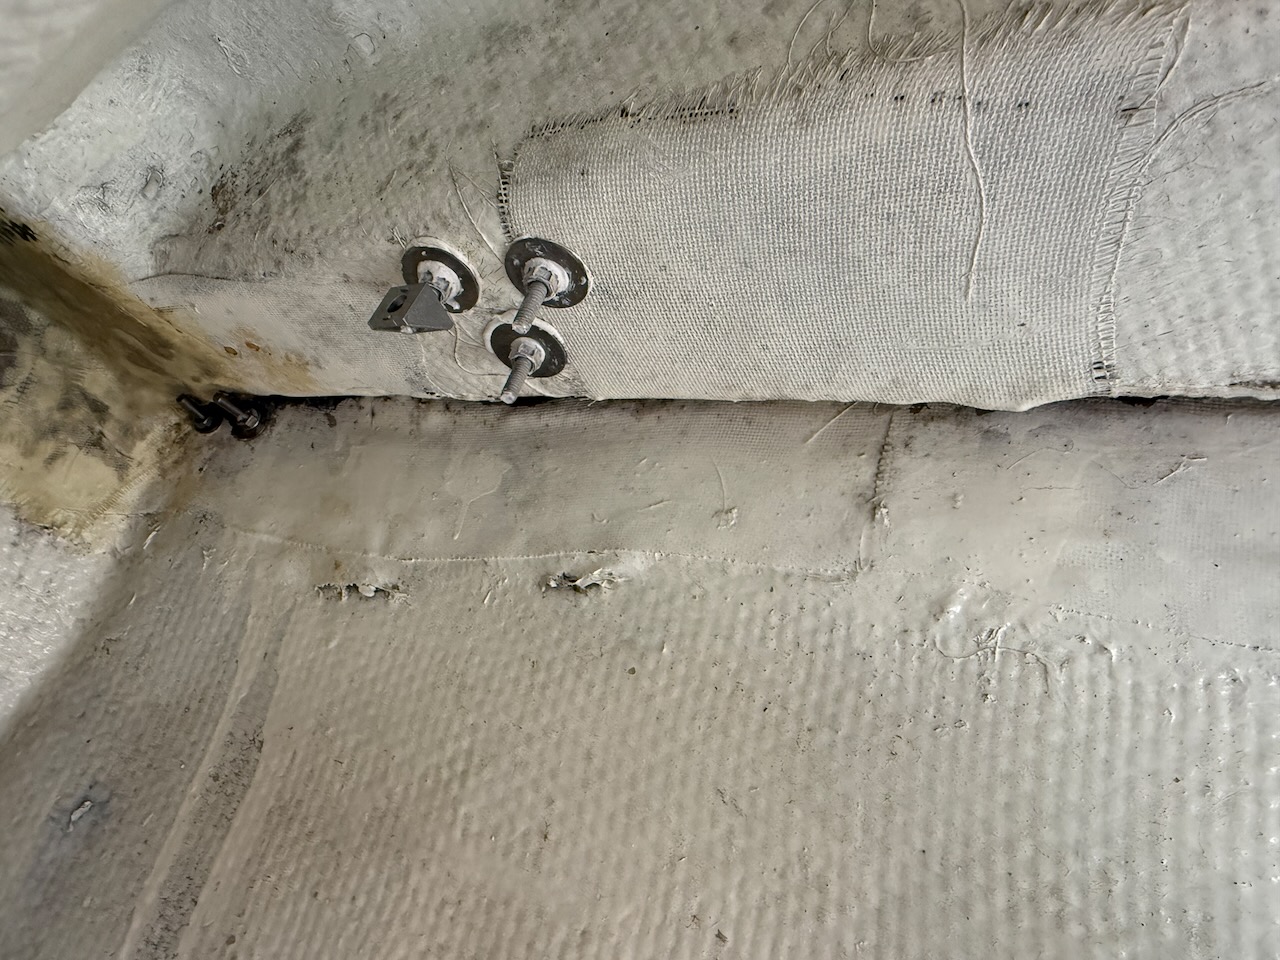
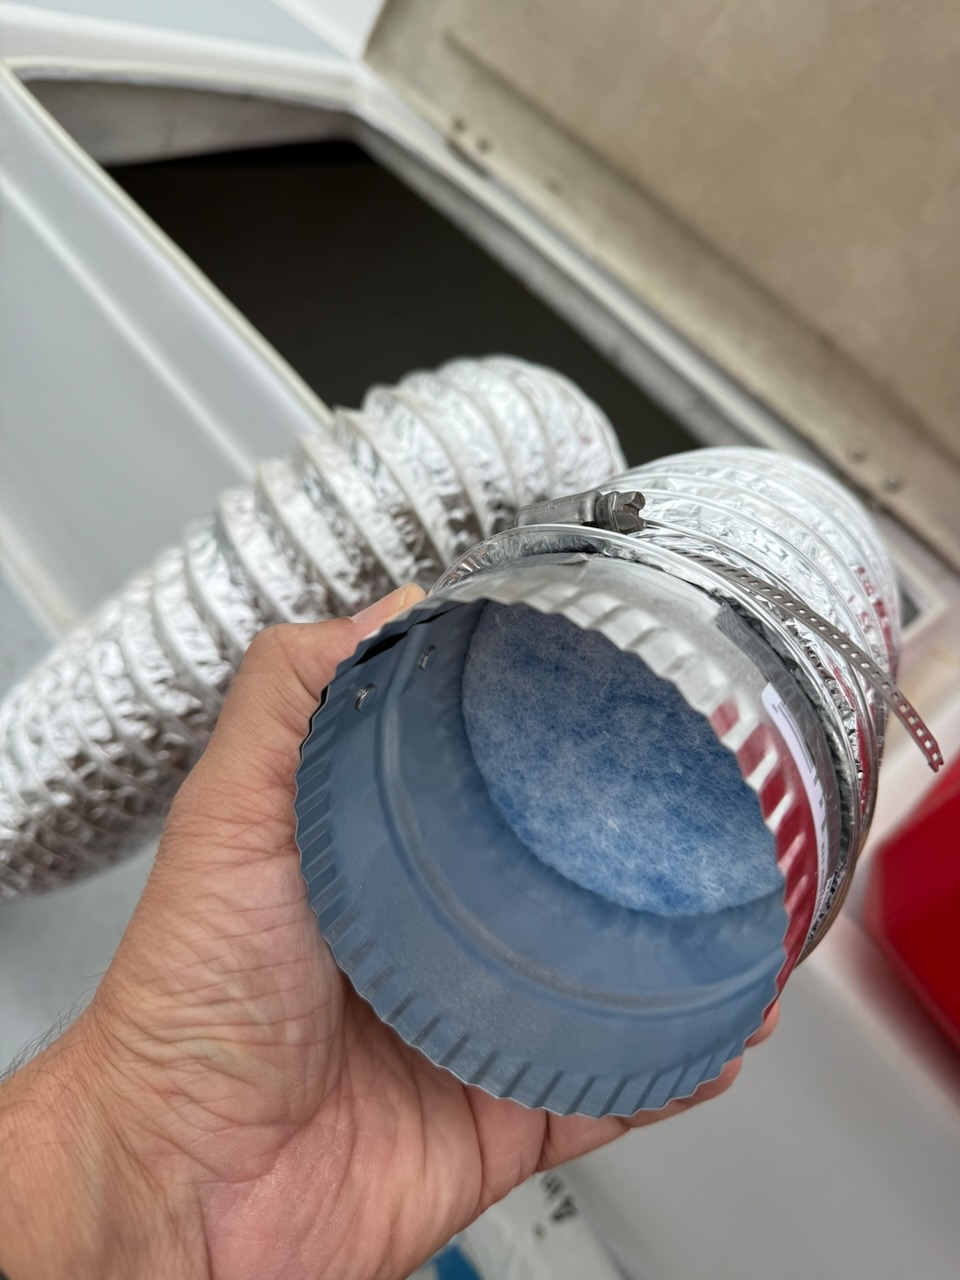
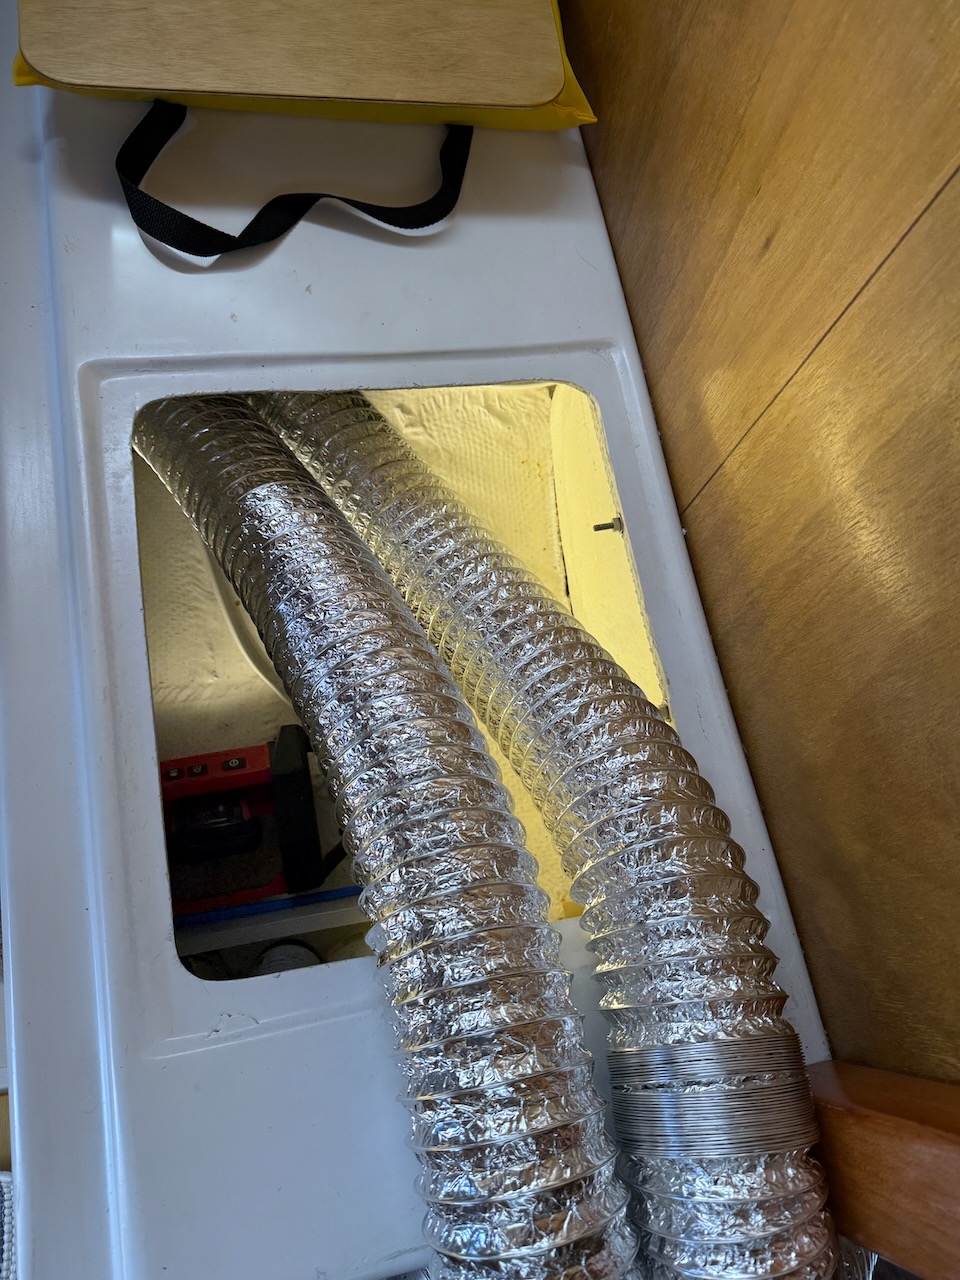
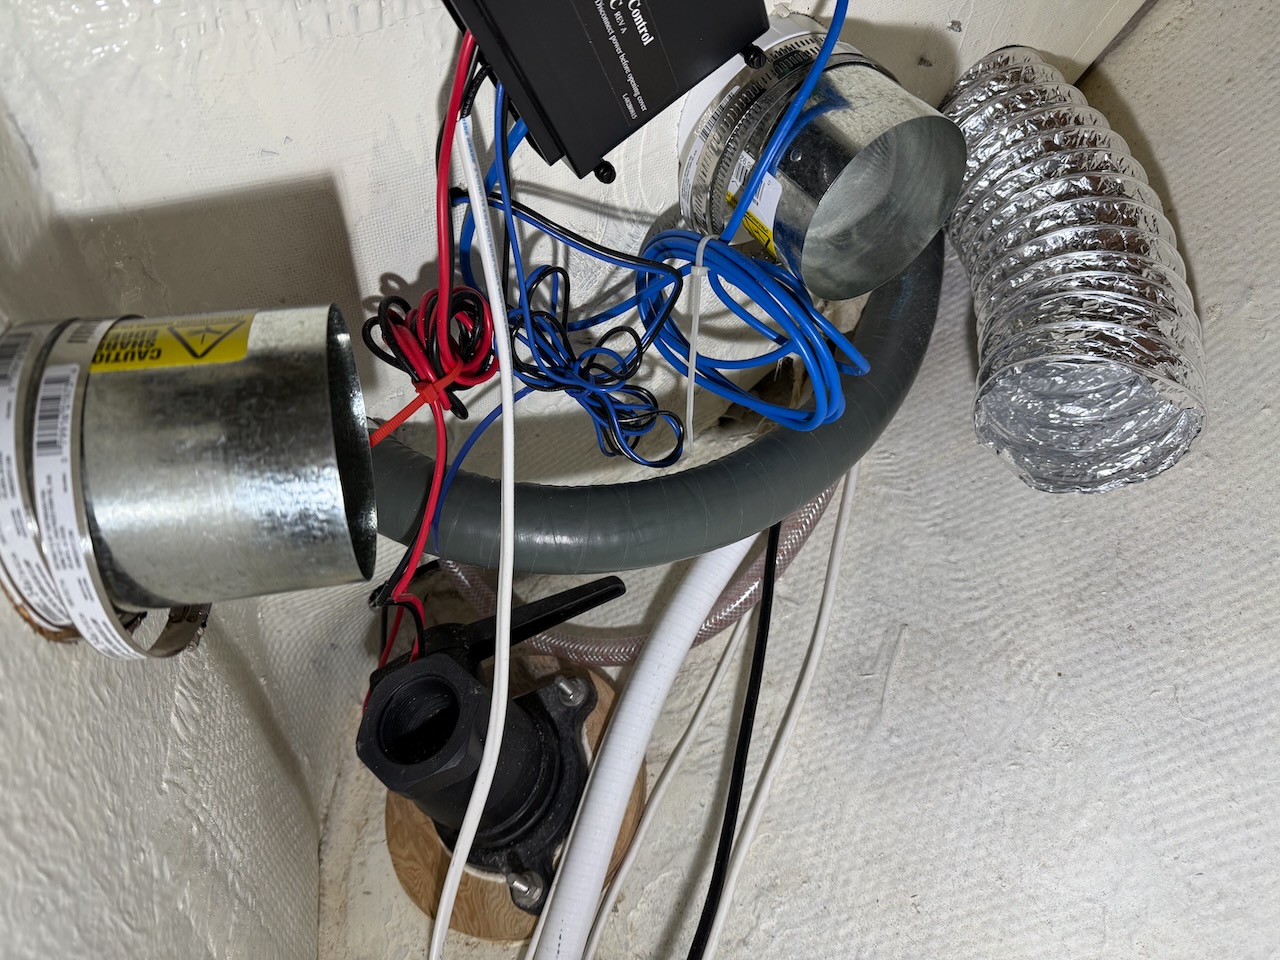
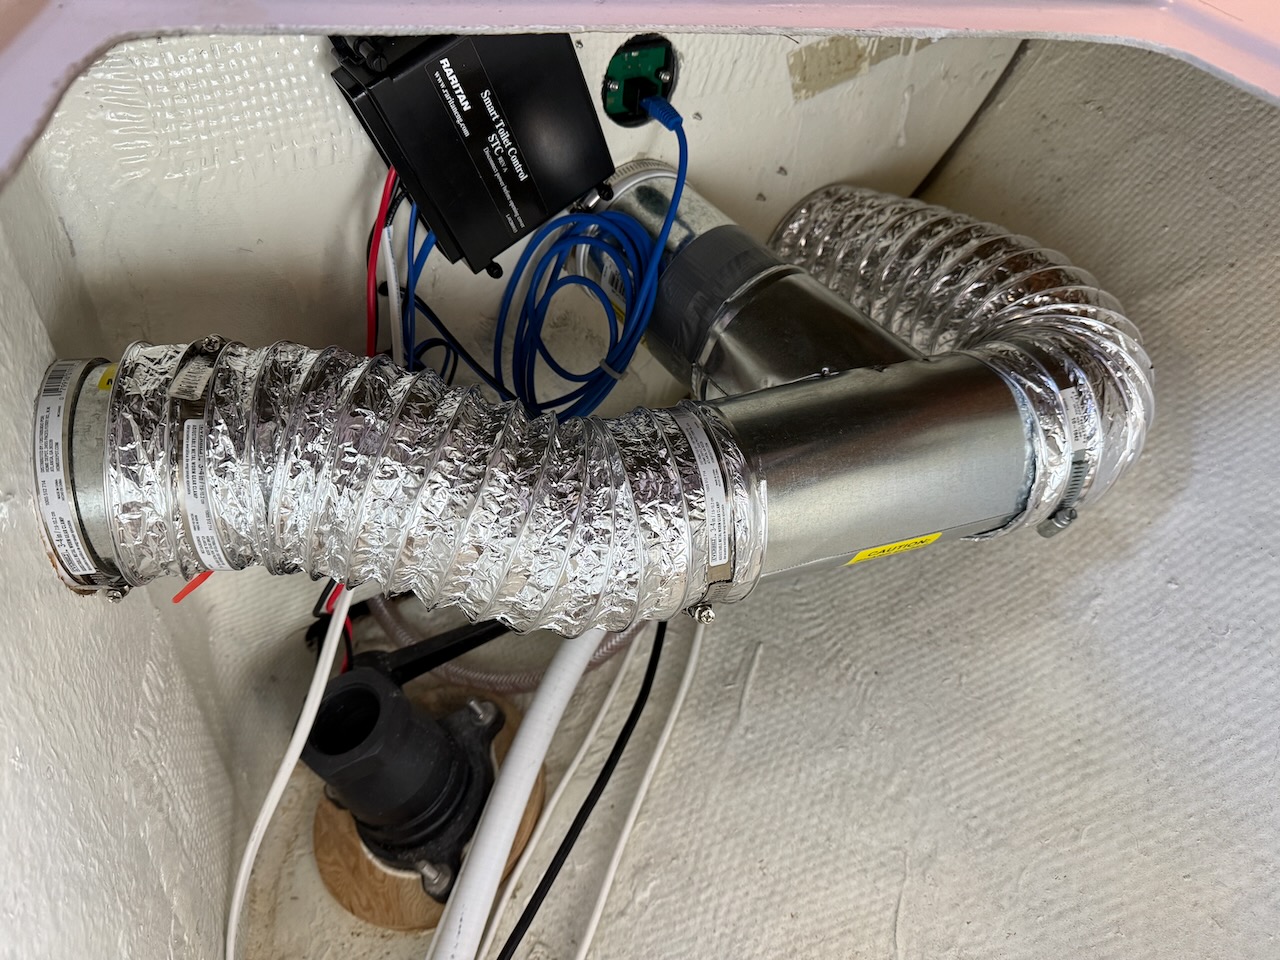
Next, extended the ducts to wrap from port side to starboard. Added inline filters in an accessible place. Used protruding deck hardware bolts to hang ducts closer to the deck and away from potentially being squashed by stuff in the locker (e.g. anchor & rode).

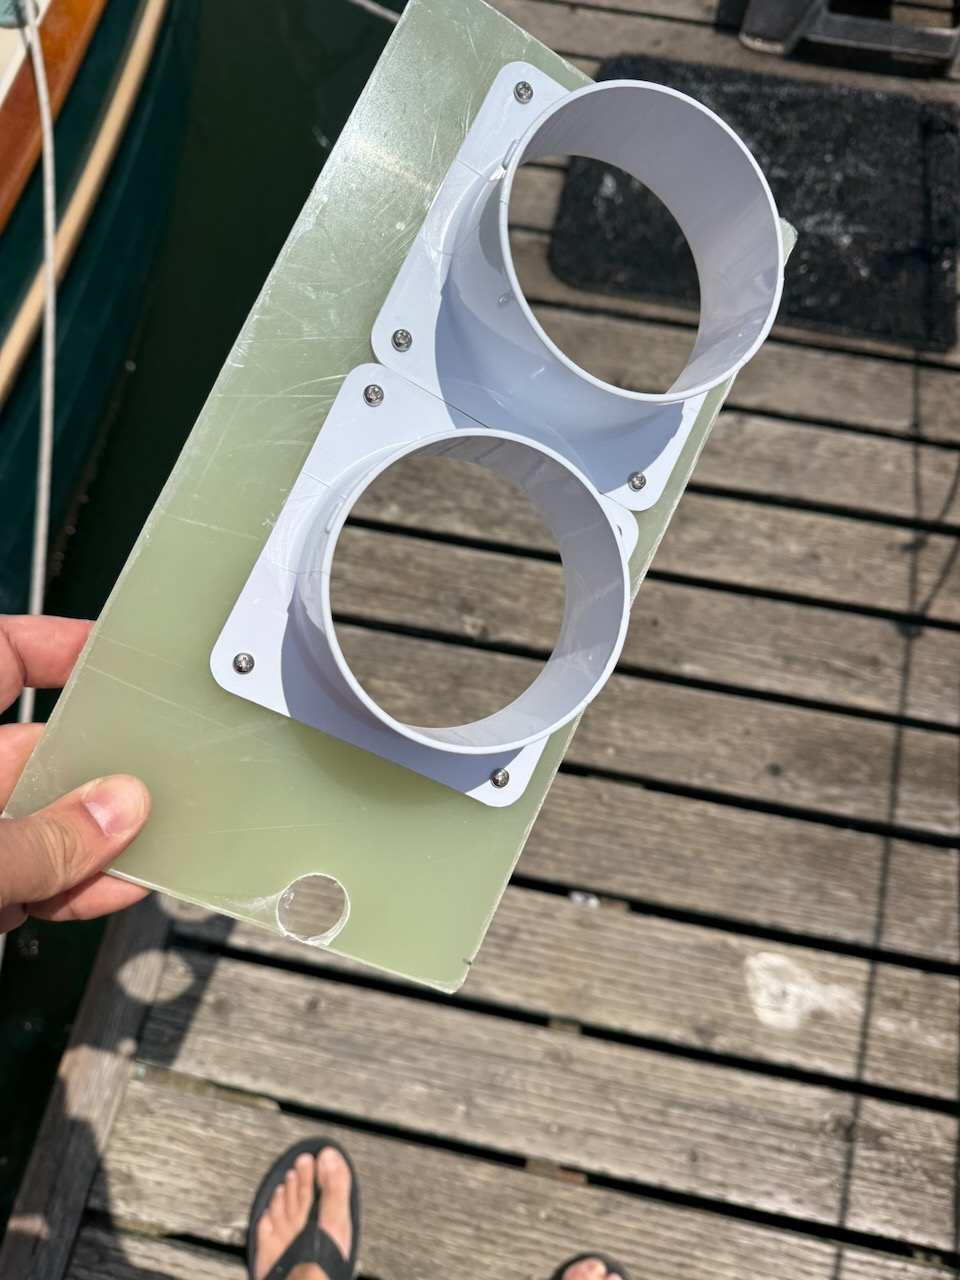
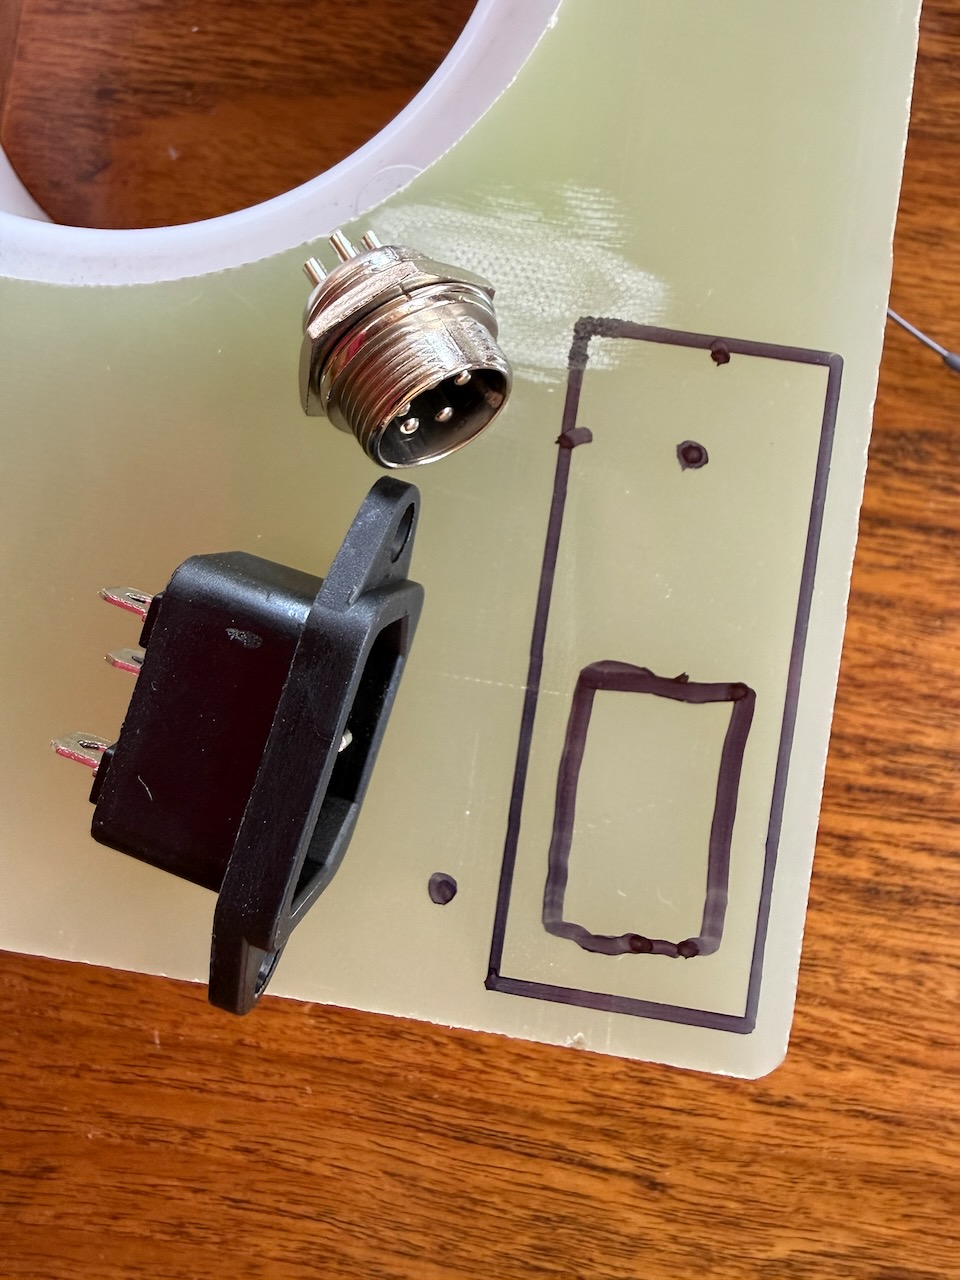
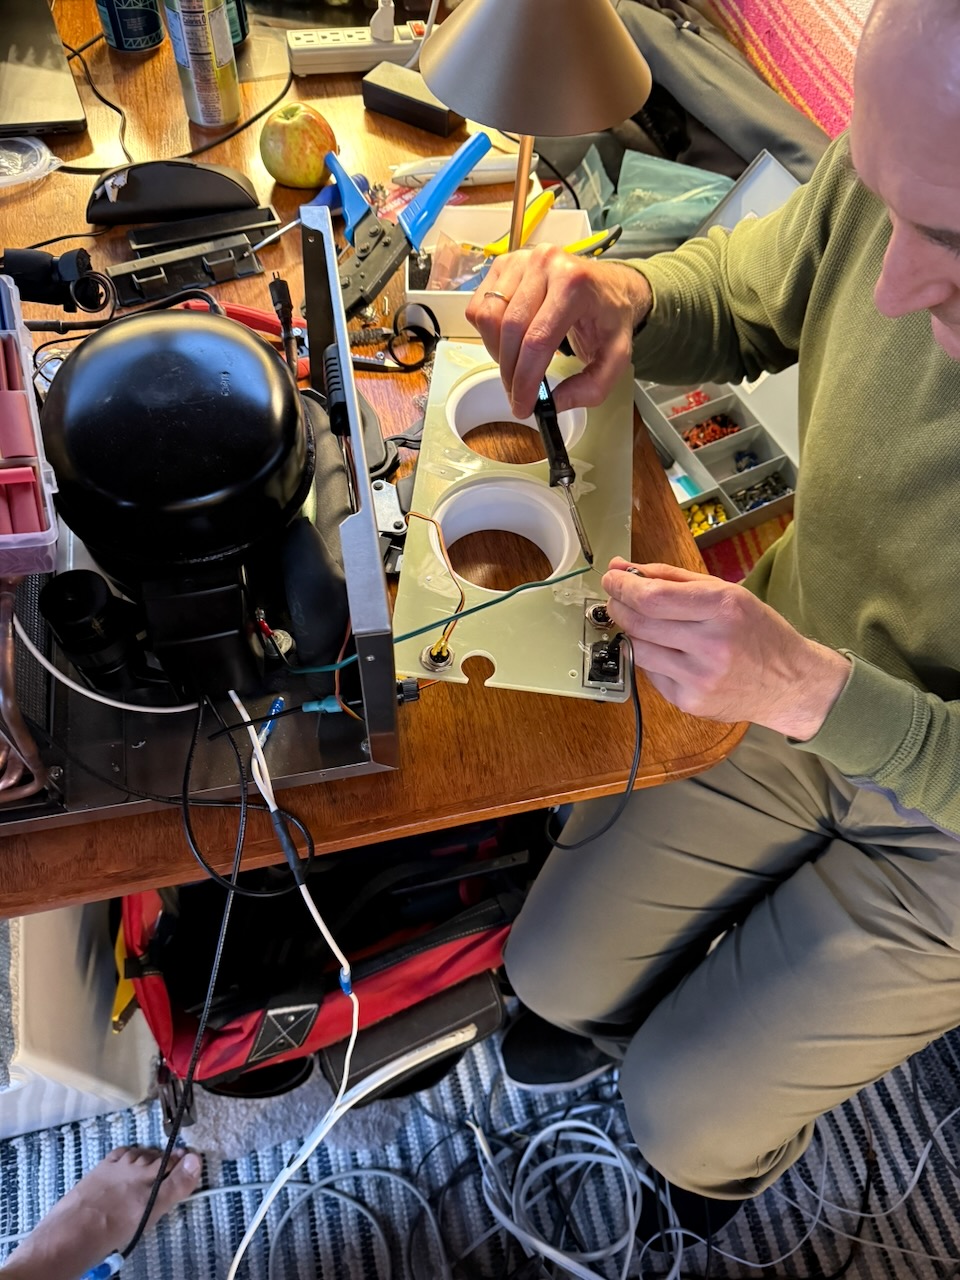
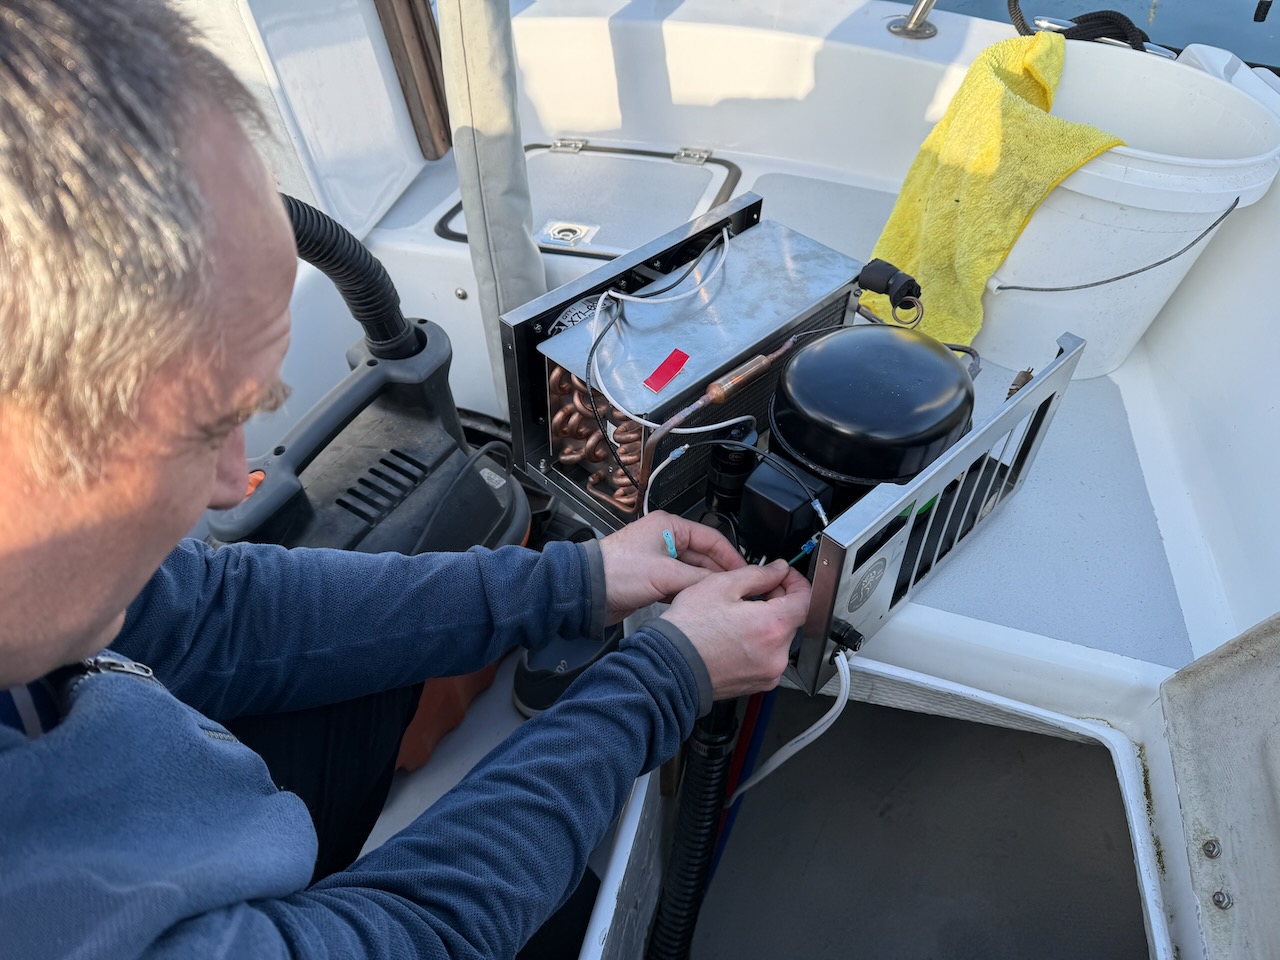
Then, made new back panel for the unit with connectors and flanges that will simplify installation and any needed removal for servicing. My friend Viktar helped get all the connections right.

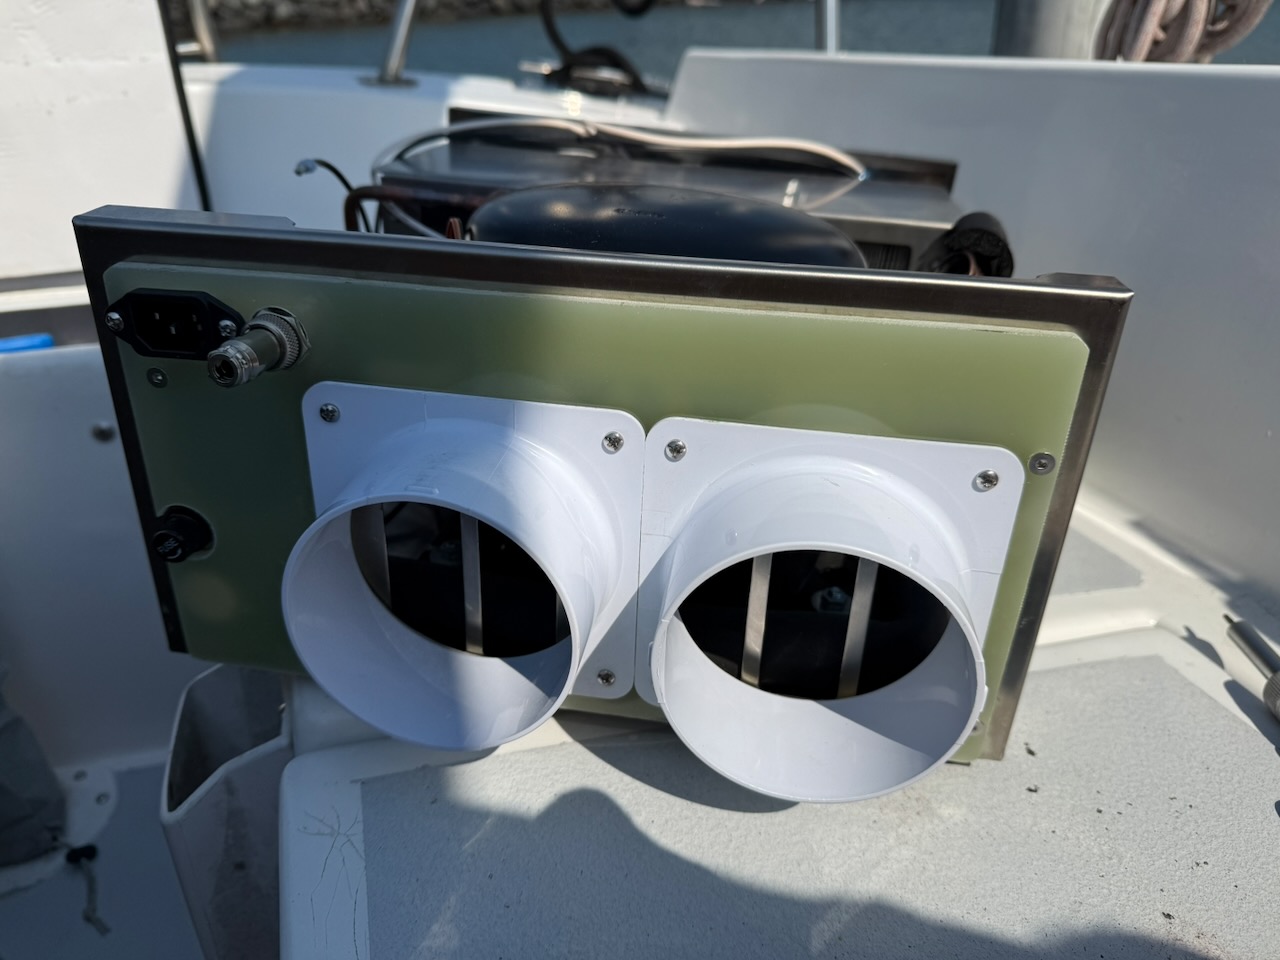
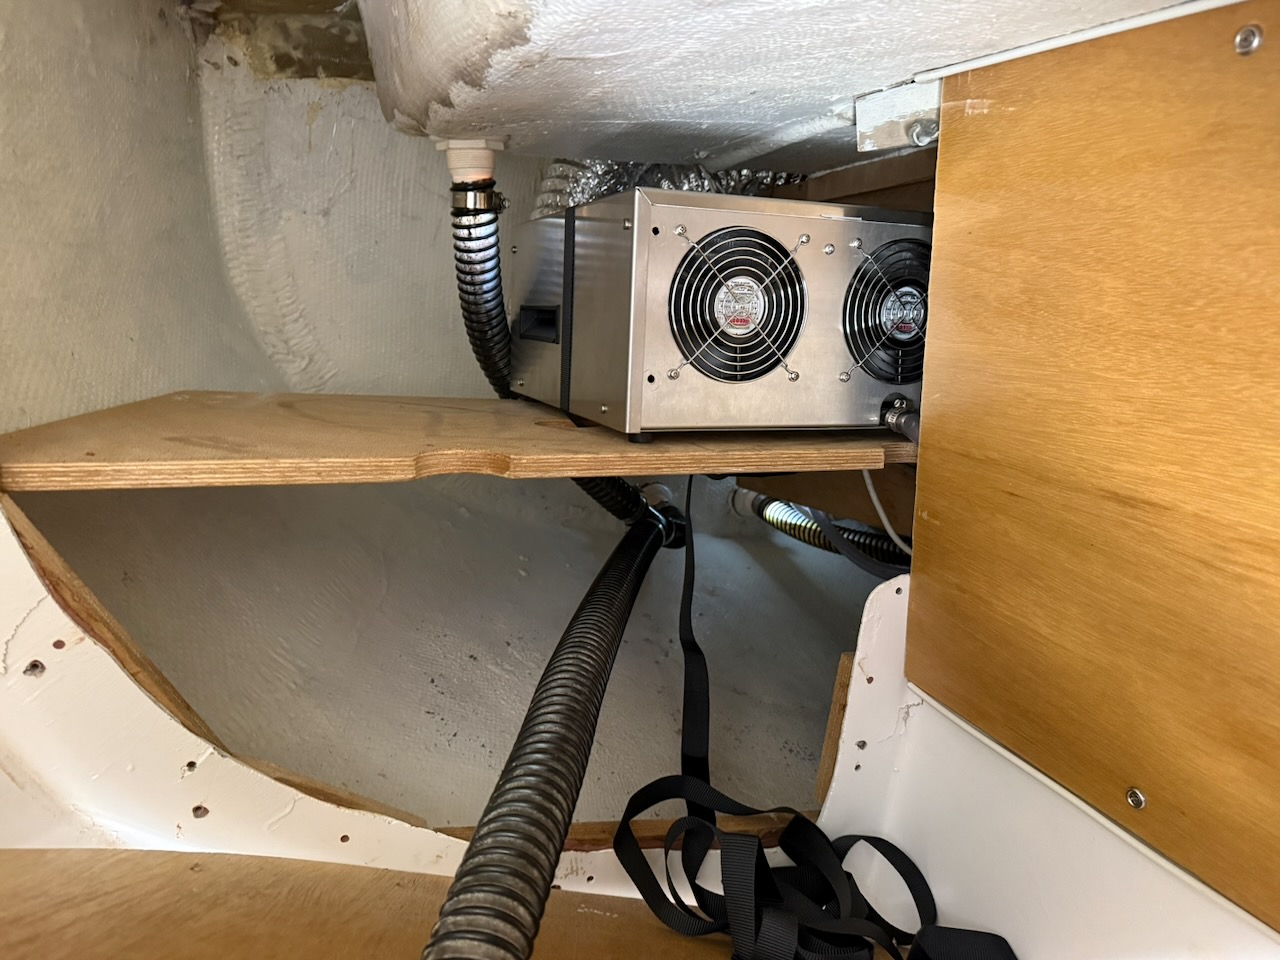
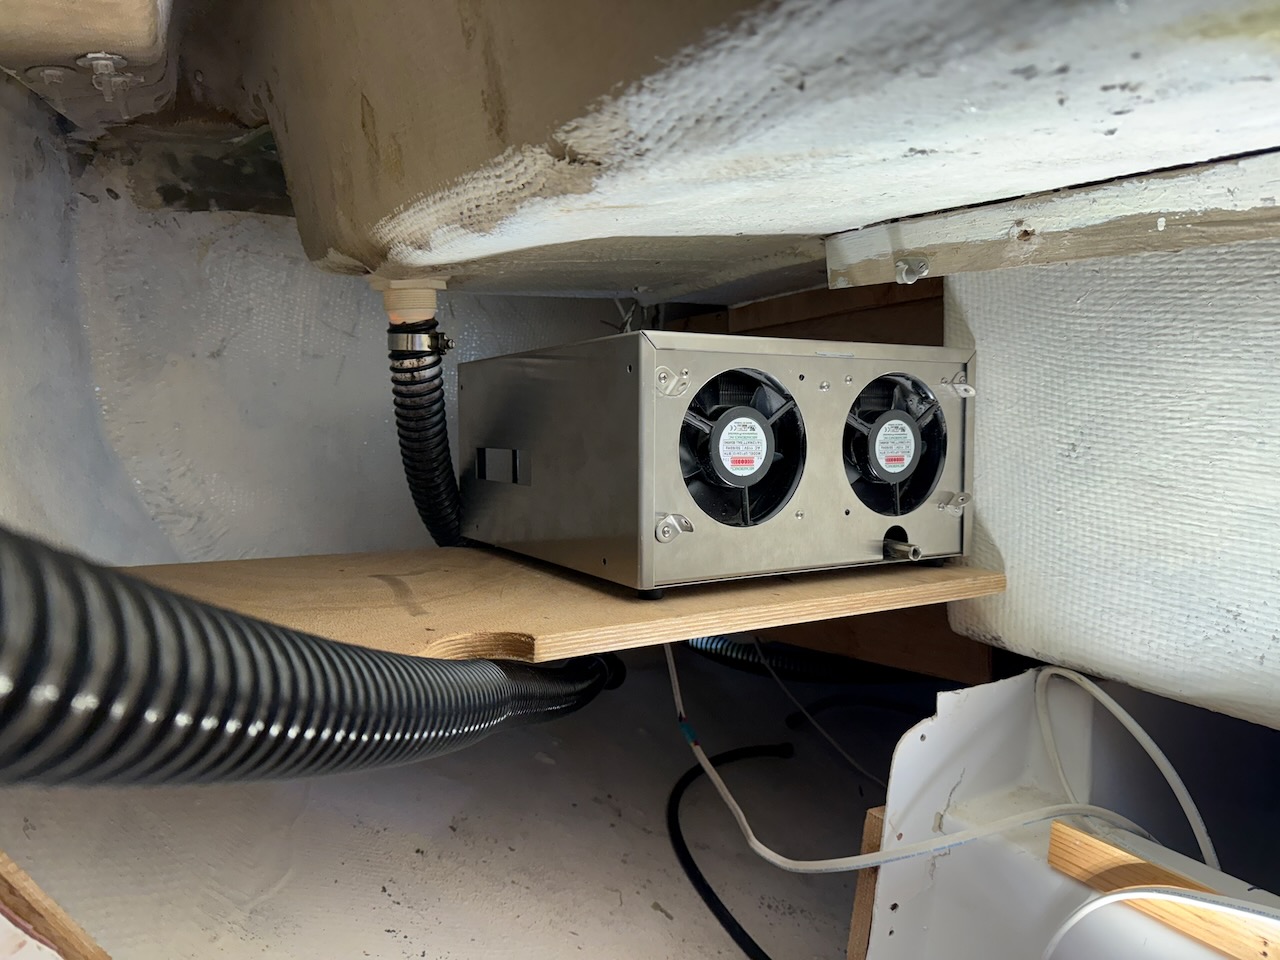
And finally, mounted the unit and connected intake ducts, cables, and drain hose.


Next on TODO: test operation, strap it down to the shelf, and cover with panels (with vents).
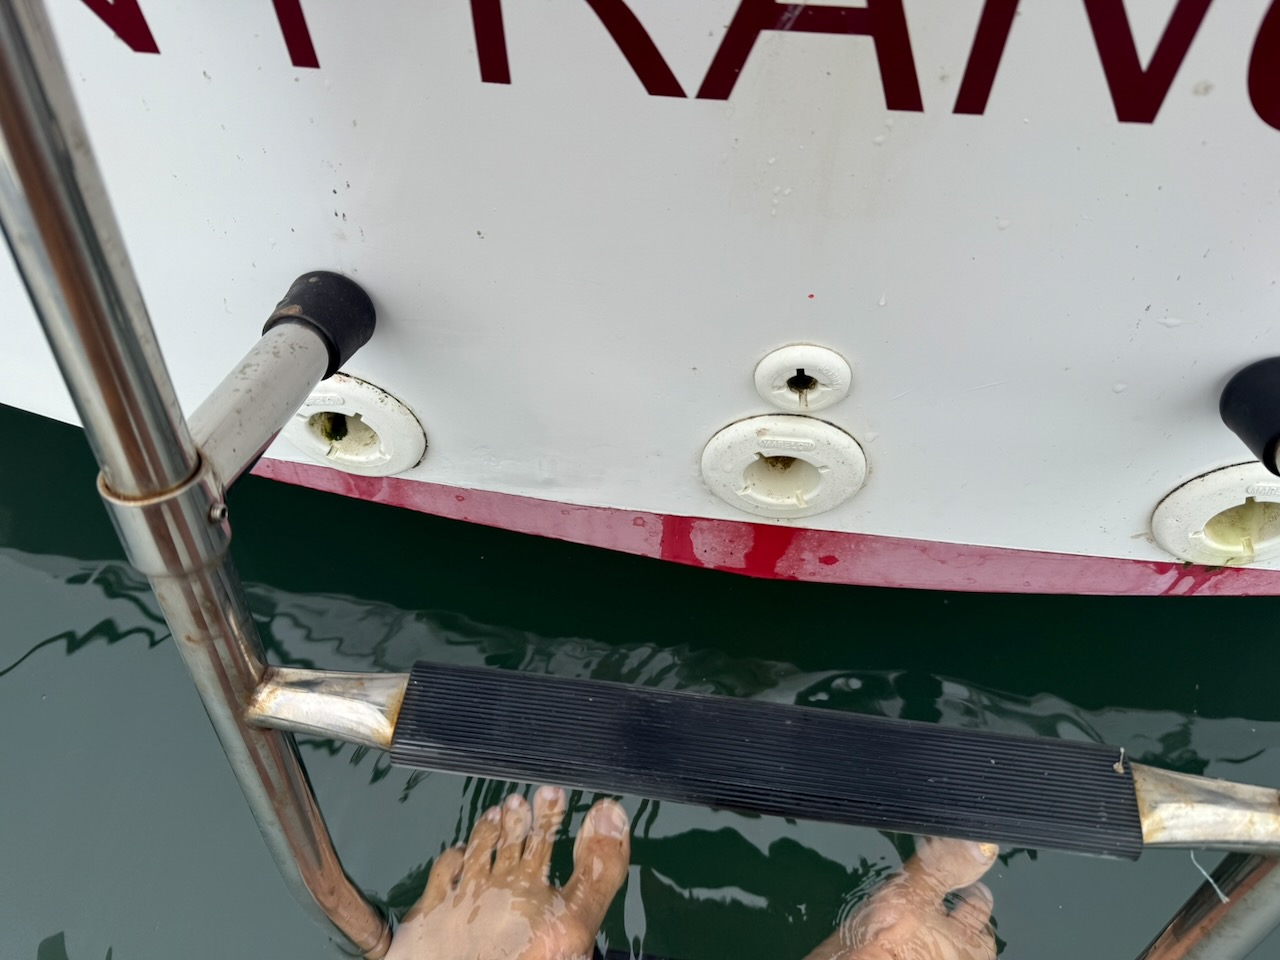
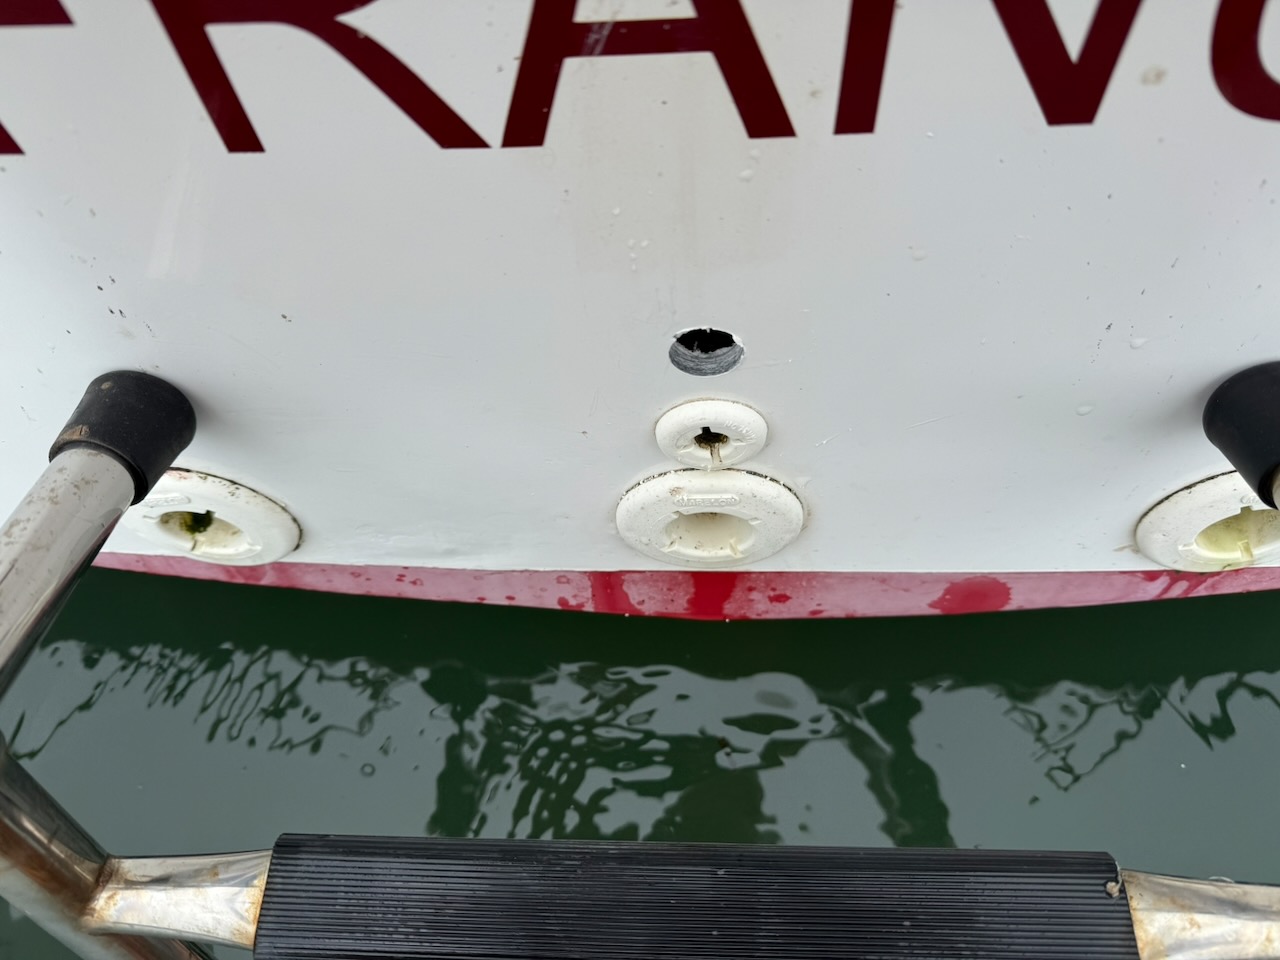
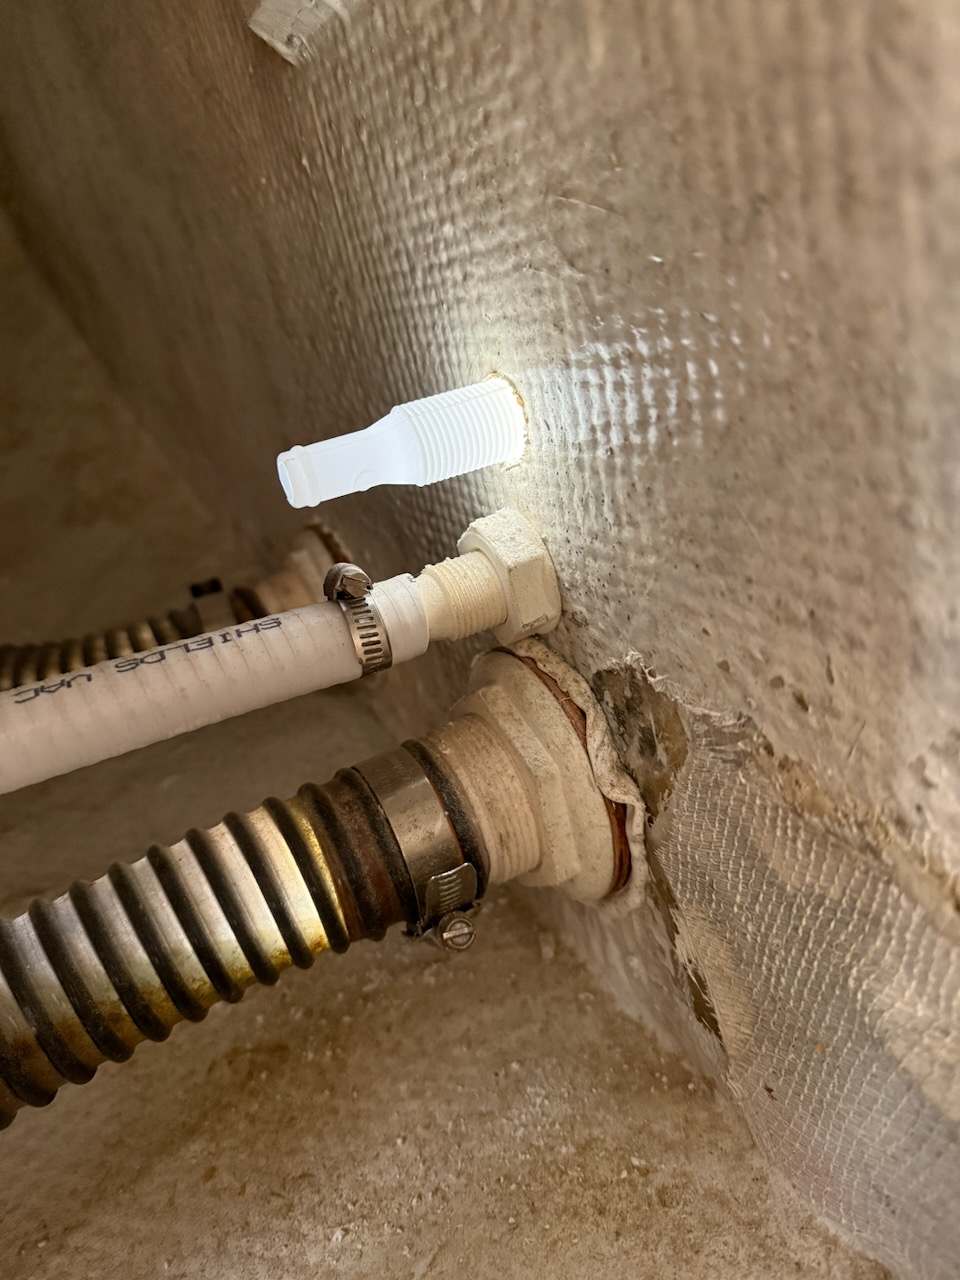
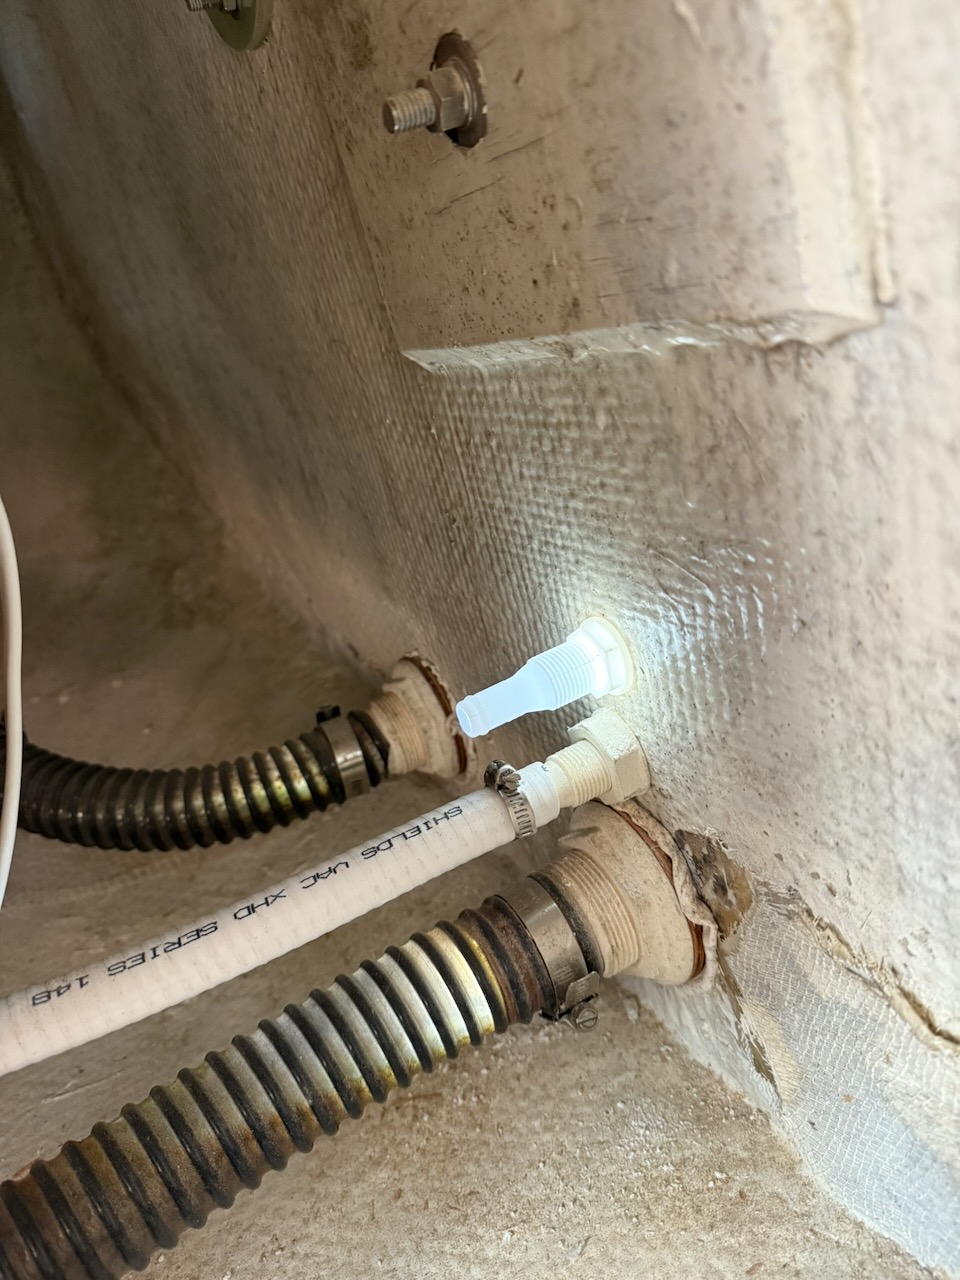
Added a new thruhull at the stern to drain dehumidifier directly overboard.
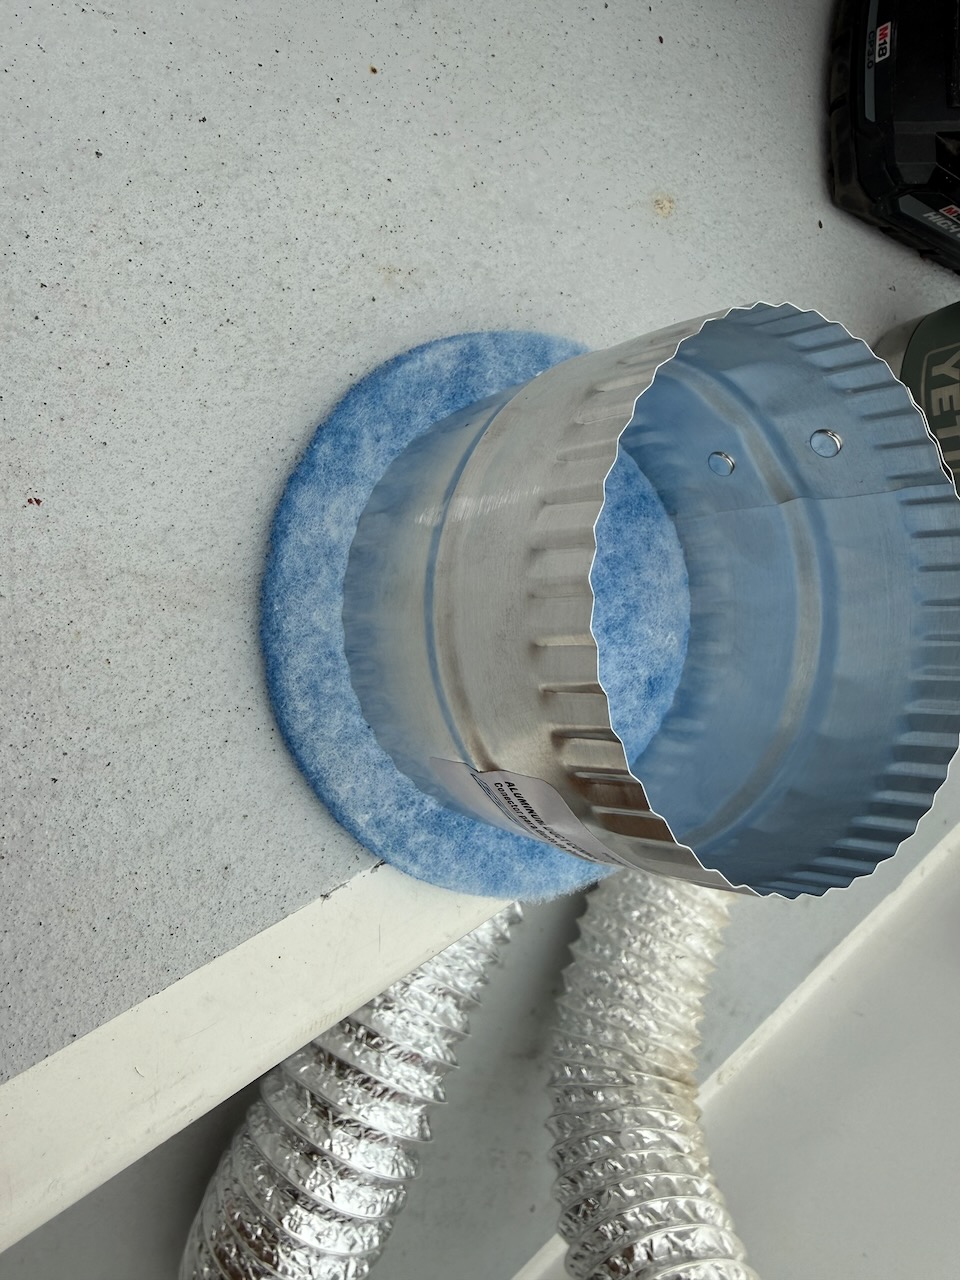
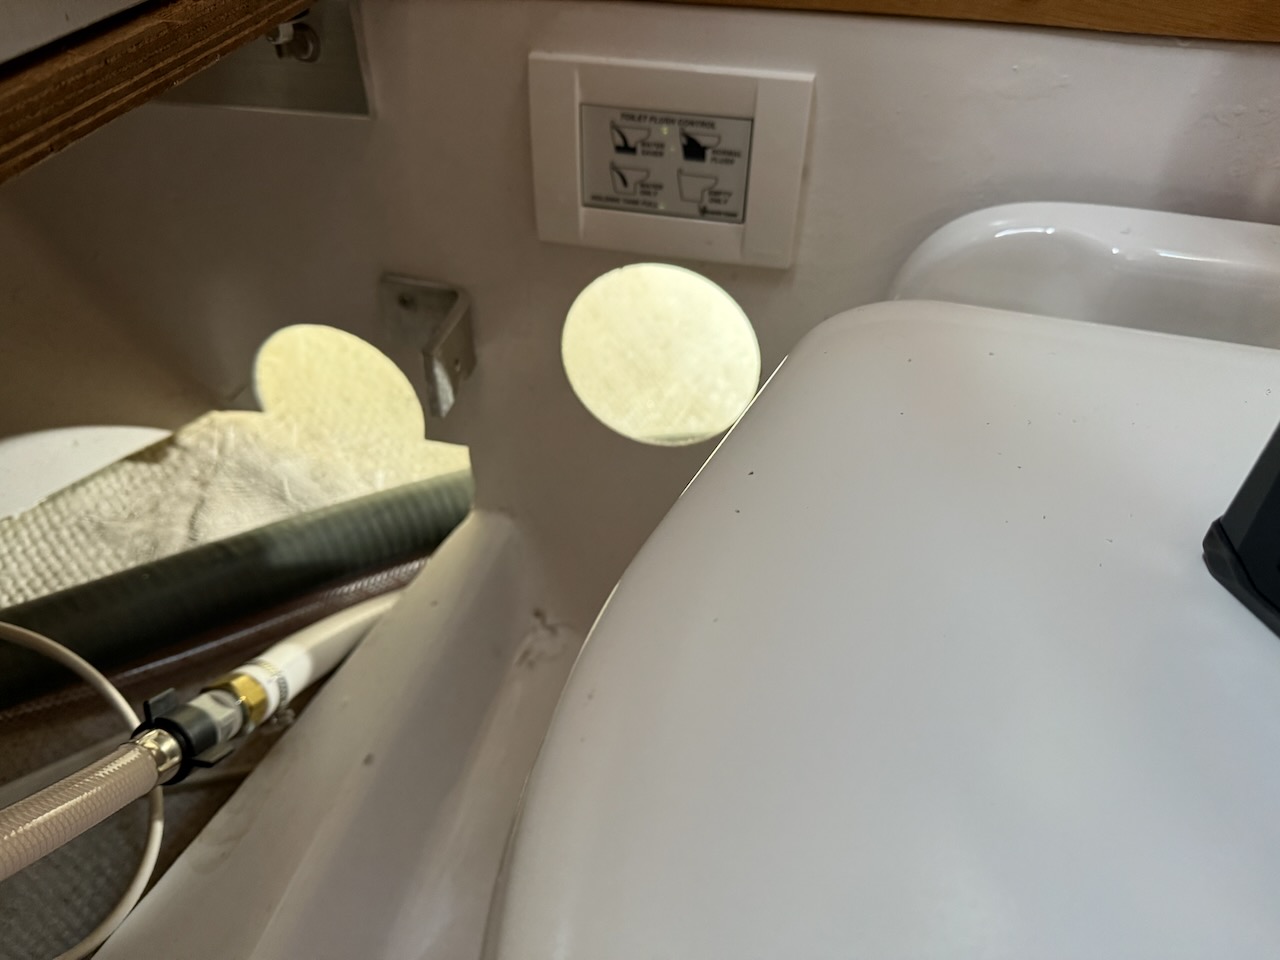
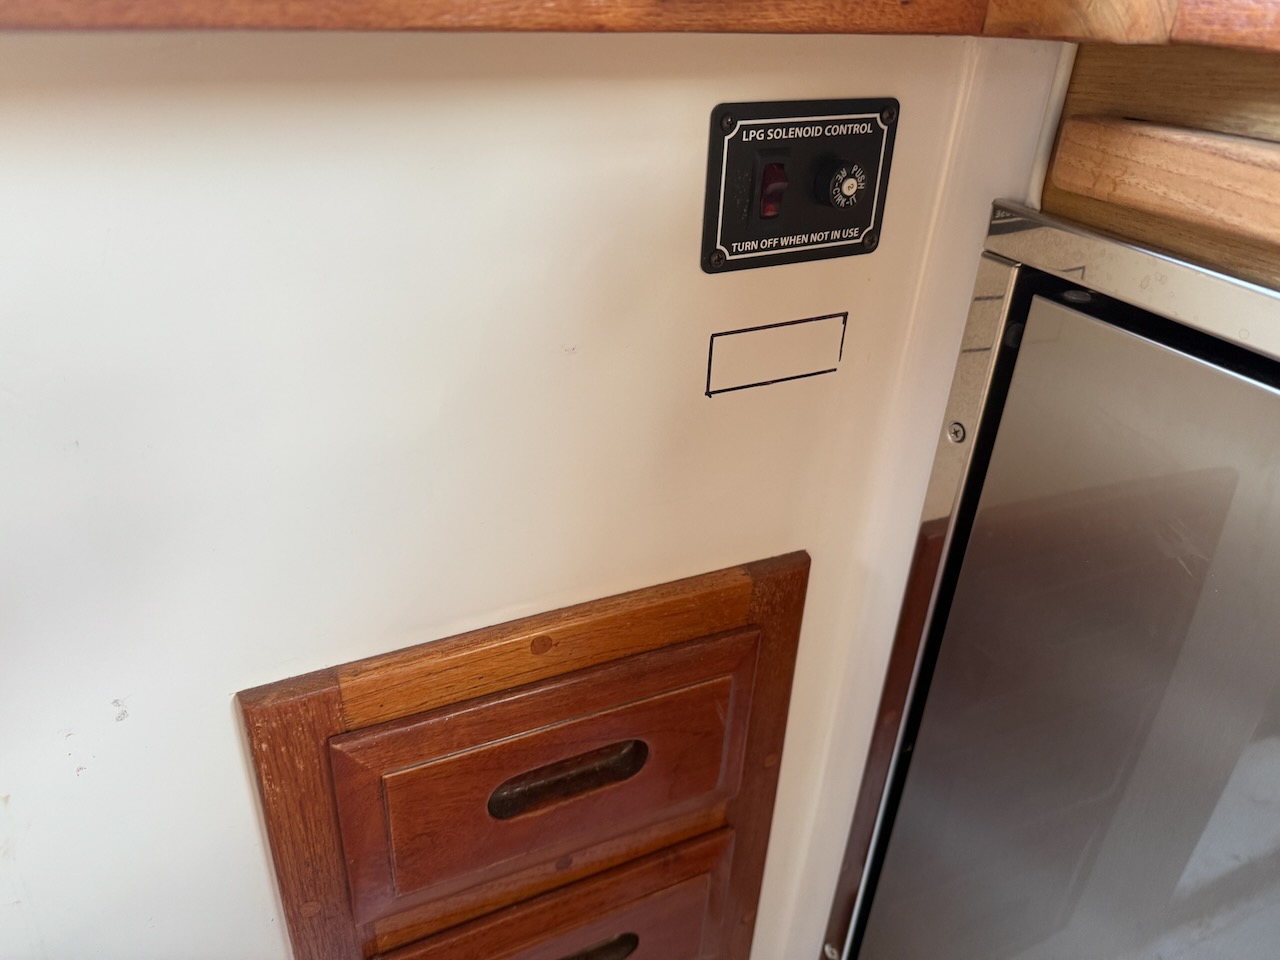
Ran ducts and installed intake vents in the v-birth, head, and saloon. Not the best material for marine environment but I figured with humidity and temp stabilized these will be good to test out the system and will last a few years.

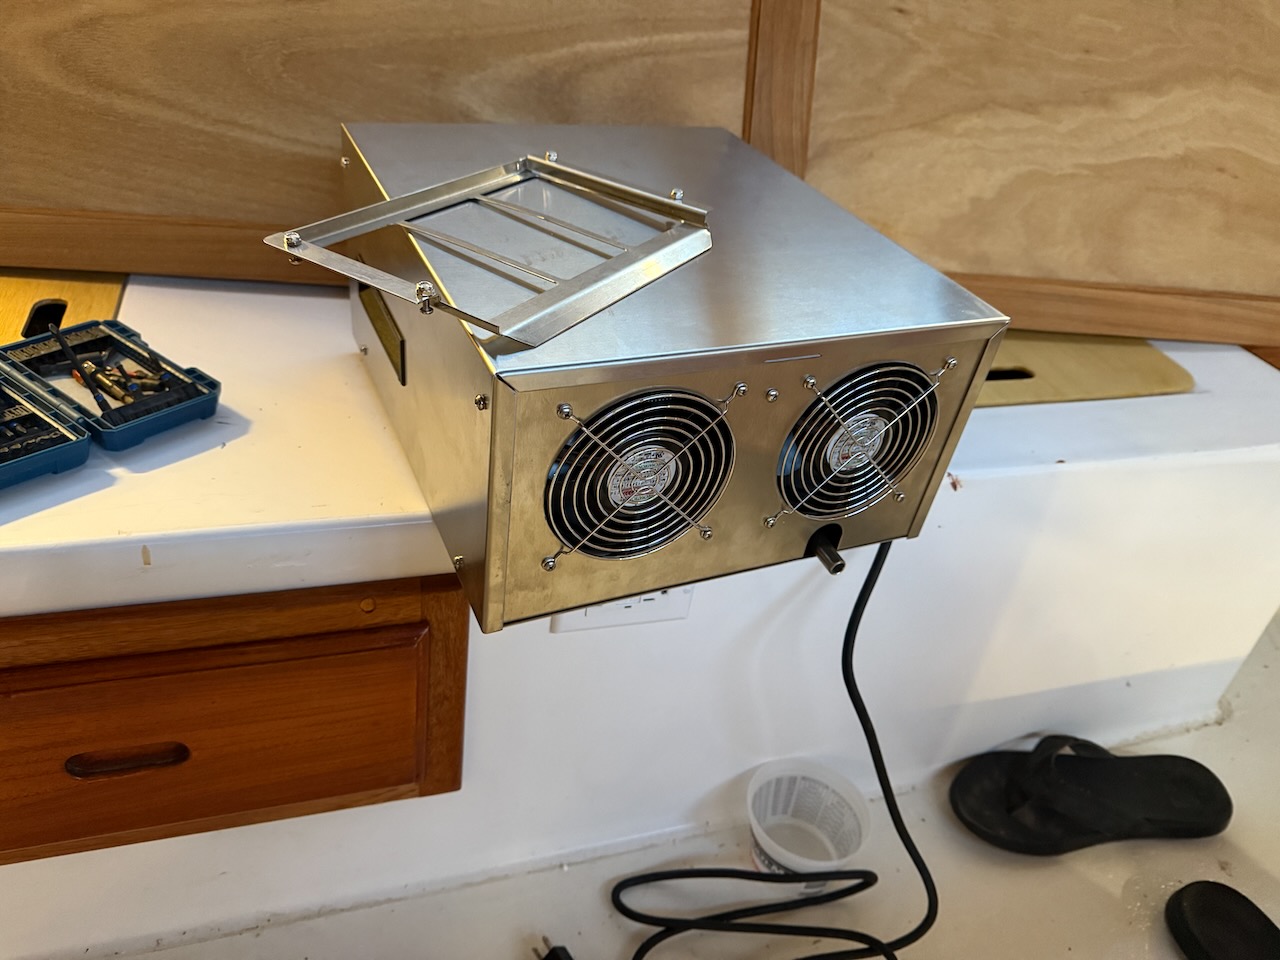
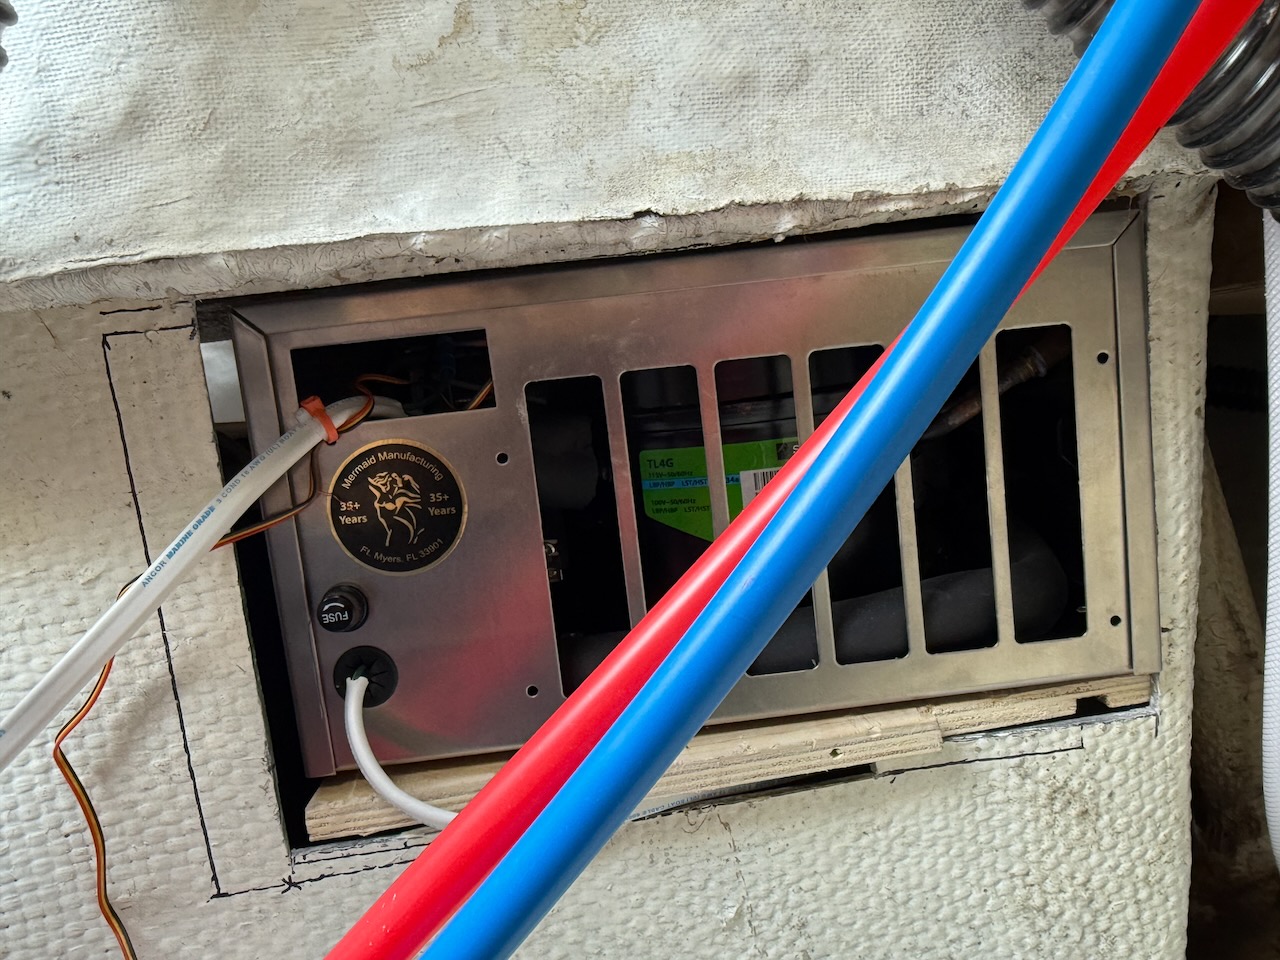
Scored a great marine dehumidifier on eBay – Dry-Pal 1 by Mermaid.

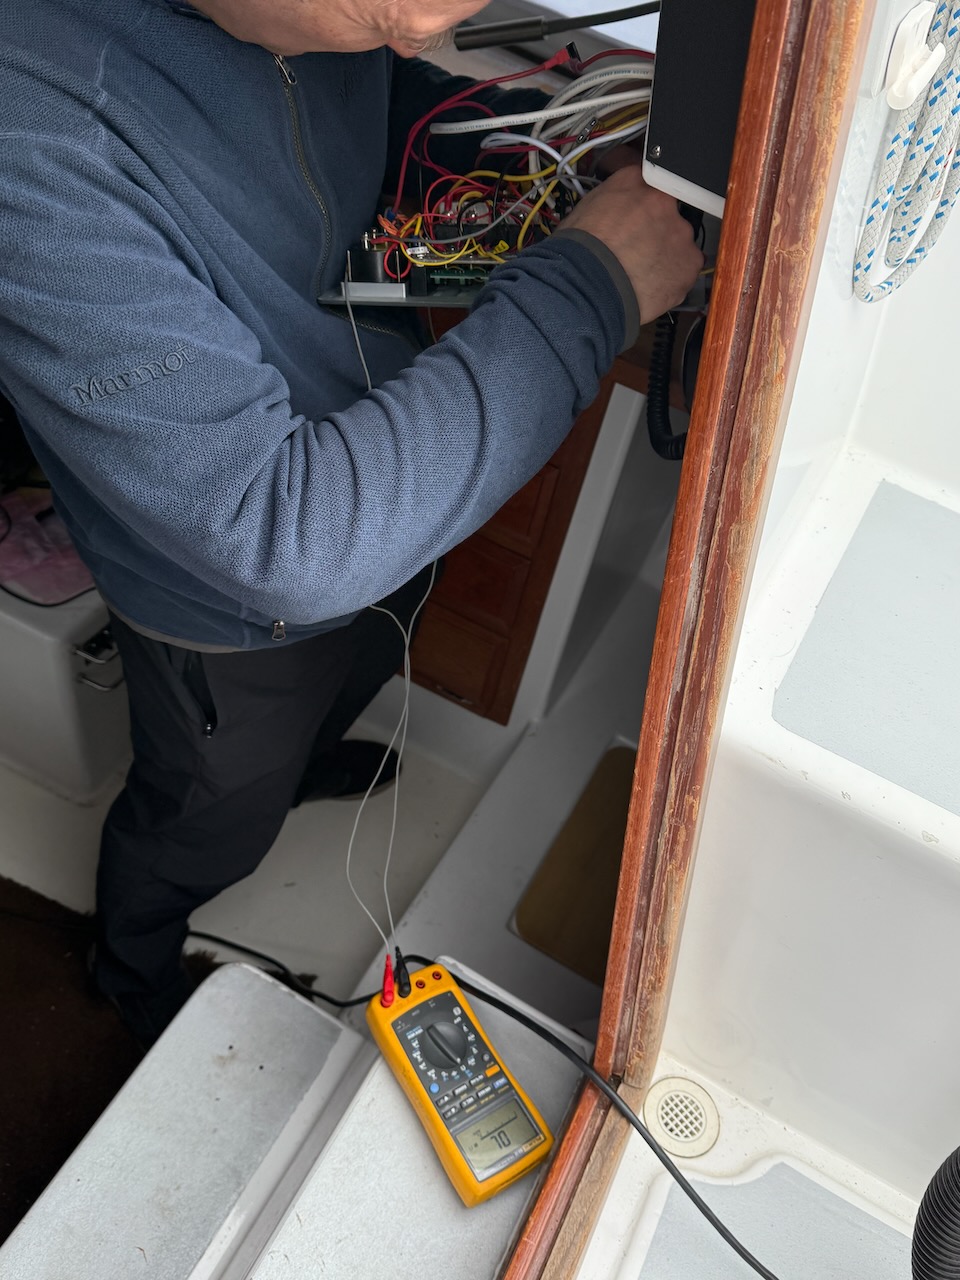
My friend Viktar joined me again for a fun workday. While I built a shelf in the stern section (just behind/above the battery bank), Viktar hardwired the unit into the AC panel, rewired the control panel and extended its cord so it could be mounted on the interior.
Next steps are to run ducts and 3D print adapters for intake.