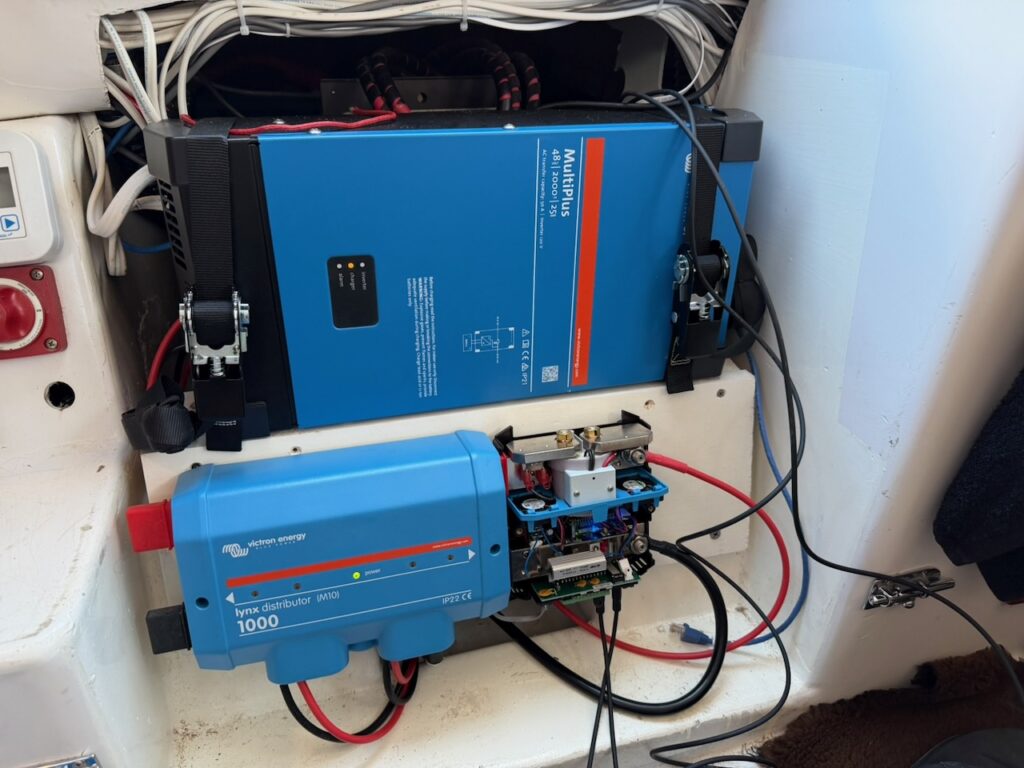
Going aloft

With my friend Viktar helping, I have a second pair of hands to help get up the mast and fix a few things: main sail track, foredeck light, and spreaders. I set up the harness not the main halyard and used spinnaker halyard for a bag of tools & parts and a bucket of soapy water with a sponge.

Task 1 was to just clean the underside of spreaders that have accumulated some green growth

Task 2 was to replace the bulb in the foredeck light. Unfortunately, the bulbs I had in my bag didn’t match the light. Same brand, same model but 10 years difference. Need to order another bulb and get up there again.

Task 3 was to get down the small piece of track at the top of the mast to secure it to the rest of the track. When my rigger installed it originally, he ordered it too short and then proceeded to add a small piece and push it all the way up the mast without connecting them. With full main up and some good wind, that small piece rides up exposing a gap and mainsail cars slip out. After every sail without a reef in, I have to remove and reinstall the mainsail into the track. Royal pain and bad vibes to the rigger.

After getting to the top, I pushed the small piece down and secured both sides with stainless straps. They don’t need to carry lots of load, just to not let that small piece ride back up. Will need to test this out on the next sail.

Reef 2 line attachment on boom

Back in 2018, when we got the freshly painted and updated boom installed, we only added one attachment point for reef lines – just for reef 1

Not sure why we never did the same for reef 2 but it always bugged me that reef 2 line was just tied around the boom. So I finally added a proper attachment point for it as well.

Adding sensors

Continuing to put electronics in place. Removed the dummy plug and installed the actual speed+depth+water temp sensor.

And installed exterior temperature probe into puka.

New floor runner

Got a runner for the saloon floor. It was a bit too wide so had to trim it and sew the edge to keep it together. Put it over non-slip backing.

Pretty happy with the result. Nice to walk on and colors match the blues on the custom tiles we made for the fireplace. Let’s see how long this holds up.

Air ducts for dehumidifier

Ran ducts and installed intake vents in the v-birth, head, and saloon. Not the best material for marine environment but I figured with humidity and temp stabilized these will be good to test out the system and will last a few years.

Rewired and wired in dehumidifier

Scored a great marine dehumidifier on eBay – Dry-Pal 1 by Mermaid.

My friend Viktar joined me again for a fun workday. While I built a shelf in the stern section (just behind/above the battery bank), Viktar hardwired the unit into the AC panel, rewired the control panel and extended its cord so it could be mounted on the interior.

Next steps are to run ducts and 3D print adapters for intake.